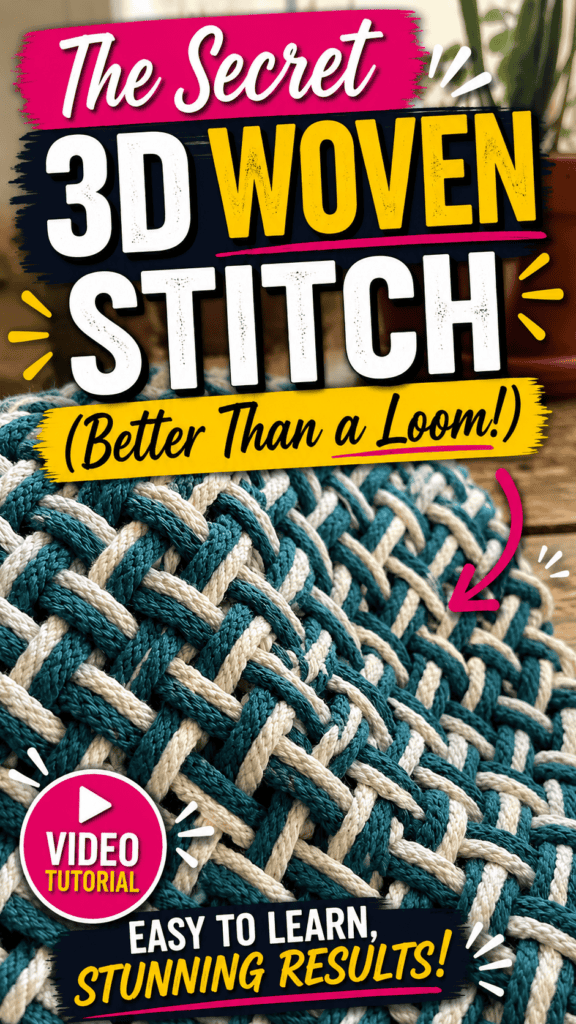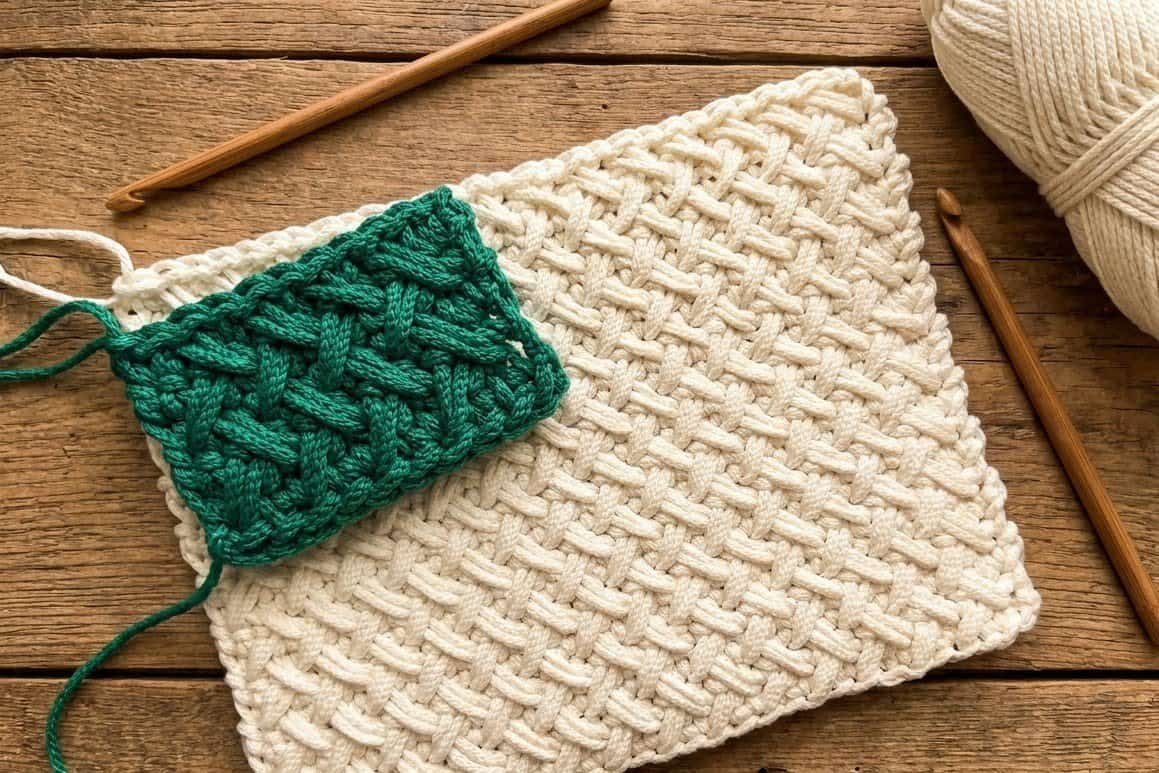
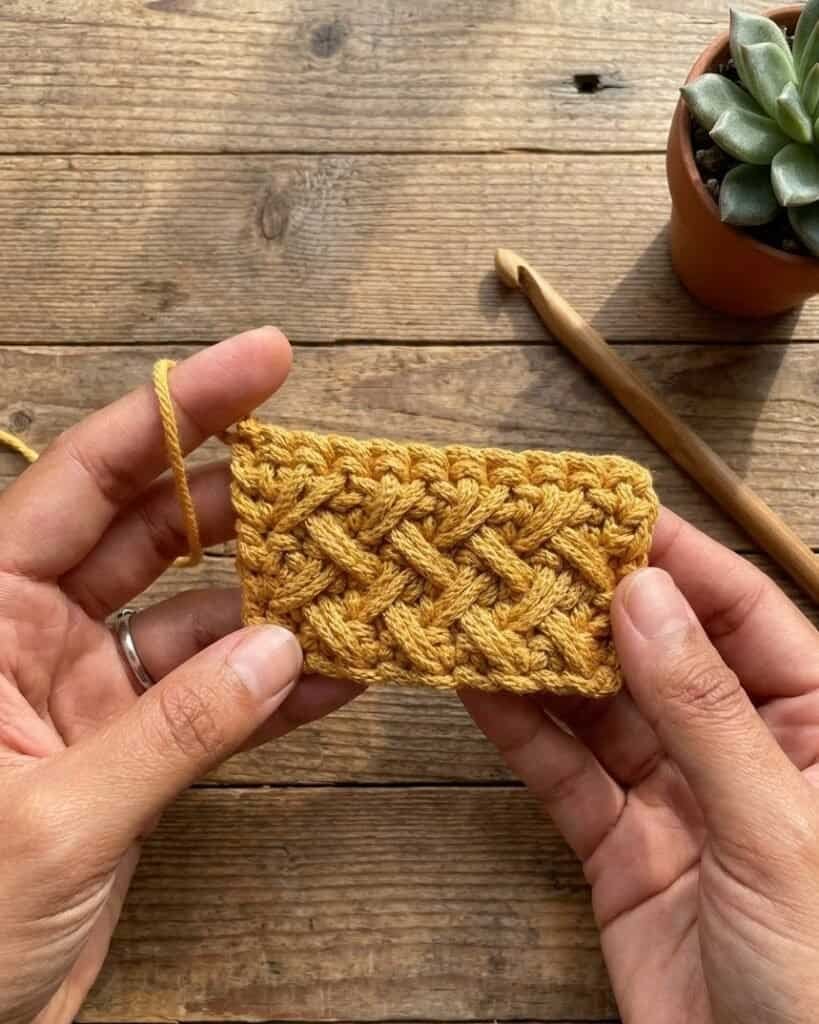
At first glance, this textured fabric looks as though it was created on a loom. The surface is dense, structured, and beautifully woven, with diagonal strands crossing in a way that seems almost impossible to achieve with a standard crochet hook. Yet the entire fabric is made with crochet.
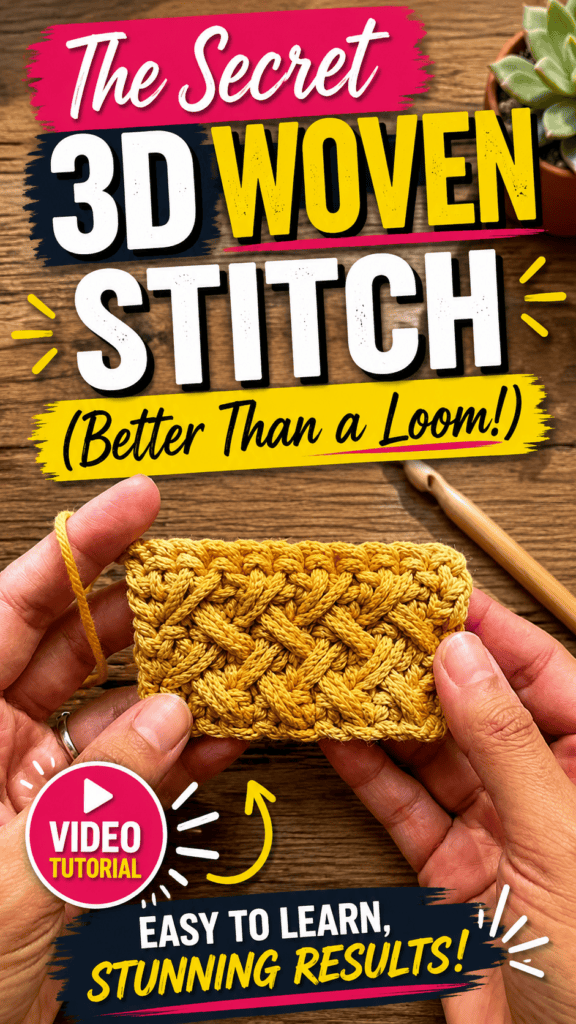
In her detailed tutorial, Nadezhda from Nadezhda Lab demonstrates a surprisingly simple 3D woven stitch that is worked with regular single crochet and elongated single crochet stitches. The pattern is completely reversible, holds its shape well, and works especially beautifully for bags, rugs, baskets, accessories, and other projects that benefit from a firm fabric.
Although the finished texture looks advanced, the stitch repeat becomes easy once the placement of the long stitches is understood.
What Makes This Woven Crochet Stitch Special?
Many crochet stitch patterns create texture, but this one closely resembles true woven fabric.
Its most notable features include:
- A dense and sturdy structure
- A raised woven appearance
- Identical front and back surfaces
- Excellent shape retention
- A simple repeating stitch sequence
- Suitability for both flat and round projects
Because both sides look the same, either surface can be used as the right side. This makes the pattern especially practical for reversible accessories, open baskets, rugs, and scarves.
The fabric also has very little visual resemblance to traditional rows of crochet. Instead, the longer stitches cross over the surface and produce a dimensional woven effect.
Best Materials for the Stitch
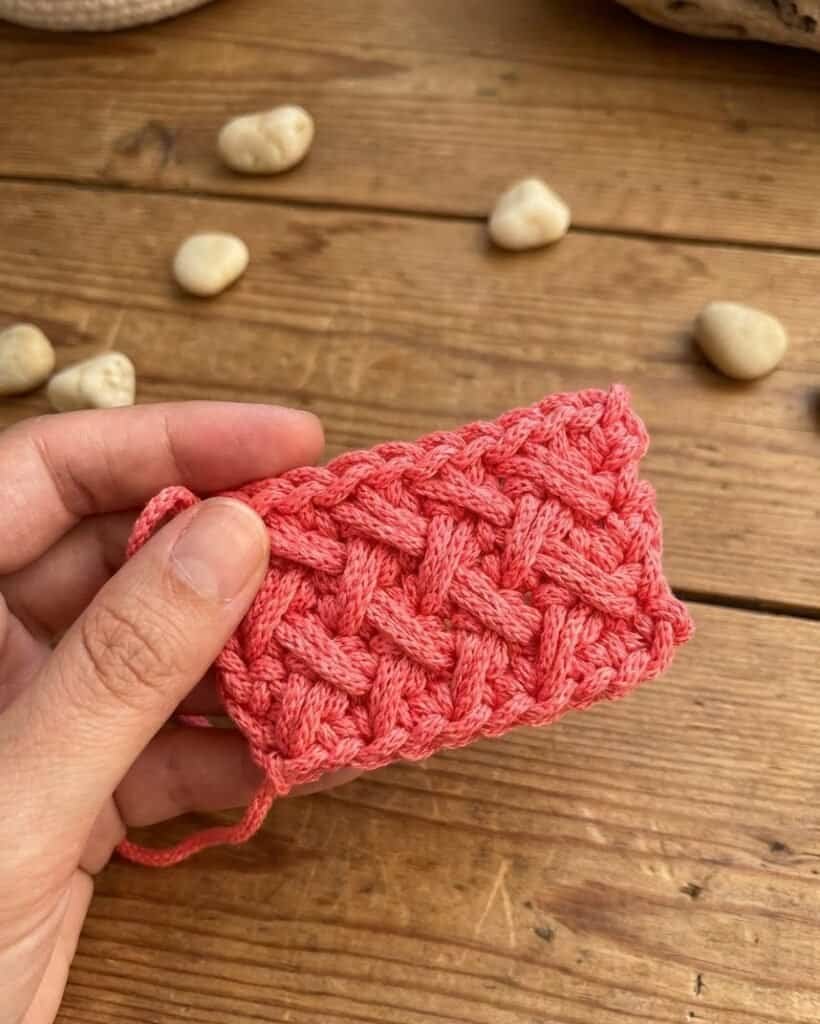
Nadezhda demonstrates the stitch with synthetic cord measuring approximately two to three millimeters thick and a 4 mm crochet hook.
Cord is an excellent choice for structured projects because it produces clear stitch definition and a firm finished fabric.
This combination is particularly useful for:
- Handbags
- Storage baskets
- Placemats
- Rugs
- Decorative accessories
However, the stitch is not limited to synthetic cord.
When worked with wool yarn, it can create a dense and warm fabric suitable for scarves or winter accessories. Cotton yarn may be a good option for bags, table décor, or household items.
The best hook size depends on the chosen yarn and desired firmness. A hook that is too small may make the long stitches difficult to form, while an oversized hook may create a fabric that is looser than intended.
Foundation Requirements
The pattern begins with an even number of chains.
For her small demonstration sample, Nadezhda creates a foundation chain of 10 stitches.
The exact number can be adjusted for a larger project, but the total must remain even so that the alternating regular and long stitches align correctly.
Work into the Back Bumps
After completing the foundation chain, add one turning chain.
Rotate the chain slightly to locate the raised bumps on the back of each chain stitch.
Beginning in the second back bump from the hook, work one regular single crochet into every chain across.
Working into the back bumps creates a neat lower edge and leaves the familiar V-shaped chain loops visible along the bottom.
The first row should contain the same number of stitches as the original foundation chain.
Understanding the Long Single Crochet
The stitch that creates the woven effect is an elongated single crochet, which Nadezhda refers to as a long single crochet.
It is completed like a regular single crochet, but the hook is inserted one stitch backward and one row below the current working position.
How the Long Stitch Is Made
To create the long single crochet:
- Move one stitch backward.
- Drop one row below the current row.
- Insert the hook into the designated stitch.
- Yarn over and pull up a loop to the height of the current row.
- Yarn over and pull through both loops.
The loop must be pulled high enough to span two rows without pulling or puckering the fabric.
Because the stitch travels diagonally across the surface, it creates one of the long strands that forms the woven appearance.
The Second Setup Row
After the first row of standard single crochet, chain one and turn.
The second row begins with two regular single crochet stitches, worked under both loops.
Next, work one long single crochet by moving one stitch backward and one row below.
Because the long stitch covers the next stitch visually, skip that covered stitch and work a regular single crochet into the following stitch.
Continue alternating:
- One long single crochet
- Skip the covered stitch
- One regular single crochet
Repeat this sequence across the row.
The final stitch should be a regular single crochet worked under both loops.
This row begins to establish the woven structure, although the full pattern may not yet be obvious.
Why the Hidden Stitch Is Skipped
Each long single crochet stretches diagonally over the fabric and visually covers a stitch below.
Crocheting into that covered stitch again would add unwanted bulk and disrupt the stitch count.
Instead, the covered stitch is skipped, and the next regular single crochet is worked into the following available stitch.
This alternating movement keeps the fabric balanced and preserves the even number of stitches.
Completing the Final Setup Row
Chain one and turn.
The next row is worked with the same basic sequence: two regular single crochet stitches, followed by alternating long and regular stitches.
At this point, the placement of the long stitches becomes easier to recognize.
Nadezhda explains that the crocheter can look for the pair of long strands emerging from a previous stitch. These strands help identify where the next regular single crochet should be worked.
For the long stitch, the hook is inserted into the small top or “cap” of the earlier long stitch located one row below and one position back.
Finding the Correct Insertion Point
Accurate hook placement is essential to creating a clean woven effect.
When preparing to work a long single crochet:
- Gently push the previous long strand aside.
- Locate the head or cap of the stitch underneath.
- Insert the hook into that stitch.
- Check the back of the fabric.
- Make sure the hook has not split the yarn.
The hook should emerge to the left of the long strand rather than piercing through it.
Once the fabric has grown by several rows, the correct location becomes much easier to see and feel.
Nadezhda notes that the hook will eventually seem to fall naturally into the correct place.
The Main Pattern Repeat
After the setup rows are complete, every remaining row follows the same repeat.
Chain one and turn.
Then work:
- Two regular single crochet stitches.
- One long single crochet, placed one stitch back and one row below.
- Skip the stitch hidden by the long stitch.
- Work one regular single crochet into the next available stitch.
- Continue alternating long and regular stitches.
- Finish with one regular single crochet in the final stitch.
This row is repeated until the fabric reaches the desired height.
The simplicity of the repeat makes the stitch much easier than its finished appearance suggests.
Preventing Puckering
The most common issue with long stitches is pulling the loop too tightly.
Because the long single crochet spans two rows, the loop needs enough height to lie flat against the fabric.
If the loop is too short, the fabric may pucker or curve.
To prevent this:
- Pull the loop up to the height of the current row.
- Keep the tension even.
- Straighten the diagonal strand before completing the stitch.
- Avoid tightening the stitch after it is finished.
The long strand should rest smoothly across the surface without distorting the rows beneath it.
Why the Fabric Is Reversible
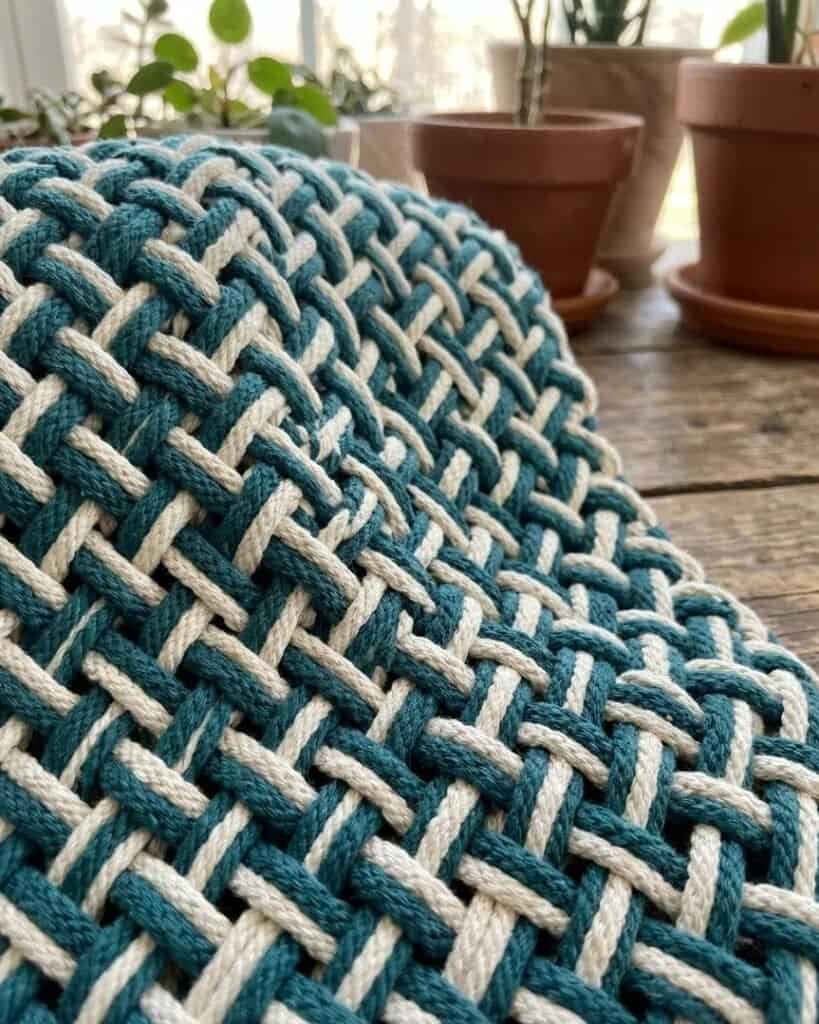
The long stitches are placed in a way that creates the same interlaced effect on both surfaces.
Unlike many textured crochet patterns that have an obvious front and back, this stitch looks virtually identical from either side.
That makes it highly useful for projects where both sides remain visible.
Examples include:
- Scarves
- Rugs
- Table runners
- Reversible bags
- Open baskets
- Decorative panels
A maker does not need to hide the wrong side or add a lining simply for appearance.
Working the Stitch in the Round
Although the tutorial focuses on a flat sample, Nadezhda explains that the technique can also be worked in the round.
When the pattern is joined correctly, the woven design can continue seamlessly around baskets and other circular projects.
This makes the stitch especially suitable for:
- Storage baskets
- Bucket bags
- Round rugs
- Plant pot covers
- Cylindrical containers
The exact joining method requires careful alignment so that the long stitches continue across the round without interrupting the pattern.
Choosing the Best Projects
The dense construction makes this stitch ideal for projects that need structure.
Bags and Accessories
Synthetic cord produces a strong fabric that can hold its shape without becoming floppy. The woven texture also gives bags a polished, professional appearance.
Baskets
The stitch forms thick walls that stand upright well, making it an excellent choice for decorative or functional storage baskets.
Rugs
Because both sides look the same and the fabric is dense, the stitch can create durable reversible rugs.
Scarves
Worked in wool, the stitch becomes warm and substantial. However, the yarn and hook should be chosen carefully so the scarf remains comfortable and flexible.
Tips for a Cleaner Woven Texture
Use an Even Stitch Count
The alternating structure depends on an even number of foundation stitches.
Check the Back of the Work
When inserting the hook for long stitches, confirm that the yarn has not been split.
Keep the Long Loops Relaxed
Adequate loop height prevents the fabric from puckering.
Use Defined Yarn or Cord
Smooth materials make the diagonal strands more visible and easier to position.
Practice with a Small Swatch
A sample of 10 stitches is enough to understand the placement before beginning a larger project.
Conclusion
This 3D woven stitch may look as though it came from a loom, but it is created entirely with a crochet hook. By alternating regular single crochet with carefully placed long single crochet stitches, makers can build a dense, reversible fabric with impressive depth and structure.
As demonstrated by Nadezhda from Nadezhda Lab, the secret lies in moving one stitch backward and one row below, pulling the loop to the correct height, and placing each stitch without splitting the yarn. Once the setup rows are complete, the pattern becomes a simple repeat that can be used for bags, rugs, baskets, scarves, and many other projects.
For crocheters looking for a stitch that is both practical and visually surprising, this woven technique offers an exceptional combination of strength, texture, and versatility.