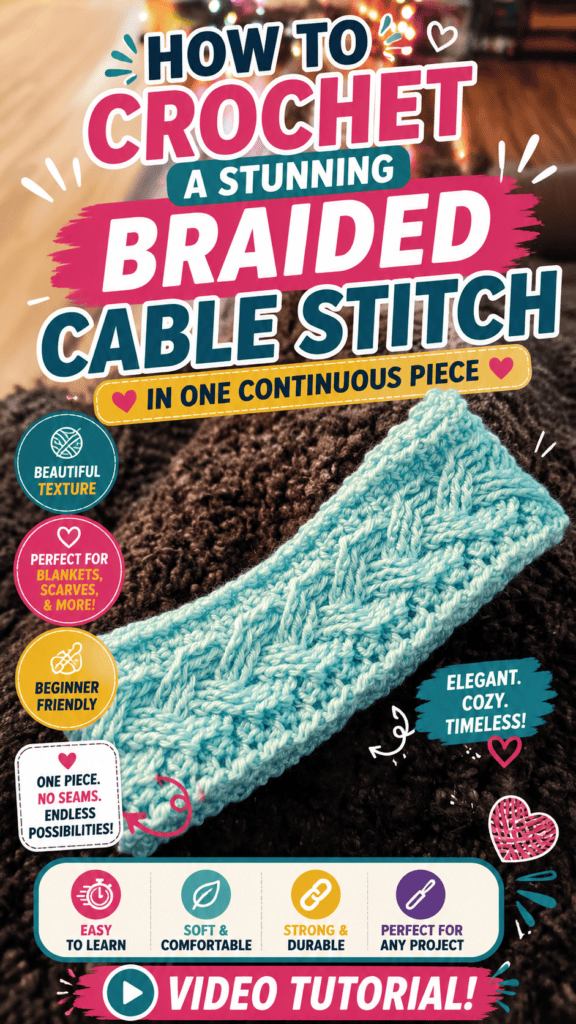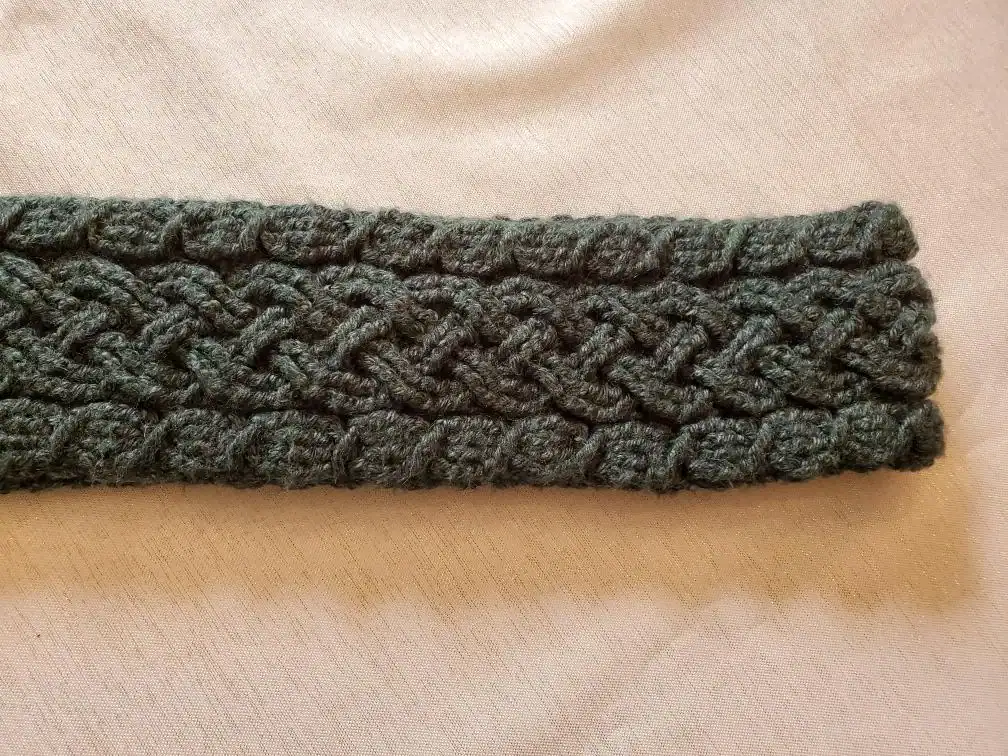
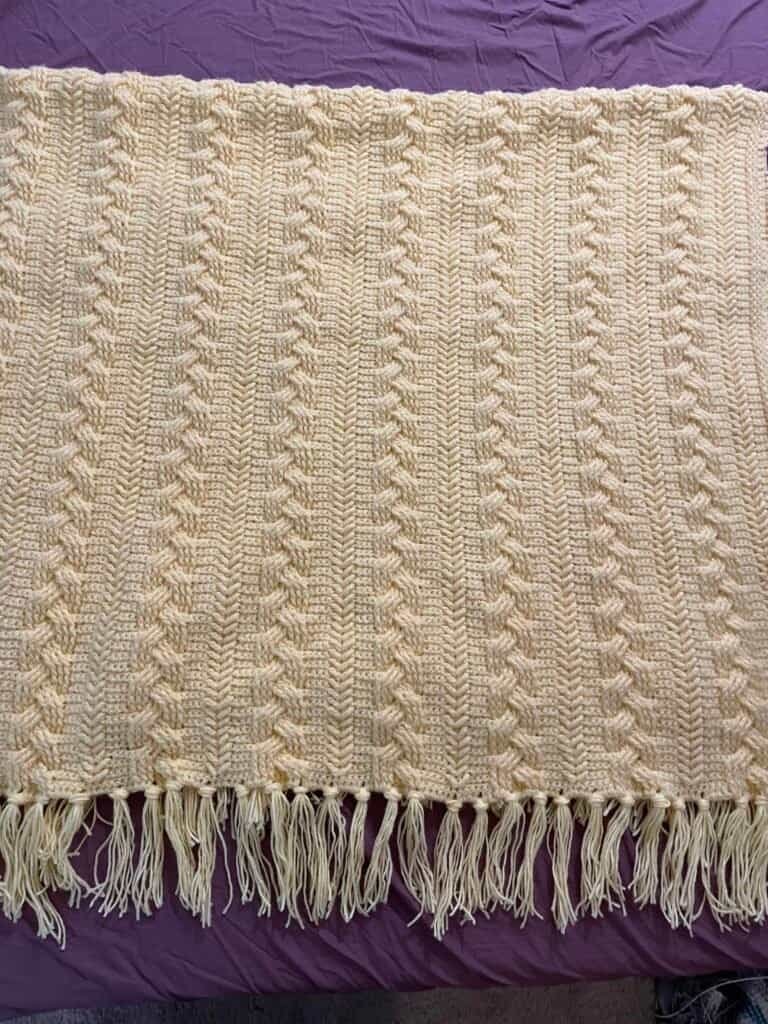
This bold braided cable looks so much like knitting that many makers may assume it was created with needles. However, the entire design is crocheted with one hook, one continuous strand of yarn, and no separate pieces. In her detailed tutorial, Nadezhda from Nadezhda Lab demonstrates how to build a dramatic cable directly into the fabric using yarn-over slip stitches, chain arches, and a carefully controlled threading technique.
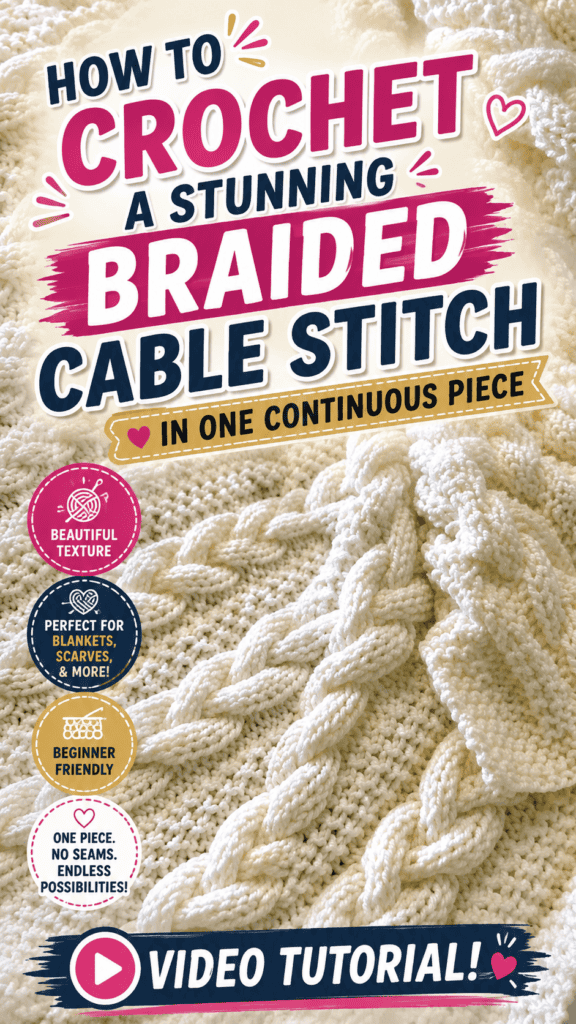
There is no cutting, sewing, or attaching individual motifs. The cable and the surrounding crochet fabric are formed as one piece, making this stitch an impressive option for garments, decorative panels, and accessories.
What Makes This Braided Cable Special?
Many crochet cable patterns rely on post stitches to create raised lines that resemble twisted ropes. Nadezhda’s method takes a different approach.
The cable is built from flexible crochet bands that are passed through one another while the fabric is being made. This produces a true braided effect rather than simply imitating one with surface texture.
The finished cable is:
- Worked continuously
- Made with one crochet hook
- Created without seams
- Integrated directly into the fabric
- Strongly textured on the right side
- Neat on the wrong side
The technique may look complicated, but its construction is based on repeating groups of stitches and chains.
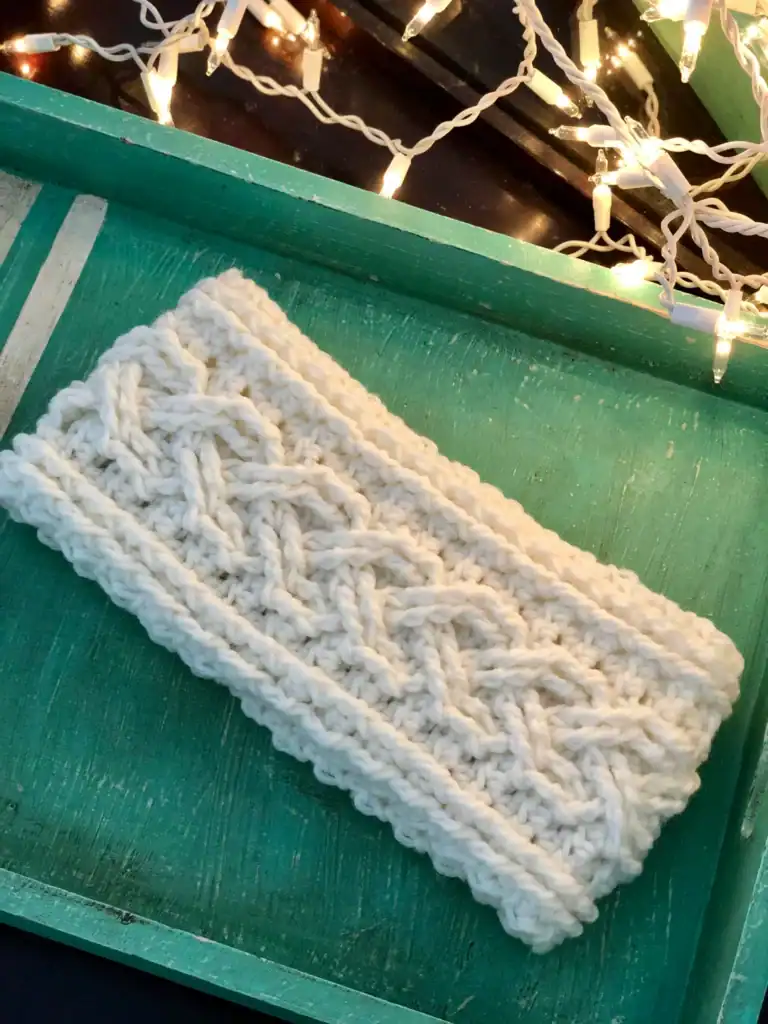
Preparing the Foundation
The starting stitch count must be a multiple of six plus two additional edge stitches.
Nadezhda demonstrates the pattern using 50 stitches:
- 48 stitches as a multiple of six
- Two extra stitches for symmetry
This precise count allows the braided sections to repeat evenly across the row.
Before beginning the cable, the crocheter can prepare a swatch or project base using the desired stitch pattern.
The Main Stitch: Yarn-Over Slip Stitch
The cable is primarily worked with yarn-over slip stitches.
How to Make a Yarn-Over Slip Stitch
To complete the stitch:
- Yarn over.
- Insert the hook into the designated stitch.
- Pull up a loop.
- Pull the new loop through the remaining loops on the hook.
In this pattern, most yarn-over slip stitches are worked through the back loop only.
This placement creates a small braid-like ridge across the surface of the fabric, giving the stitch a knitted appearance.
Row One: Creating the First Cable Band
Begin with one turning chain and turn the work.
Work two yarn-over slip stitches into the back loops of the first two stitches.
Then chain six.
Skip four stitches along the foundation and work two yarn-over slip stitches into the next two stitches.
The row repeat is:
- Two yarn-over slip stitches
- Chain six
- Skip four stitches
Continue this sequence across the row.
The chain-six sections create loose arches. These arches will later be threaded together to form the braided cable.
At the end of the row, work two yarn-over slip stitches into the final two stitches.
Row Two: Strengthening the First Band
Chain one and turn.
Work one yarn-over slip stitch into the back loop of every stitch and every chain across the row.
The chain-six arches are treated like ordinary stitches, with the hook inserted into each back loop.
This row strengthens the first cable band and creates the smooth, braided texture that appears on the right side.
After row two, the first band of the cable is complete.
Row Three: Beginning the Braided Twist
Row three creates the actual interlacing.
Chain one and turn. Work two yarn-over slip stitches into the first two stitches.
Then chain two.
Fold the first chain arch toward the front to reveal the four stitches that were skipped underneath it during row one.
Of those four stitches, identify the two center stitches—the second and third stitches.
Work one yarn-over slip stitch into the back loop of each center stitch.
Then chain six.
This new chain-six section will be passed through the previous arch to form the twist.
How to Thread the Cable Correctly
The threading step is the most important part of the pattern.
Before passing the chain through the arch, the working yarn must be positioned to the right of the chain.
Then:
- Enlarge the active loop slightly.
- Remove the hook from the loop if needed.
- Pass the chain-six section through the earlier arch.
- Return the active loop to the hook.
- Tighten the loop carefully.
This creates the first visible cable crossing.
Keep Every Twist Consistent
Nadezhda emphasizes that the working yarn must remain on the same side throughout the row.
In her demonstration, the yarn stays to the right of the chain, creating right-twisting cables.
The cable could also be made to twist in the opposite direction, but every crossing within one cable should be consistent.
Mixed directions may cause the yarn to become trapped or make the braid look uneven.
Repeating Row Three
Move to the next arch and fold it forward.
Locate the same two center stitches beneath it and work two yarn-over slip stitches.
Chain six and pass the new chain through the previous arch, keeping the working yarn on the right.
Repeat the sequence across the row.
As the cable develops, the working yarn will appear to pass through and around the fabric. This is expected.
The yarn will be released during the next row.
At the end, chain two, pass the short chain through the final arch, and work two yarn-over slip stitches into the edge stitches.
Row Four: Untangling the Working Yarn
Chain one and turn.
Row four is worked with one yarn-over slip stitch in the back loop of every stitch across row three.
Although the fabric is twisted, the crocheter continues along the same cable band without moving to other rows.
Passing the Active Loop Through the Arches
When the yarn becomes tight or awkward:
- Pull out a generous length of working yarn.
- Remove the active loop from the hook.
- Pass the loop through the nearest cable arch.
- Put the loop back on the hook.
- Continue crocheting across the same row.
Each time the loop passes through an arch, the working yarn gradually untangles from the cable.
If the yarn was positioned correctly during row three, it should release without cutting or breaking the strand.
By the end of row four, the cable will be fully braided and the working yarn will be free.
Row Five: Locking the Cable Together
Row five joins the twists into a stable top edge.
Chain one and turn.
Work two yarn-over slip stitches, then chain one.
To connect to the next section, count four stitches along the cable line from the edge. Insert the hook into the fifth stitch and work two yarn-over slip stitches.
Chain one again.
For the remaining repeats, count six unused stitches after the previously worked section. Insert the hook into the seventh stitch and work two yarn-over slip stitches.
Repeat this sequence across the row:
- Two yarn-over slip stitches
- Chain one
- Count six unused stitches
- Work into the seventh stitch
Precise counting is essential because it keeps the cable crossings evenly spaced.
Checking the Stitch Count
At the end of row five, the total stitch count should match the original foundation.
For Nadezhda’s sample, the row should contain 50 stitches.
Matching the original number confirms that:
- No stitches were skipped accidentally
- No extra stitches were added
- Every cable section was connected correctly
- The pattern repeat remained aligned
Counting before continuing can prevent shaping problems later in the project.
Row Six: Completing the Cable
Chain one and turn.
Work one yarn-over slip stitch into the back loop of every stitch across the row.
This final row smooths and secures the top of the cable.
Once row six is complete, the braided cable section is finished.
From there, the crocheter can continue with double crochet, another textured pattern, plain rows, or a second cable panel.
What Does the Back Look Like?
The right side shows the strongest knitted effect, with full braided ridges and dramatic twists.
The wrong side is also tidy, and the cable crossings remain visible. However, it does not have the same raised braid texture as the front.
For that reason, Nadezhda does not consider the stitch completely reversible.
Still, the wrong side is neat enough for projects where both surfaces may occasionally be seen, such as scarves, open cardigans, or wraps.
Project Ideas for This Crochet Cable
The cable can become a central design feature in many projects.
It may work especially well for:
- Sweater panels
- Summer tunics
- Polo-style tops
- Cardigans
- Scarves
- Cowls
- Decorative pillows
- Bags
- Blanket panels
Because the cable is made as part of the fabric, there are no bulky sewn seams on the back.
The surrounding stitch pattern can also be changed to create different textures and levels of drape.
Tips for Better Results
Count Every Repeat
This pattern depends on mathematical spacing. Counting the skipped stitches, center stitches, and joining points will create a cleaner cable than estimating by sight.
Use a Smooth Yarn
A smooth, clearly defined yarn makes the back loops easier to identify and helps the braided texture stand out.
Maintain Loose, Even Tension
The chain arches must remain flexible enough to pass through one another. Tight chains can make the threading process difficult.
Pull Out Extra Working Yarn
During the untangling row, the yarn may not feed freely from the ball because it is temporarily caught inside the cable. Pulling out extra slack before continuing makes the process easier.
Conclusion
This stunning cable proves that crochet can create deeply braided, knit-like texture without knitting needles, separate strips, or sewing. By combining yarn-over slip stitches with chain arches and controlled threading, the entire cable is formed in one continuous piece.
As demonstrated by Nadezhda from Nadezhda Lab, success depends on accurate stitch counts, consistent cable direction, and careful positioning of the working yarn. Once the construction is understood, the technique offers an exciting way to add bold, professional-looking cable panels to garments, accessories, and home décor projects.