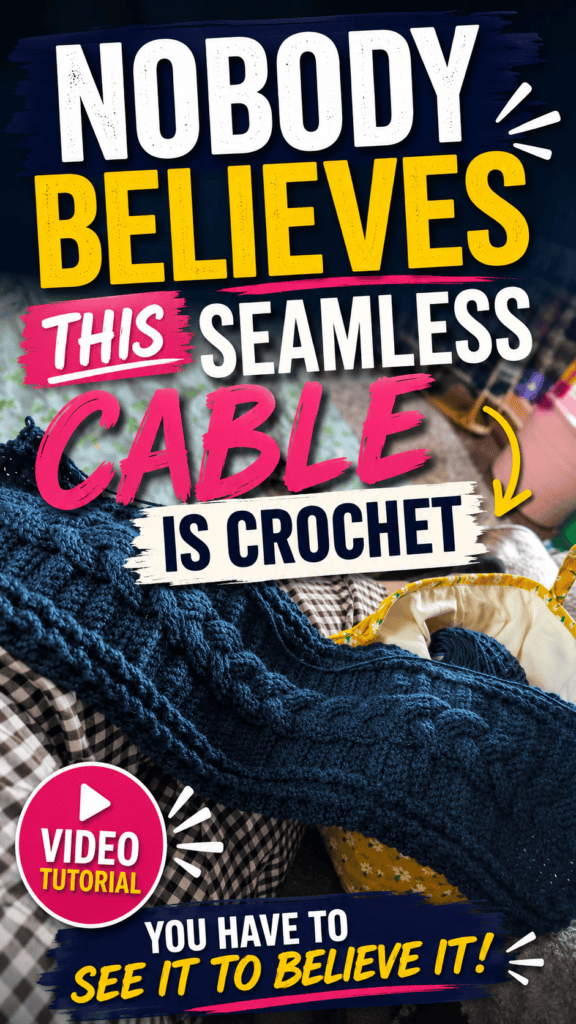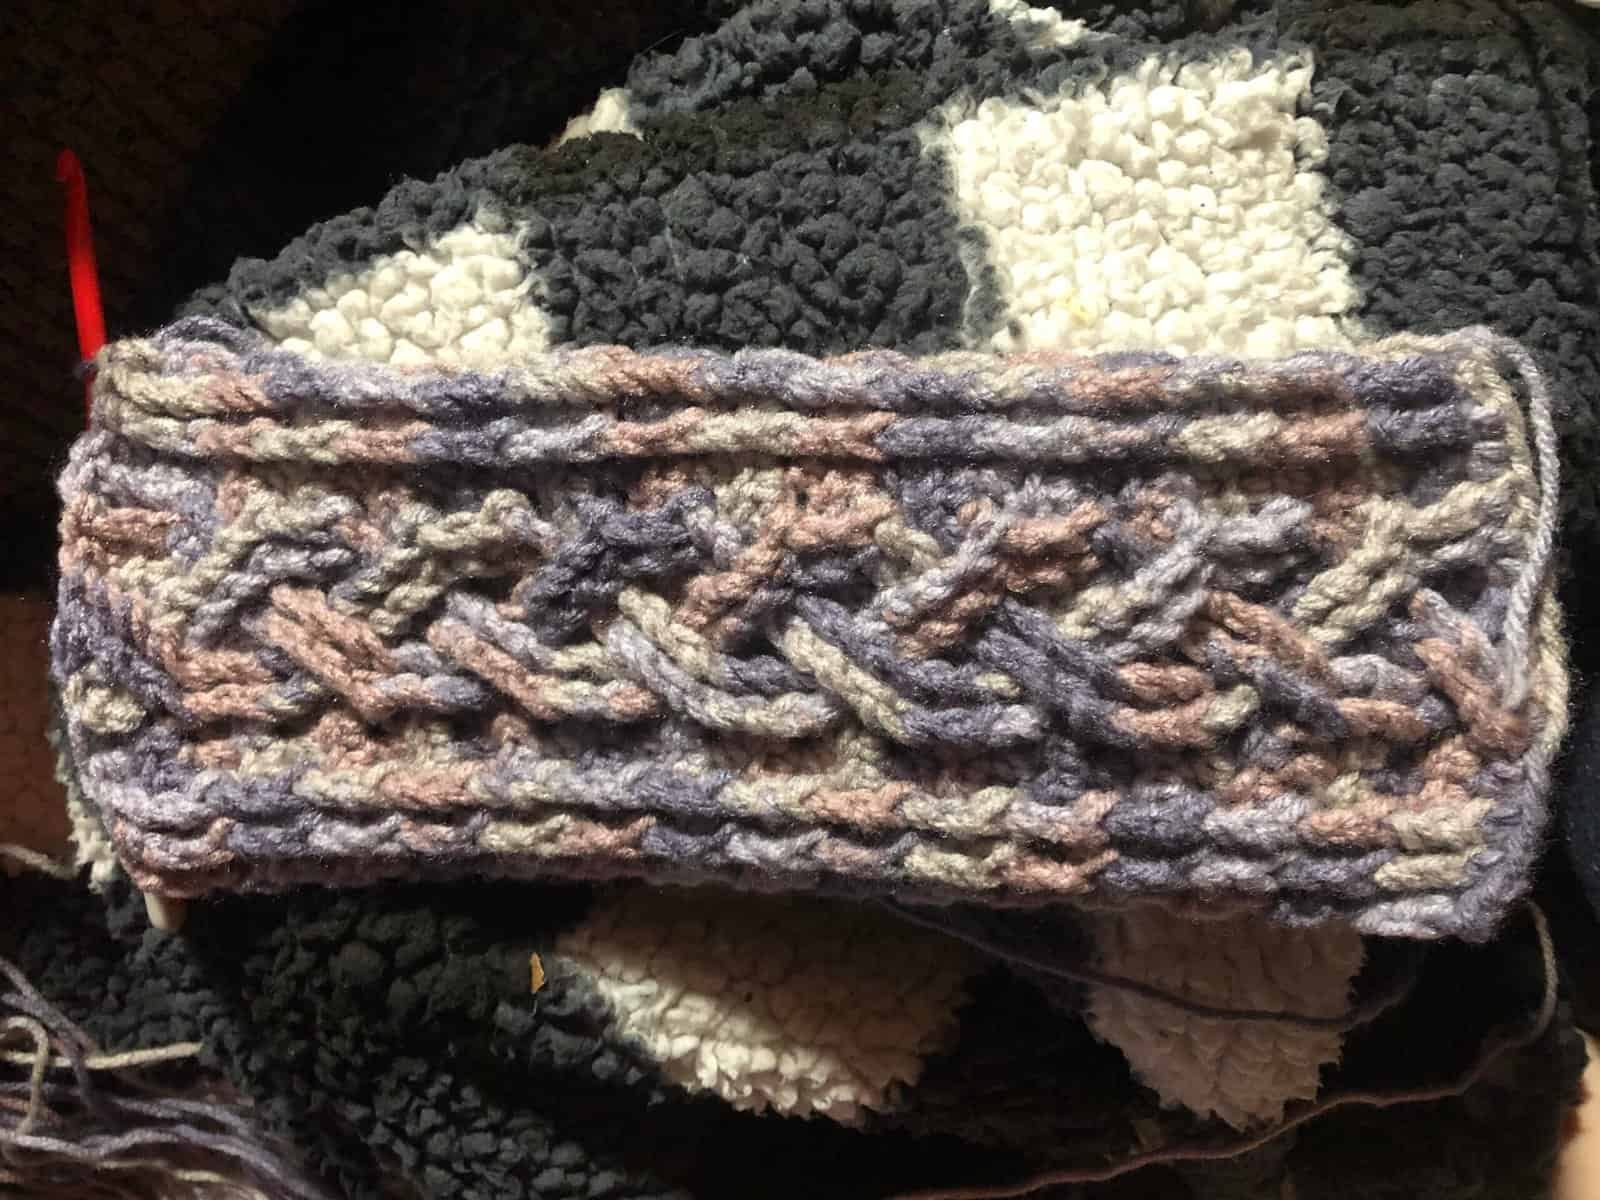
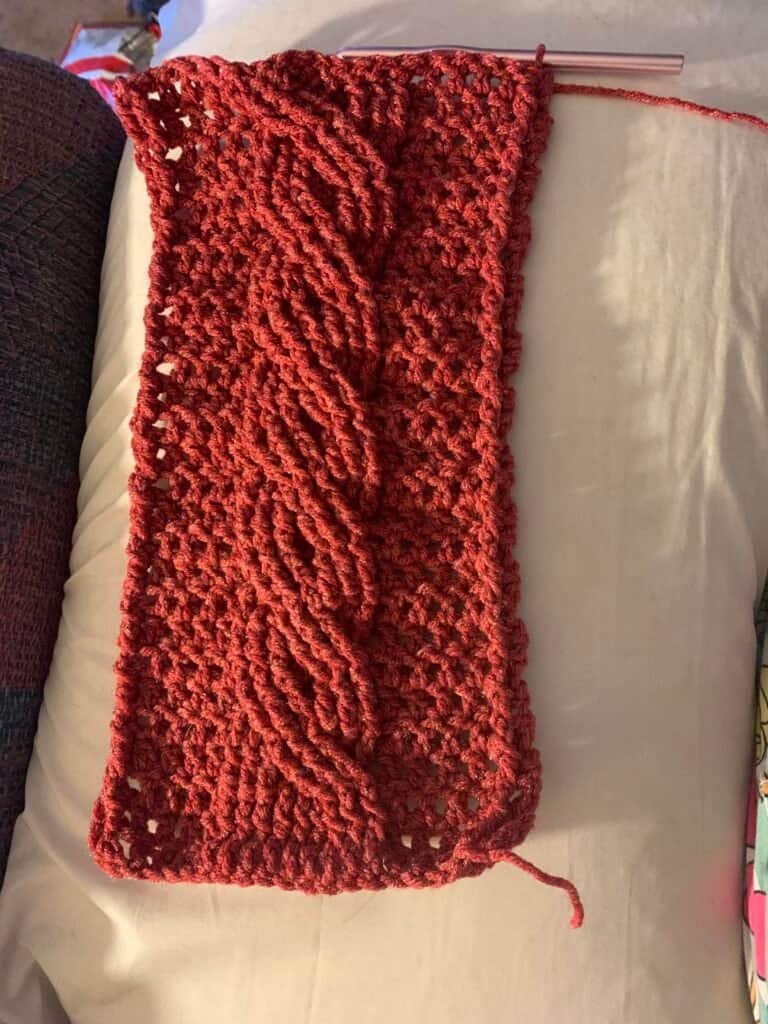
At first glance, this dramatic braided cable looks knitted—or even sewn onto the fabric afterward. In reality, the entire design is crocheted continuously with one hook and one working strand. In her detailed tutorial, Nadezhda from Nadezhda Lab demonstrates how to build a striking two-strand cable directly into a crochet fabric without cutting the yarn, attaching separate pieces, or using knitting needles.
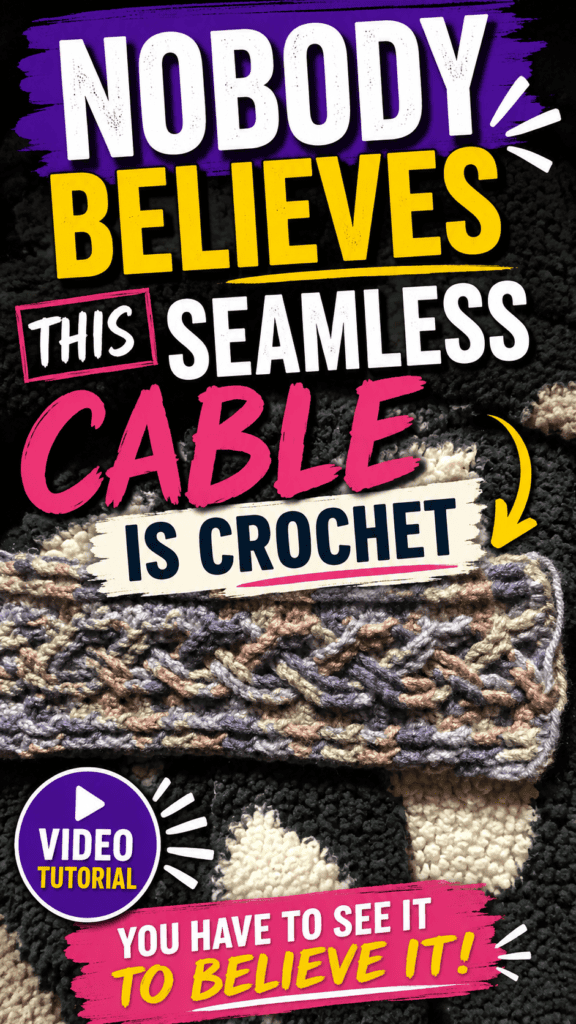
The technique relies on carefully placed chain arches, yarn-over slip stitches, and a controlled braiding process. Although the method requires concentration, counting, and careful yarn management, the finished result is highly textured, reversible, and surprisingly seamless.
What Makes This Crochet Cable Different?
Traditional crochet cables are often formed with front-post and back-post stitches. Those methods create raised texture, but they do not usually produce the appearance of separate braided strands crossing over one another.
Nadezhda’s technique works differently. The cable strands are built as part of the fabric itself, then physically passed through chain arches to create the braid.
The result is:
- Crocheted continuously as one piece
- Made with one working yarn
- Free from sewn-on cable strips
- Reversible enough for scarves and similar projects
- Textured like a knitted cable
- Able to be unraveled and reworked like ordinary crochet
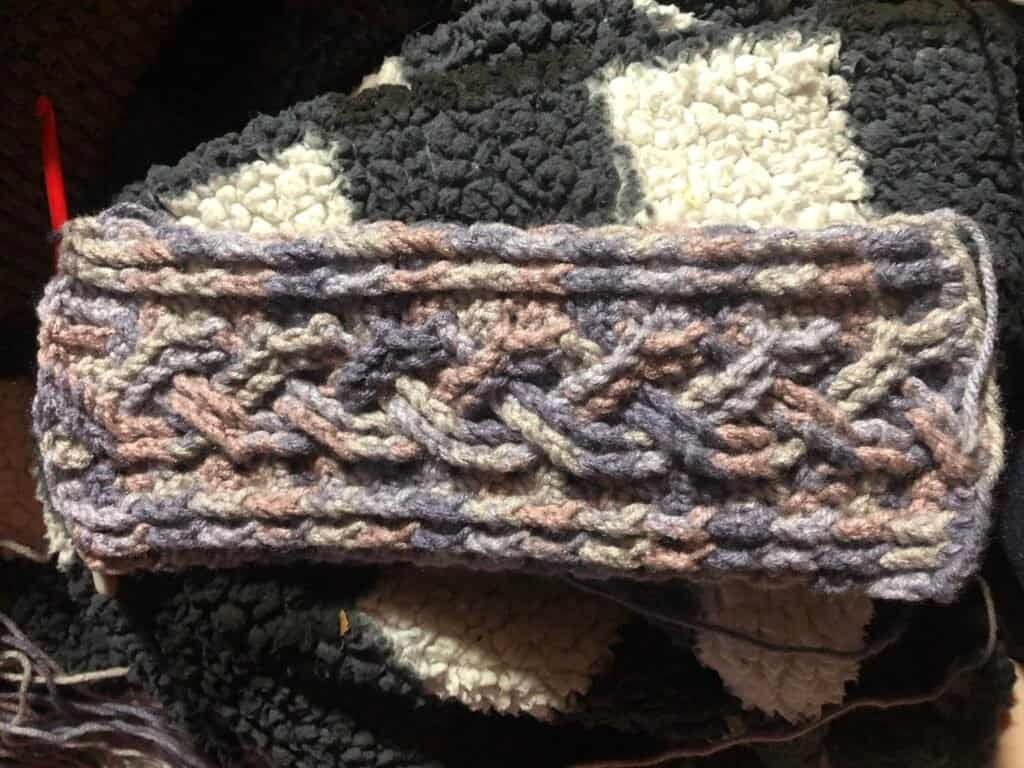
The cable is not an appliqué. It is structurally connected to the surrounding fabric from beginning to end.
Preparing the Foundation
The stitch count must be a multiple of 12 plus six stitches.
In the tutorial, Nadezhda begins with 54 stitches. She also works two setup rows before starting the cable.
Choosing the Background Stitch
Nadezhda uses yarn-over slip stitches for the foundation and surrounding fabric. However, she explains that crocheters may use other stitches if they prefer.
The yarn-over slip stitch is especially effective because its surface resembles knitted fabric. When worked through the back loop, it leaves a small horizontal braid on the right side.
This knit-like background helps the cable blend naturally into the swatch.
Understanding the Yarn-Over Slip Stitch
The main stitch used throughout the tutorial is the yarn-over slip stitch.
To make it:
- Yarn over.
- Insert the hook into the designated stitch.
- Pull up a loop.
- Pull that loop directly through the remaining loops on the hook.
This stitch is shorter than a half double crochet but creates more body than a standard slip stitch.
Most rows are worked in the back loop only, although the first cable row may be worked under two front strands to produce a more raised ridge.
Building the First Cable Strand
The first strand begins after the setup rows.
Chain one, turn the work, and crochet six yarn-over slip stitches.
Nadezhda inserts the hook under two front strands of each stitch for this first section. This placement creates a pronounced ridge that helps the finished cable stand out from the background.
Creating the Chain Arches
After the first six stitches, chain 10.
Skip six stitches along the foundation, then work six yarn-over slip stitches into the following six stitches.
This establishes the repeating structure:
- Chain 10
- Skip six stitches
- Work six yarn-over slip stitches
Repeat across the row.
At the end, the fabric consists of chain arches separated by groups of six anchored stitches.
Completing the First Strand
After the arch row, turn and work one yarn-over slip stitch into each stitch and chain, using the back loop only.
The next two rows are also worked as yarn-over slip stitches in the back loop.
This means the first cable strand contains four rows in total.
These rows create a long, flexible band that will later become one side of the braid.
Turn in the Same Direction
Nadezhda emphasizes turning the work in the same direction every time.
Consistent turning keeps the side edges uniform and prevents the working yarn from twisting unpredictably around the fabric.
This small habit becomes especially important once the strands begin crossing.
Starting the Second Cable Strand
The second strand is where the cable begins to look magical.
After turning, crochet six yarn-over slip stitches in the back loop only. Then chain two.
Fold back the first chain arch to reveal the six foundation stitches that were skipped underneath it.
Work six yarn-over slip stitches into those previously unused stitches.
These six stitches form the beginning of the second strand.
Braiding the Crochet Cable
After working the six stitches beneath the arch, chain 10.
The chain must now pass through the earlier arch to create the cable crossing.
The Most Important Yarn Rule
Before passing the new chain through the old arch, move the working yarn to the right side of the chain.
Then:
- Enlarge the active loop slightly so it does not unravel.
- Remove the hook.
- Pass the new chain through the previous arch.
- Place the active loop back on the hook.
- Tighten it carefully.
Keeping the working yarn to the right is essential. If the yarn sits on the wrong side, it may become locked into the crossing and difficult to untangle later.
Repeating the Braid Across the Row
Move to the next chain arch and fold it back.
Find the six stitches that remained unused beneath it and work six yarn-over slip stitches into them.
Then chain 10 and pass that chain through the previous arch, always keeping the working yarn on the right.
Repeat across the row.
As the work progresses, the working yarn may stretch visibly across the fabric. Nadezhda explains that this is normal. The yarn will be released and untangled during the following row.
Finishing the First Row of the Second Strand
At the final arch, chain two rather than 10.
Pass that short chain through the arch, then work six yarn-over slip stitches along the edge of the first strand.
This completes the first braided row of the second strand.
Chain one and turn, again maintaining the same turning direction used throughout the project.
Untangling the Working Yarn
The next row is worked in yarn-over slip stitches through the back loops.
Because the second strand has been passed through multiple arches, the working yarn will be caught around the braided sections.
Nadezhda resolves this as she crochets.
When the yarn becomes uncomfortable or tight:
- Remove the active loop from the hook.
- Pass the loop through the nearest arch.
- Return the loop to the hook.
- Pull through a little extra working yarn.
- Continue crocheting along the same strand.
The crocheter does not jump between the two cable strands. The hook continues along the second strand while the yarn is progressively released from each crossing.
If the working yarn was kept to the right during the previous row, it should untangle smoothly.
Completing the Second Strand
Like the first strand, the second strand contains four rows.
After the first braided row and the untangling row, work two more rows of yarn-over slip stitches in the back loop only.
During one row, the yarn becomes wrapped into the braid again. During the next, it is released.
The movement may look complicated, but the stitch itself remains unchanged: one yarn-over slip stitch into every stitch.
Joining the Cable Strands Back Together
After the fourth row of the second strand, a finishing row reconnects the braided sections into one continuous fabric.
Begin with six yarn-over slip stitches.
To move into the next strand, count eight stitches along the lower edge and insert the hook into the ninth stitch. Work six yarn-over slip stitches.
For the following transitions, open the arch and count 10 stitches. Begin the next group of six stitches in the 11th stitch.
This count corresponds to the original chain-10 arch.
Continue across the row, joining one twisted section to the next.
Check the Stitch Count
At the final section, count carefully.
After counting 10 stitches within the last arch, exactly six stitches should remain.
The completed row should contain the same number of stitches as the original foundation. In Nadezhda’s sample, that number is 54.
Matching the original count confirms that the strands were joined correctly.
Two Surface Variations
Nadezhda demonstrates two ways to place the stitches in the first cable row.
Under Two Front Strands
Working under two front strands creates a raised ridge.
This makes the cable stand out sharply from the surrounding fabric and emphasizes the braided texture.
Back Loop Only
Working in the back loop only produces a smoother transition.
The cable remains visible but feels more integrated into the background fabric.
Neither version is incorrect. The best choice depends on whether the maker wants bold relief or a subtler cable.
Is the Cable Reversible?
The front side displays the strongest texture, but the back is also neat and attractive.
This makes the pattern suitable for projects where both sides may be visible, including:
- Scarves
- Cowls
- Wraps
- Reversible panels
- Sweater sections
The cable contains small holes where the arches cross. These openings may be left visible for scarves, sweaters, and decorative pieces.
For warmer accessories such as beanies, Nadezhda suggests closing the openings afterward with matching yarn and a needle.
Why This Technique Is Worth Learning
This cable method combines crochet construction with a true braiding action.
Its most impressive qualities are that it remains:
- Seamless
- Continuous
- Structurally connected
- Reversible
- Adjustable
- Completely crocheted
Because the strands are made within the fabric, the finished piece does not have the added thickness or stiffness that can occur when separate cable strips are sewn onto a project.
The technique also opens the door to experimentation with color, stitch placement, wider panels, and more complex braided designs.
Conclusion
This seamless cable may look knitted, but every part of it is created with a crochet hook. By combining yarn-over slip stitches, chain arches, careful counting, and controlled strand crossings, crocheters can form a bold braided cable directly within a single piece of fabric.
As demonstrated by Nadezhda from Nadezhda Lab, the key is to build each strand in four rows, keep the working yarn on the correct side during every crossing, and reconnect the strands with precise stitch counts. The process takes patience, but the finished result is an impressive, reversible cable that challenges expectations of what crochet can achieve.