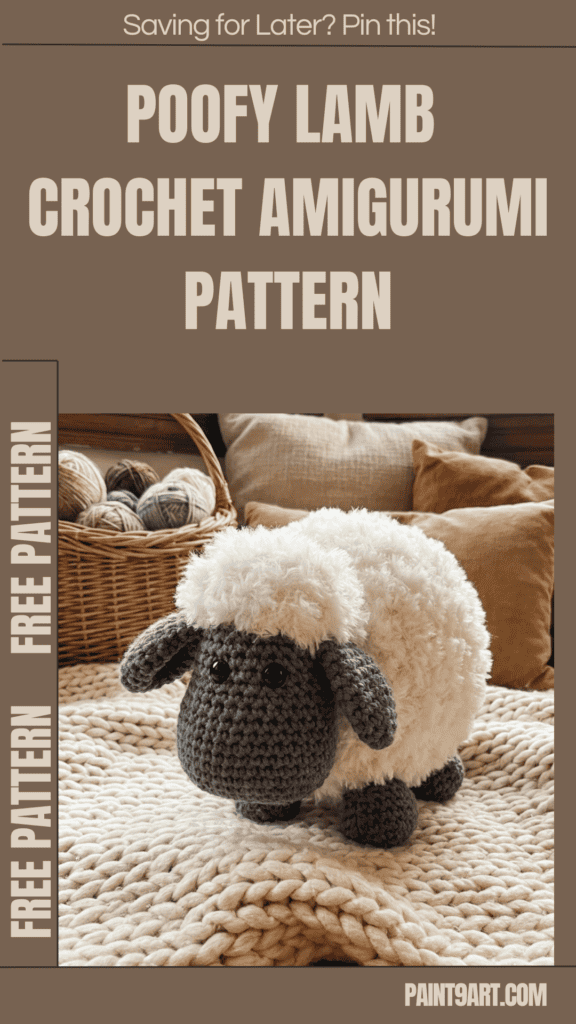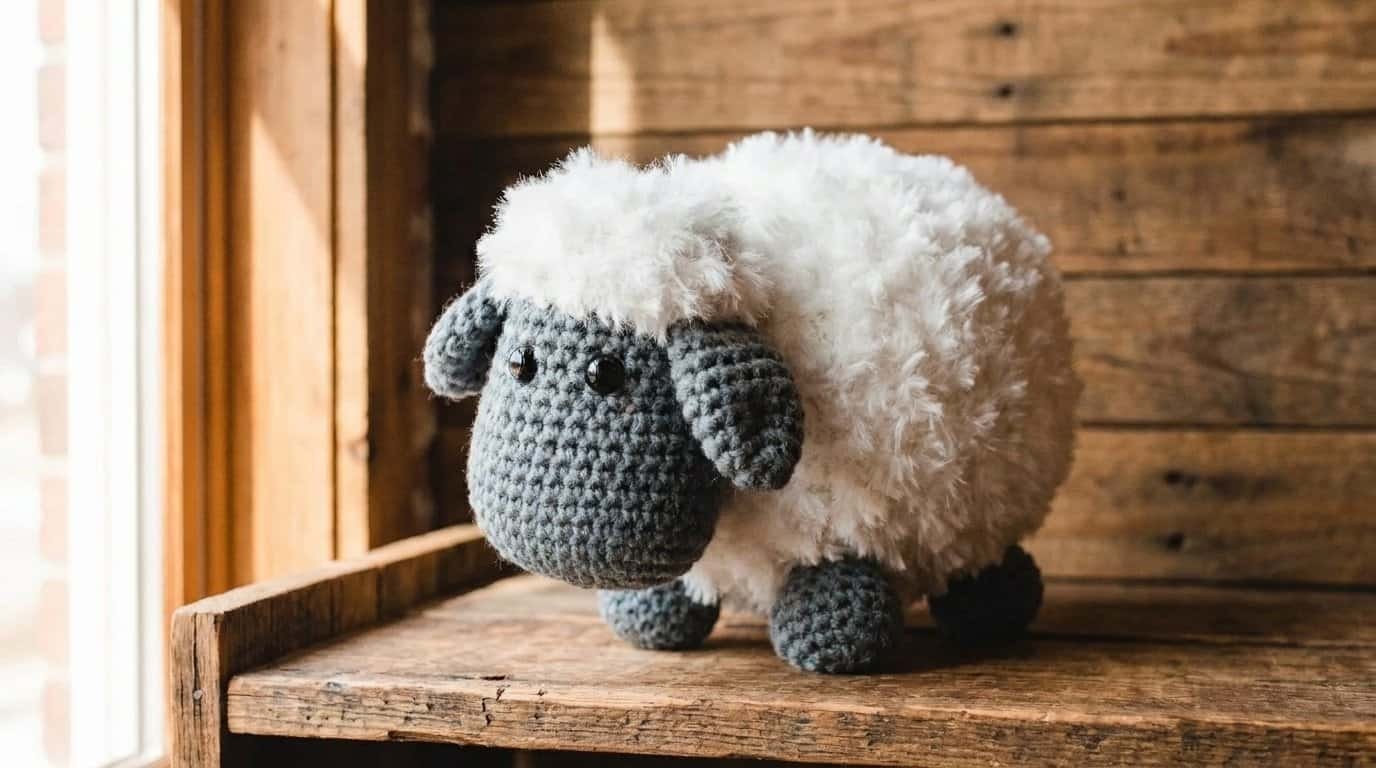
There is something purely magical about crafting your own plush toy, especially when it turns out looking like a high-end boutique find.
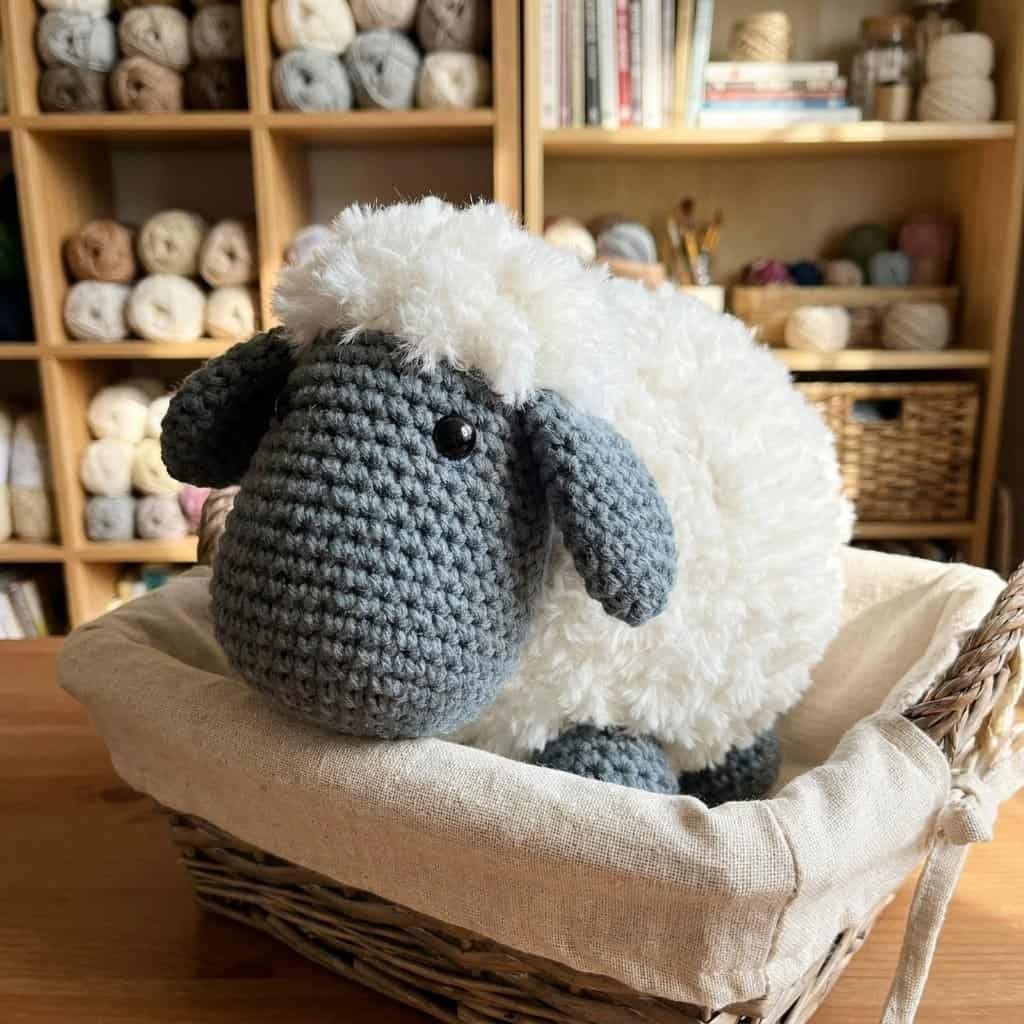
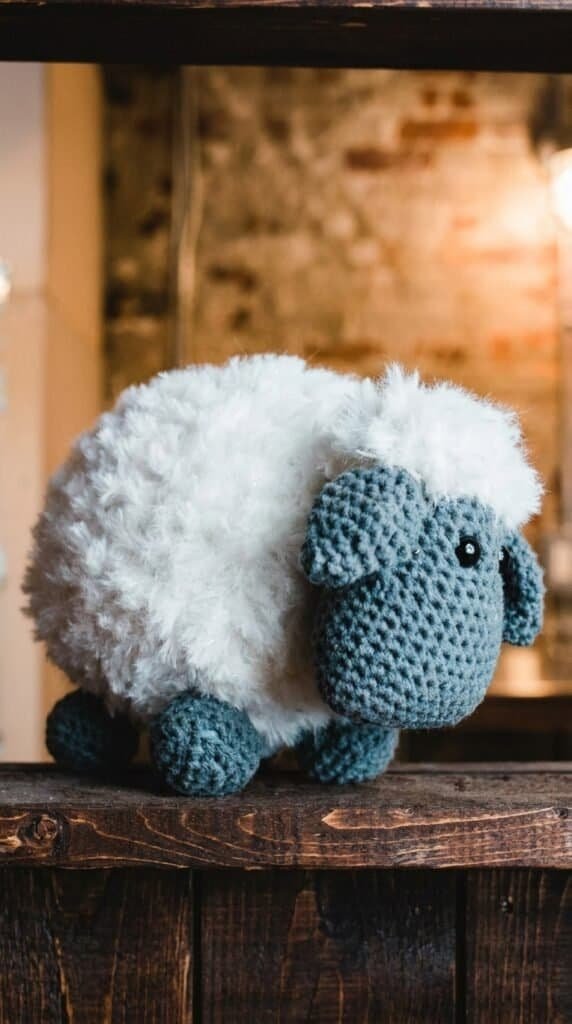
If you are looking to create the softest, most huggable little farm animal, the Free Puffy Lamb Crochet Amigurumi Pattern is your next perfect project!
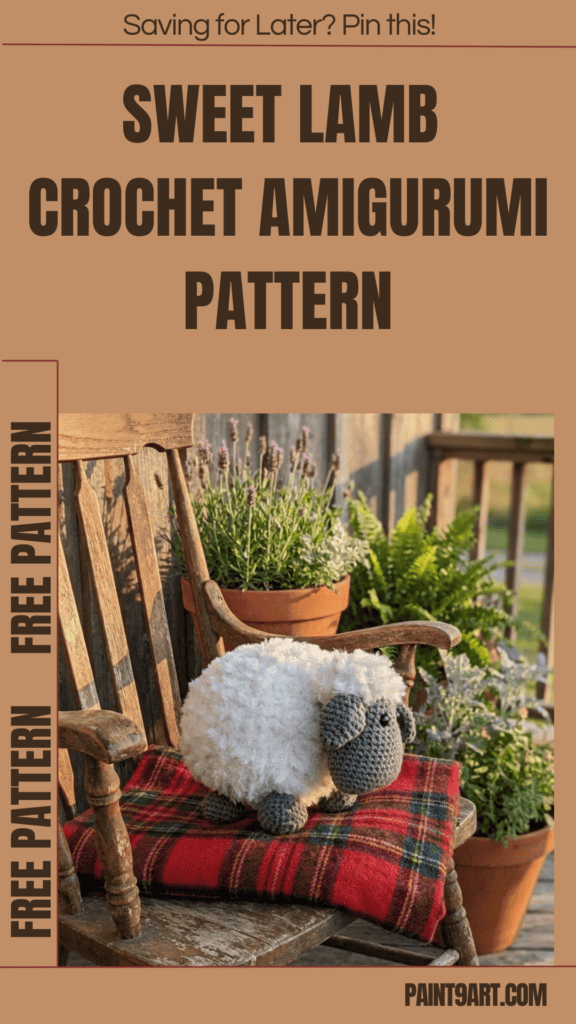
Pattern Details & Materials
Before diving into your first continuous spiral round, let’s look over the finished measurements, required yarn weights, and essential notions needed to set up your workspace.
Skill Level
-
Easy
Sizes
- Finished Width: About 8 1/2 in. (21.5 cm)
- Finished Height: About 6 in. (15 cm)
Materials
-
Yarn A: Lion Brand® Feels Like Butta (Art. #215), #150 Charcoal, 1 ball
-
Yarn B: Lion Brand® Go For Faux (Art. #322), #302 Star, 1 ball
-
Crochet Hooks:
-
Lion Brand® crochet hook size G-6 (4.25 mm)
-
Lion Brand® crochet hook size H-8 (5 mm)
-
-
Notions:
-
Lion Brand® stitch markers
-
Lion Brand® large-eyed blunt needle
-
-
Additional Materials:
-
2 safety eyes, 10 mm diameter
-
Fiberfill stuffing
-
Gauge
- 24 sc = about 4 in. (10 cm) with smaller hook and A.
- EXACT GAUGE IS NOT ESSENTIAL FOR THIS PROJECT.
Abbreviations
- beg = begin(ning)
- ch = chain
- dc = double crochet
- rem = remain(ing)
- rep = repeat
- rnd(s) = round(s)
- RS = right side
- sc = single crochet
- sk = skip
- sl st = slip stitch
- st(s) = stitch(es)
Stitch Explanations & Project Notes
Stitch Explanation
-
sc2tog (sc 2 sts together): (Insert hook in next st and draw up a loop) twice, yarn over and draw through all 3 loops on hook – 1 st decreased.
Pattern Notes
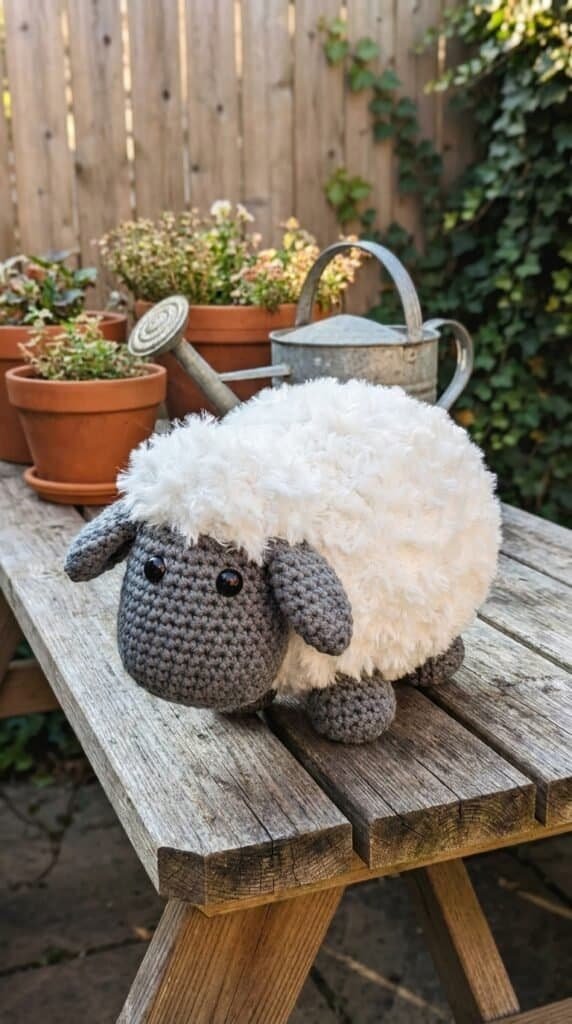
- Sheep is made in 8 pieces: Head, 2 Ears, Body, and 4 Legs.
- Pieces are stuffed then sewn together.
- Exact gauge is not essential for this project. We worked tightly with a small hook so that stuffing does not show through spaces between stitches.
Instructions
Head
With smaller hook and A, ch 13.
Rnd 1 (RS): Sc in 2nd ch from hook, sc in next 10 ch, 3 sc in last ch; working along opposite side of foundation ch, sc in next 10 ch, 3 sc in next ch; do not join, work in continuous rnds (spiral) – you will have 27 sc in this rnd. Place a marker in last st made to indicate end of rnd. Move marker up as each rnd is completed.
Rnd 2: Sc in next 11 sts, 2 sc in next 3 sts, sc in next 10 sts, 2 sc in next 3 sts – 33 sc.
Rnds 3-10: Sc in each st around.
Rnd 11: Sc2tog, sc in next 11 sts, sc2tog, sc in next 2 sts, sc2tog, sc in next 10 sts, sc2tog, sc in next 2 sts – 29 sc.
Rnds 12-18: Sc in each st around.
Fasten off A.
Attach safety eyes between Rnds 14 and 15, about 3 sts apart.
Top of Head
Rnd 19: With larger hook, join B with sc in first st, sc in next st, * sk next st, sc in next 2 sts; rep from * around; join with sl st in first sc – 20 sc.
Rnd 20: Ch 1, sc in each st around; join with sl st in first sc.
Fasten off, leaving a long yarn tail.
Stuff Head.
Thread yarn tail through top of sts of last rnd. Pull tail to close opening and knot.
Body
With larger hook and B, ch 2.
Rnd 1: Work 10 sc in 2nd ch from hook; do not join, work in continuous rnds (spiral) – 10 sc. Place a marker in last st made for end of rnd. Move marker up as each rnd is completed.
Rnd 2: Work 2 sc in each st around – 20 sc.
Rnd 3: * Sc in next st, 2 sc in next st; rep from * around – 30 sc.
Rnds 4-11: Sc in each st around.
Rnd 12: * Sc in next 2 sts, sk next st; rep from * around – 20 sc.
Rnd 13: Sc in each st around.
Rnd 14: * Sc in next st, sk next st; rep from * around – 10 sc.
Fasten off, leaving a long yarn tail.
Stuff Body.
Thread yarn tail through top of sts of last rnd. Pull tail to close opening and knot.
Ears (make 2)
With smaller hook and A, ch 2.
Rnd 1: Work 4 sc in 2nd ch from hook; do not join, work in continuous rnds (spiral). Place a marker in last st made to indicate end of rnd. Move marker up as each rnd is completed.
Rnd 2: Work 2 sc in each st around – 8 sc.
Rnd 3: Sc in each st around.
Rnd 4: * Sc in next st, 2 sc in next st; rep from * around – 12 sc.
Rnd 5: * Sc in next 2 sts, 2 sc in next st; rep from * around – 16 sc.
Rnds 6 and 7: Sc in each st around.
Rnd 8: * Sc in next 2 sts, sc2tog; rep from * around – 12 sc.
Rnds 9 and 10: Sc in each st around.
Fasten off, leaving a long tail for sewing.
Legs (make 4)
With smaller hook and A, ch 2.
Rnd 1: Work 6 sc in 2nd ch from hook; join with sl st in first sc – 6 sc.
Rnd 2: Ch 1, 2 sc in each st around; join with sl st in first sc – 12 sc.
Rnd 3: Ch 1, * sc in next st, 2 sc in next st; rep from * around; join with sl st in first sc – 18 sc.
Rnd 4: Ch 1, working in the back loops only, * sc in next 2 sts, 2 sc in next st; rep from * around; do not join, work in continuous rnds (spiral) – 24 sc. Place a marker in last st made to indicate end of rnd. Move marker up as each rnd is completed.
Rnd 5: Sc in each st around.
Rnd 6: * Sc in next 2 sts, sc2tog; rep from * around – 18 sc.
Rnd 7: * Sc in next st, sc2tog; rep from * around – 12 sc.
Rnds 8 and 9: Sc in each st around.
Fasten off, leaving a long tail for sewing.
Finishing
Sew Head to Body and Ears to Head.
Stuff Legs and sew to Body.
Weave in ends.
Stay Warm, Stay Handmade
Congratulations on completing your Free Puffy Lamb Crochet Amigurumi Pattern!
By combining tight, sturdy stitches for the structured details with a wonderfully fluffy fleece yarn loop closure, you have brought a truly spectacular, huggable friend to life.
Display your new handmade creation proudly on a nursery shelf, gift it to someone special, or snuggle up with the softest little lamb you’ve ever held. Happy crocheting!