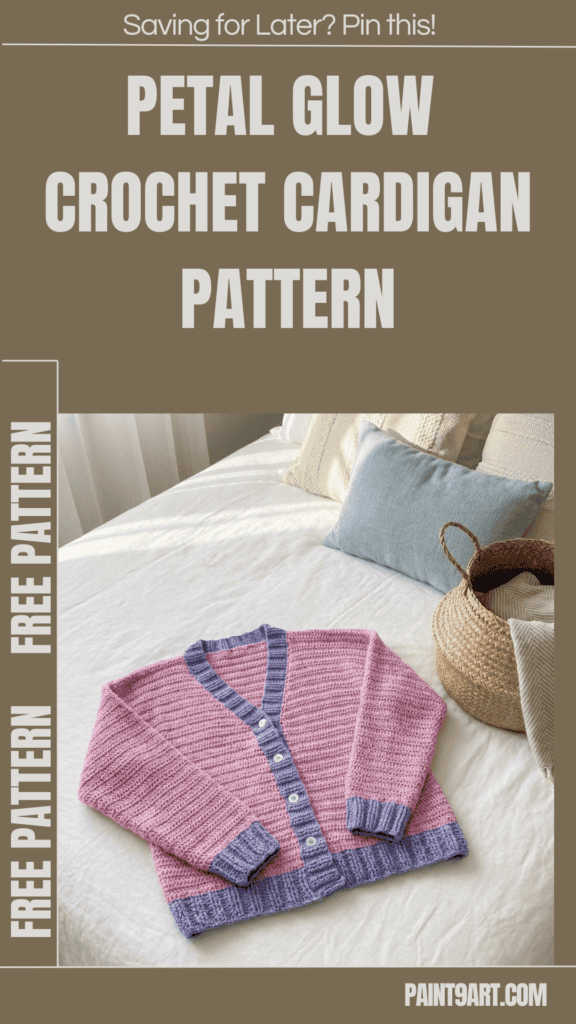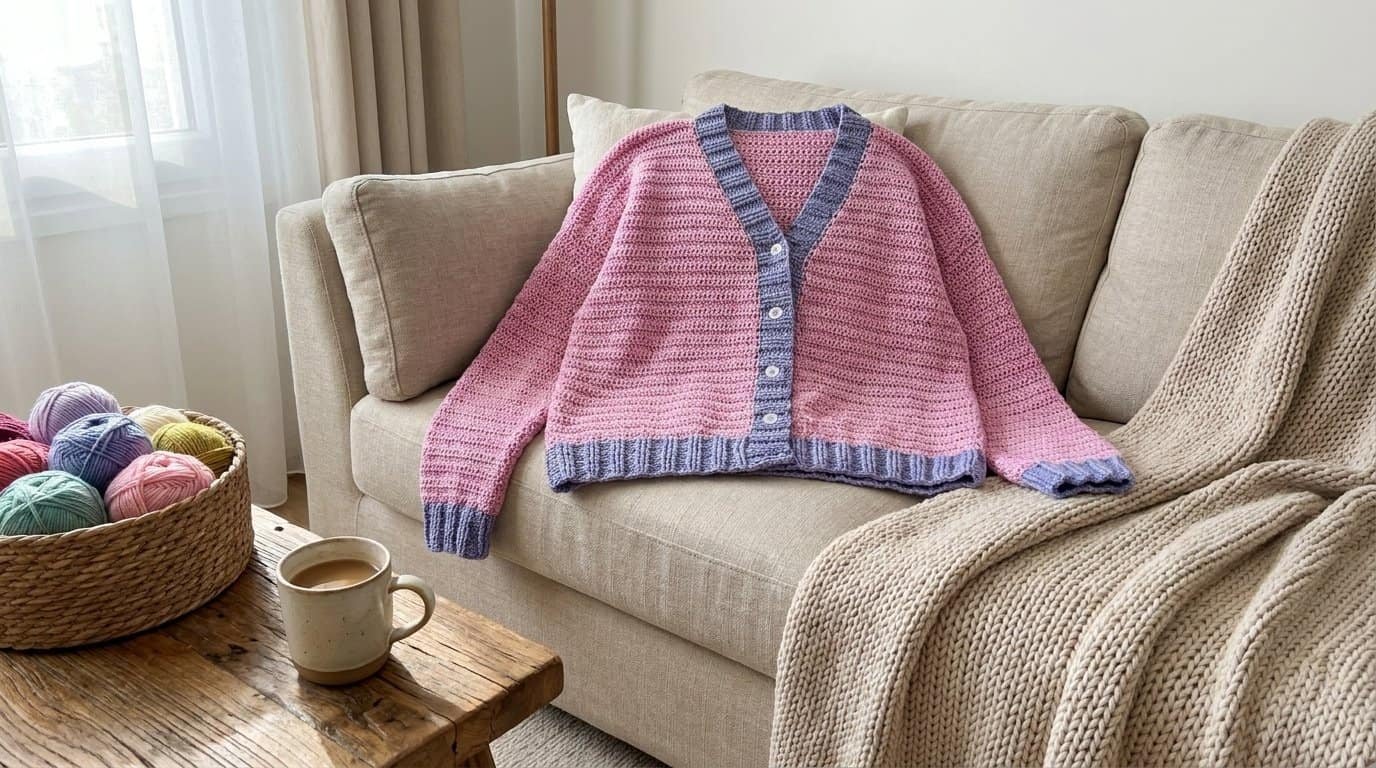
There is nothing quite like slip-looping your way into a stylish, custom-made layering piece that looks elegant and feels incredibly soft.
If you are looking to craft a versatile pullover alternate, the Free Sugar Bloom Crochet Cardigan Pattern is an absolute dream project!
Best of all, the complete pattern is entirely free! Grab your hook, select your favorite coordinates, and let’s construct this wardrobe staple together.
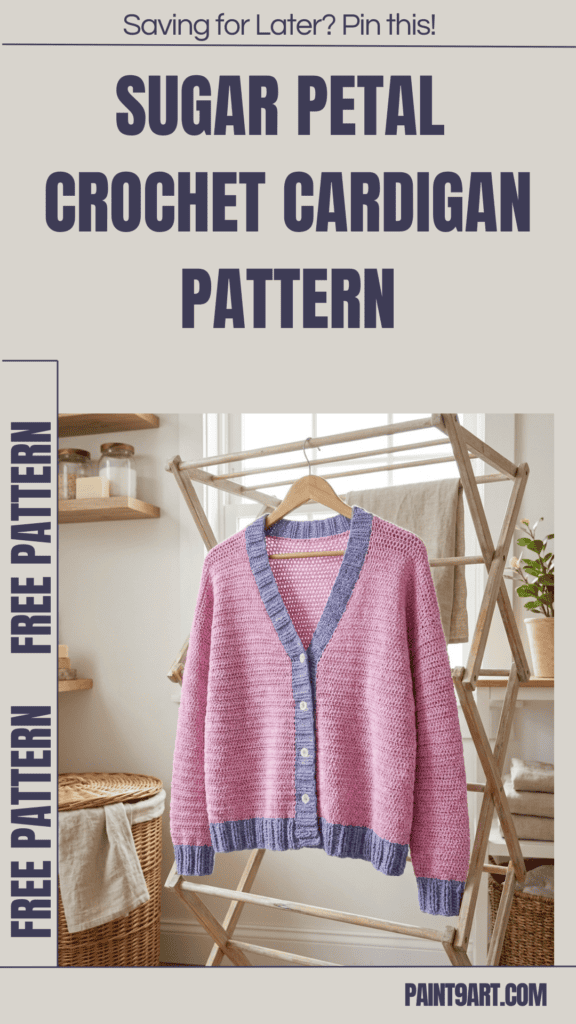
Pattern Details & Materials
Before working your foundation chain, let’s look over the sizing metrics, material requirements, and gauge benchmarks.
Skill Level
-
Easy
Sizing (One Size)
- Finished Bust: About 54 1/4 in. (138 cm), buttoned.
- Finished Length: About 24 in. (61 cm).
- Note: Some of the easy-fitting pieces in our collection are designed as one size, fitting beautifully and uniquely on everybody.
Materials
-
Yarn: Lion Brand® Beautiful You (Art. #165)
-
Yarn Weight: Fine 2 (Sport)
-
Color A: #143 Lilac Chiffon – 5 balls
-
Color B: #146 Deep Periwinkle – 1 ball
-
- Crochet Hook: Size E-4 (3.5 mm)
- Notions: Lion Brand® large-eyed blunt needle
- Additional Materials:
-
4 buttons, about 1 in. (2.5 cm) in diameter
-
Sewing needle and thread
-
Gauge
- 17 dc and 10 rows = 4 in. (10 cm).
- BE SURE TO CHECK YOUR GAUGE.
Abbreviations
- beg = begin(ning)(s)
- ch = chain
- dc = double crochet
- rep = repeat
- RS = right side
- sc = single crochet
- sk = skip
- sl st = slip stitch
- st(s) = stitch(es)
- WS = wrong side
Stitch Explanations & Project Notes
Stitch Explanation
- BPDC (back post double crochet): Yarn over, insert hook from back to front then to back, going around post of indicated st, draw up a loop, (yarn over and draw through 2 loops on hook) twice. Skip st in front of the BPDC.
- dc2tog (dc 2 sts together): Yarn over, insert hook in next st and draw up a loop, yarn over and draw through 2 loops on hook (for first part of dc2tog); Yarn over, insert hook in next st and draw up a loop, yarn over and draw through 2 loops on hook (for 2nd part of dc2tog), yarn over and draw through all 3 loops on hook – 1 st decreased.
Pattern Notes
- Cardi is worked back and forth in rows in 3 pieces: Body and 2 Sleeves.
- The Body begins with a contrast color band at lower edge, then is worked in one piece to armholes, then divided for Fronts and Back.
- The Sleeves are worked separately, beginning with a contrast color band.
- Front and neck band is worked directly onto the Cardi.
- When you see “- 12 sts” in the instructions, this lets you know how many sts you will have at the end of that specific row.
Instructions
Body
Lower Border
With B, ch 251 sts.
Set-Up Row (RS): Dc in 4th ch from hook (3 skipped ch count as dc) and in each ch across – 249 dc.
Row 1 (WS): Ch 3 (beg ch counts as a dc on this row and on all the rows of this pattern), turn, sk first st, dc through front loop in each of next 2 sts, *BPDC in next 3 sts, dc through front loop in next 3 sts; rep from * across, working last dc in top of beg ch-3.
Row 2: Ch 3, turn, sk first dc, dc through back loop in each of next 2 sts, *FPDC in next 3 sts, dc through back loop in next 3 sts; rep from * across, working last dc in top of beg ch-3.
Rows 3–6: Rep Rows 1 and 2 twice.
Row 7: Rep Row 1.
Fasten off B.
Main Body
From RS, join A with a sl st, ready to work a RS row.
Row 1 (RS): Ch 3, sk first dc, dc in next 4 dc, [dc2tog, dc in each of next 6 sts, dc2tog, dc in each of next 7 sts] 14 times, dc2tog, dc in each st across – 220 sts.
Row 2: Ch 3, turn, sk first st, dc in each st across, working last dc in top of beg ch-3.
Rep Row 2 until body measures about 11 in. (28 cm) from beg of lower border, end with a WS row.
Note: End with a WS row means that the last row you work should be a WS row, and the next row that you are ready to work will be a RS row.
Shape V-neck
Note: V-neck and armhole shaping take place at the same time. Read all instructions before you continue.
Row 1 (RS): Ch 3, turn, sk first st, dc2tog, dc in each st to last 3 sts, dc2tog, dc in top of beg ch-3 – 218 sts.
Row 2: Ch 3, turn, sk first st, dc in each st across, working last dc in top of beg ch-3.
Row 3: Rep Row 1 – 216 sts.
Row 4: Rep Row 2.
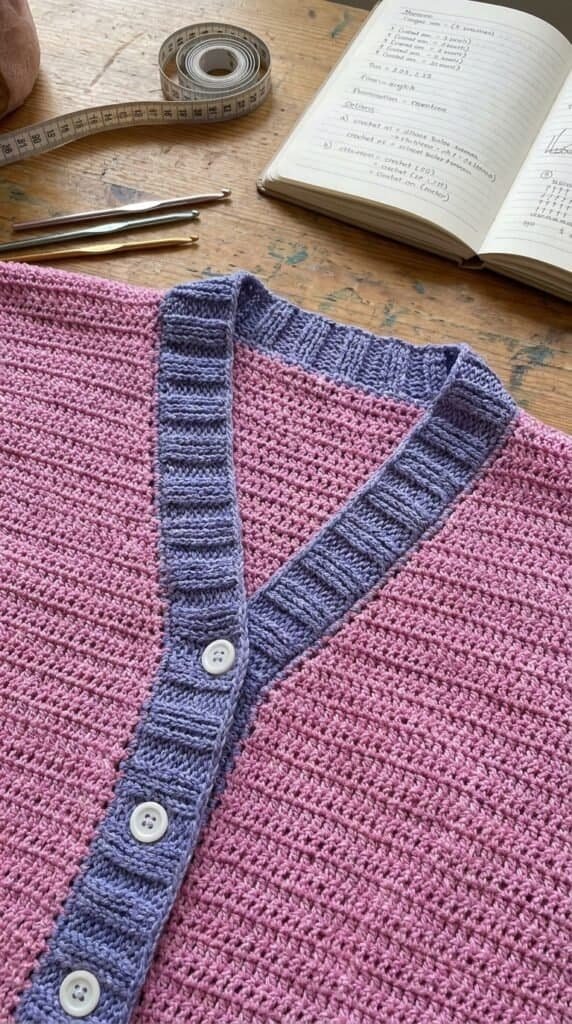
Divide for Right Front
Row 1 (RS): Ch 3, turn, sk first st, dc2tog, dc in each of next 49 sts; leave rem sts unworked for Back and Left Front – 51 sts.
Row 2: Ch 3, turn, sk first st, dc2tog, dc in each st across – 50 sts.
Row 3: Ch 3, turn, sk first st, dc2tog, dc in each st across – 49 sts.
Row 4: Ch 3, turn, sk first st, dc in each st across.
Rows 5–24: Rep Rows 3 and 4 for 10 more times – 39 sts in Row 23.
Shoulder Shaping
Row 1 (RS): Ch 3, turn, sk first st, dc2tog, dc in each st to last 6 sts; leave rem sts unworked – 32 sts.
Row 2: Ch 1, turn, sl st in first 6 sts, ch 2 (does not count as a st), dc in each st across – 26 sts.
Row 3: Ch 3, turn, sk first st, dc2tog, dc in each st to last 8 sts; leave rem sts unworked – 17 sts.
Row 4: Ch 1, turn, sl st in first 8 sts, ch 2 (does not count as a st), dc in each st across – 9 sts.
Row 5: Ch 3, turn, sk first st, dc2tog, dc in next 6 sts.
Fasten off.
Back
From RS, sk first 2 dc following Right Front for right underarm, join A with a sl st in next dc.
Row 1 (RS): Ch 3, sk same st as joining sl st, dc in next 107 sts; leave rem sts unworked for Left Front – 108 sts.
Row 2: Ch 3, turn, sk first st, dc2tog, dc in each st across – 107 sts.
Row 3: Ch 3, turn, sk first st, dc2tog, dc in each st across – 106 sts.
Row 4: Ch 3, turn, sk first st, dc in each st across.
Rows 5–24: Rep Row 4.
Shape Back Shoulders
Rows 1–2: Ch 1, turn, sl st in first 6 sts, ch 2 (does not count as a st), dc in each st to last 6 sts; leave rem sts unworked – 82 sts in Row 2.
Rows 3–5: Ch 1, turn, sl st in first 8 sts, ch 2 (does not count as a st), dc in each st to last 8 sts; leave rem sts unworked – 34 sts in Row 5.
Row 6: Ch 1, turn, sc in each st across.
Fasten off.
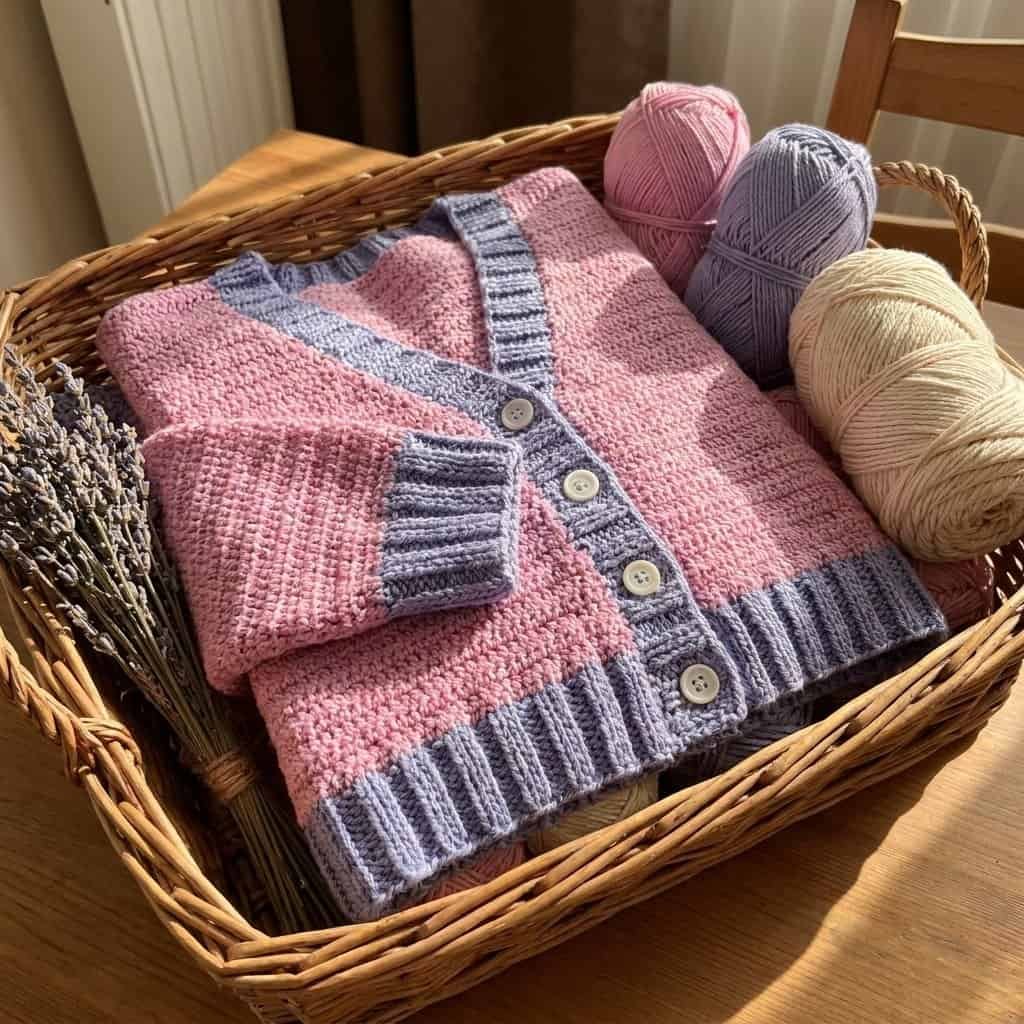
Left Front
From RS, sk first 2 dc following Back for left underarm, join A with a sl st in next dc.
Row 1 (RS): Ch 3, sk same st as joining sl st, dc in next st, dc in each st to last 3 sts, dc2tog, dc in top of beg ch-3 – 51 sts.
Row 2: Ch 3, turn, sk first st, dc in each st to last 3 dc, dc2tog, dc in top of beg ch-3 – 50 sts.
Row 3: Ch 3, turn, sk first st, dc in each st to last 3 dc, dc2tog, dc in top of beg ch-3 – 49 sts.
Row 4: Ch 3, turn, sk first st, dc in each st across.
Rows 5–24: Rep Rows 3 and 4 for 10 more times – 39 sts in Row 23.
Shoulder Shaping
Row 1 (RS): Ch 1, turn, slip st in first 6 sts, ch 2 (does not count as a st), dc in each st to last 3 sts, dc2tog, dc in top of beg ch-3 – 32 sts.
Row 2: Ch 3, turn, sk first st, dc in each st to last 6 sts; leave rem sts unworked – 26 sts.
Row 3: Ch 1, turn, sl st in first 8 sts, ch 2 (does not count as a st), dc in each st to last 3 sts, dc2tog, dc in top of beg ch-3 – 17 sts.
Row 4: Ch 3, turn, sk first st, dc in each st to last 8 sts; leave rem sts unworked – 9 sts.
Row 5: Ch 3, turn, sk first st, dc in each st to last 3 sts, dc2tog, dc in top of beg ch-3.
Fasten off.
Sleeves (make 2)
With B, ch 46.
Foundation Row (RS): Dc in 4th ch from hook (3 skipped ch count as dc) and in each ch across – 44 sts.
Work Rows 1–7 exactly as outlined for the Lower Border of Body.
Fasten off B. From RS, join A with a sl st, ready to work a RS row.
Row 1 (RS): Ch 3, sk first st, dc in next 3 sts, 2 dc in next st, [dc in next 4 sts, 2 dc
in next st] 7 times, dc in each st across – 52 sts.
Rows 2–6: Ch 3, turn, sk first st, dc in each st across.
Row 7 (Inc Row): Ch 3, turn, dc in first st (inc made), dc in each st to last st, 2 dc in last st – 54 sts.
Rep Rows 2–7 for 3 more times – 60 sts when all inc rows have been worked.
Work even until Sleeve measures about 16 in. (40.5 cm) from beg of lower border, ending with a WS row.
Shape Top of Sleeve
Row 1 (RS): Ch 1, turn, slip st in first 4 sts, ch 2 (does not count as a st), dc in each st to last 4 sts; leave rem sts unworked – 52 sts.
Rows 2–4: Ch 1, turn, slip st in first 6 sts, dc in each st to last 6 sts; leave rem sts unworked – 16 sts in Row 4.
Fasten off.
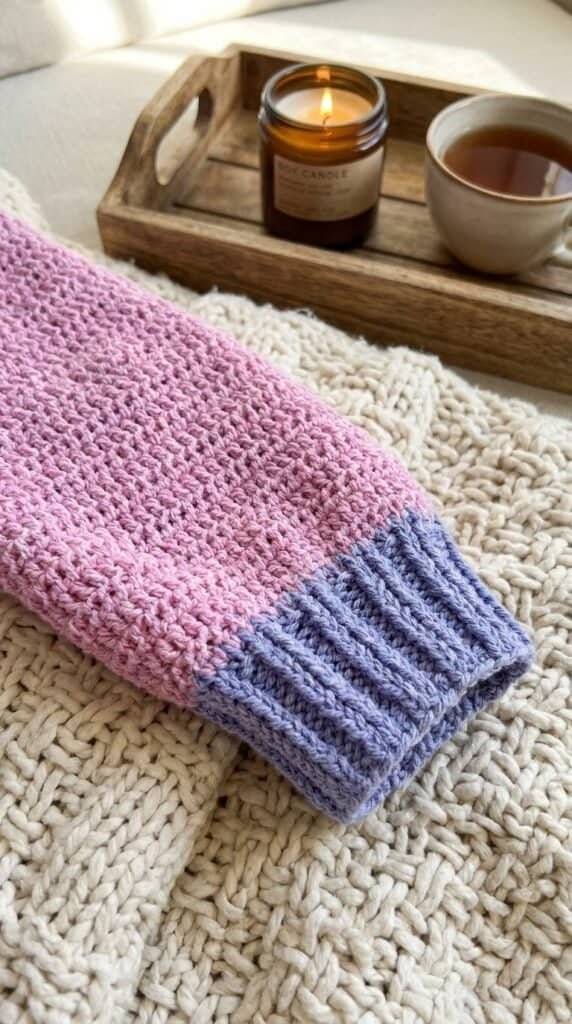
Finishing
Sew shoulder
Front and Neck Band
From RS, join B with a sl st at the lower right front edge.
Set-Up Row (RS): Work 273 dc evenly spaced up the right front edge, around the back neck, and down the left front edge to the lower left front edge.
Work Rows 1–7 of front and neck band exactly the same as the Lower Border of Body.
Fasten off.
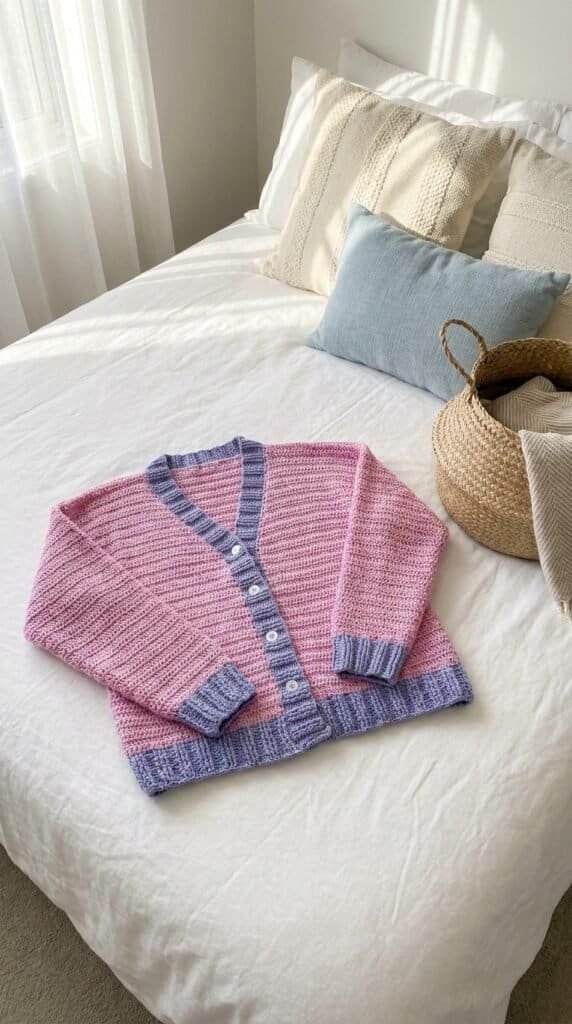
Sew buttons on left front band, with first about 4 1/2 in. (11.5 cm) above lower edge, last at beg of V-neck shaping, and 2 others evenly spaced between. Use spaces between sts on right front band as buttonholes.
Weave in ends
Ready to Crochet?
Congratulations on completing your Free Sugar Bloom Crochet Cardigan Pattern!
By carefully combining clean double crochet panels with rich, post-stitch contrast ribbing, you have brought a beautifully custom, boutique-quality layer to life.
Throw this dynamic pastel cardigan over your favorite casual attire, secure your button adjustments, and enjoy your stunning new handmade statement piece!