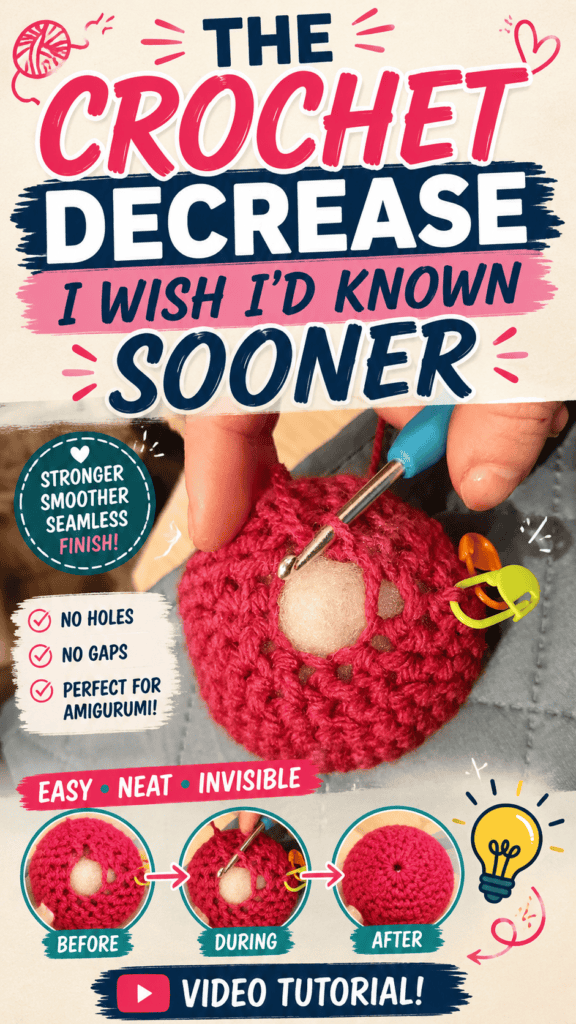
Crochet decreases are an essential technique used to shape everything from garments to home décor and amigurumi. However, traditional decreases can sometimes leave stitches looking bulky or create noticeable shaping lines that interrupt the finished design.

In her insightful tutorial, Roz from Play Hooky with Me shares a clever technique known as the invisible decrease—a method long favored by amigurumi makers that can also be adapted for crocheting in rows. The result is a smoother, cleaner decrease that blends naturally into the surrounding stitches, giving projects a more polished and professional appearance.
What Is an Invisible Crochet Decrease?
An invisible decrease is a crochet technique that joins two stitches together while minimizing the bulk normally created by standard decreases. Instead of working through both loops of each stitch from the beginning, the technique changes where the hook is inserted, allowing the decrease to blend more seamlessly into the fabric.
Although invisible decreases have been widely used in amigurumi for years, Roz explains that the same concept works beautifully for flat crochet projects as well. The improvement is especially noticeable when working with taller stitches like double crochet.
The Traditional Crochet Decrease
Before exploring the invisible version, it’s helpful to understand how a standard decrease is typically made.
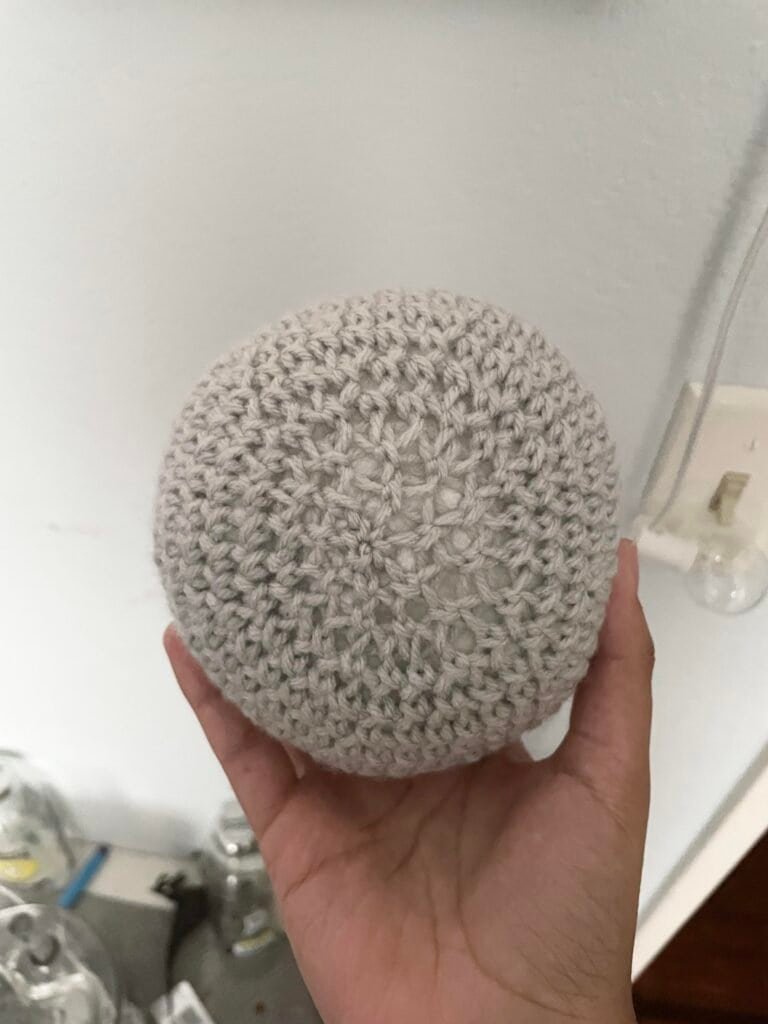
For example, a traditional double crochet decrease (dc2tog) is worked by partially completing one double crochet, partially completing a second double crochet, and then finishing both together.
While this method is effective, it often creates a visible stitch that resembles an upside-down “V.” Instead of appearing as one seamless stitch, the decrease still looks like two separate stitches joined at the top.
For many projects this is perfectly acceptable, but when a cleaner finish is desired, the invisible decrease offers a noticeable improvement.
The Invisible Decrease in Amigurumi
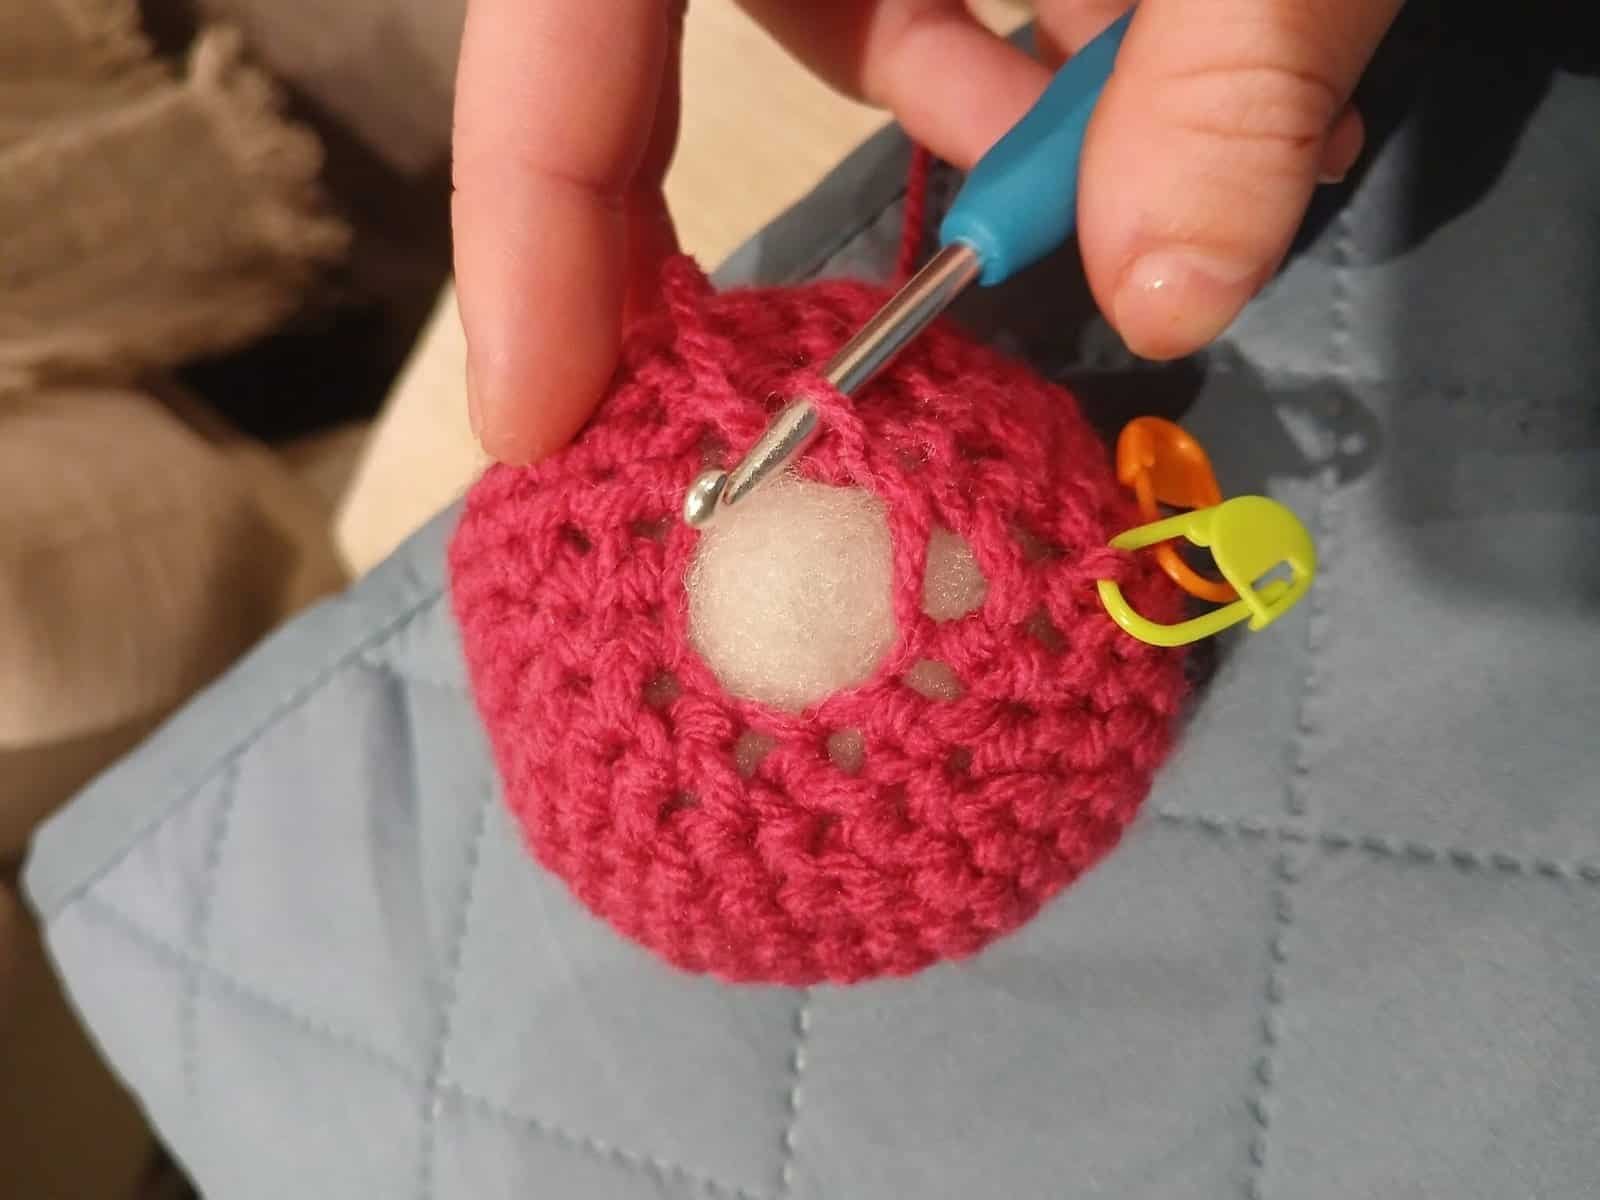
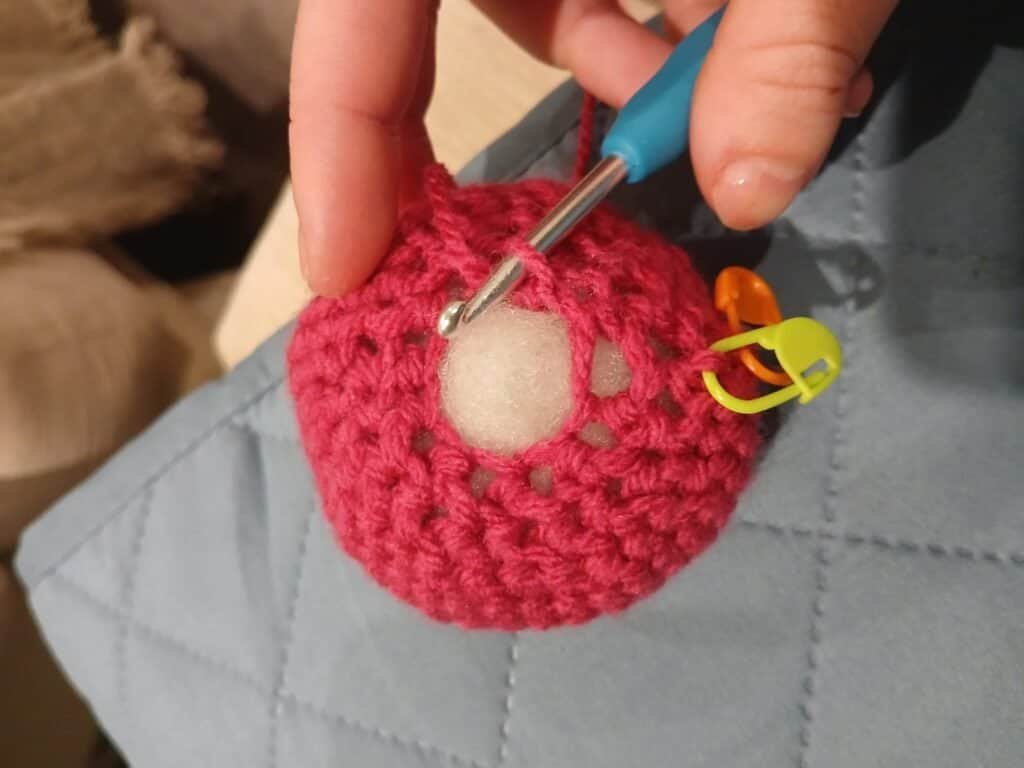
Invisible decreases are especially popular in amigurumi because they reduce bulk and help create smoother shaping.
How It Works
Instead of inserting the hook through both loops of each stitch:
- Insert the hook into the front loop only of the first stitch.
- Immediately insert the hook into the front loop only of the next stitch.
- Yarn over and pull through both front loops.
- Complete the single crochet as usual.
By working only through the front loops, less yarn is gathered into the decrease, creating a flatter, less bulky stitch.
Why It Works Well in the Round
When crocheting amigurumi in continuous rounds, the back side of the work remains hidden inside the project.
Because of this, the unused back loops create a small ridge on the inside that isn’t visible once the piece is stuffed. This makes front-loop-only invisible decreases an ideal choice for three-dimensional crochet projects.
Applying the Invisible Decrease to Crochet Rows
One of Roz’s biggest discoveries is that the invisible decrease isn’t limited to amigurumi.
The same principle can be applied when crocheting flat rows, producing much cleaner decreases across a variety of stitch heights.
The only consideration is that both sides of the fabric may be visible, so the placement of the hook becomes more important.
Invisible Double Crochet Decrease
Among all stitch heights, Roz demonstrates that the invisible double crochet decrease provides the most dramatic visual improvement.
Front Loop Only Method
The decrease begins similarly to a normal double crochet:
- Yarn over.
- Insert the hook into the front loop only of the first stitch.
- Insert the hook into the front loop only of the second stitch.
- Yarn over and pull through both front loops.
- Complete the double crochet normally.
From the front, the two stitches merge into what appears to be a single, smooth stitch rather than two stitches joined together.
Working Under Both Loops
Roz also demonstrates an alternative for flat crochet projects.
Instead of working through only the front loops, insert the hook completely through both loops of each stitch before completing the decrease.
This approach is slightly tighter and requires a bit more effort, but it avoids leaving a visible ridge on the back of the fabric.
The result is a decrease that still appears much cleaner than the traditional method while maintaining a more balanced appearance on both sides of the work.
Comparing the Two Methods
The difference between a traditional decrease and an invisible decrease is surprisingly noticeable.
Traditional Decrease
- More prominent shaping
- Looks like two stitches joined together
- Creates a visible upside-down “V”
- Slightly bulkier finish
Invisible Decrease
- Cleaner appearance
- Smoother shaping
- Less bulk
- Blends naturally into surrounding stitches
Roz emphasizes that neither technique is wrong. Instead, each creates a different visual effect, allowing crocheters to choose the finish that best suits their project.
Invisible Decreases for Different Stitch Heights
The same concept can be adapted to virtually any basic crochet stitch.
Single Crochet
Insert the hook into the first stitch, then the second stitch before completing the single crochet.
Working through both loops reduces the visible line on the back but creates a slightly thicker decrease.
Half Double Crochet
For half double crochet:
- Yarn over.
- Enter the first stitch.
- Enter the second stitch.
- Yarn over and pull through.
- Finish the half double crochet normally.
The process closely mirrors the double crochet version while maintaining the shorter stitch height.
Double Crochet
Double crochet shows the most dramatic improvement because standard decreases are naturally more noticeable.
Using the invisible method creates a smoother, more seamless transition that blends beautifully into the row.
Treble Crochet
Treble crochet follows the exact same principle.
Yarn over twice, enter both stitches before completing the stitch as usual by pulling through the loops in stages.
Even with taller stitches, the invisible decrease significantly softens the appearance of the shaping.
Tips for Learning the Technique
Roz recommends starting with the simpler front-loop-only method to become comfortable with the movement.
Once the technique feels natural, experiment with working through both loops to compare the appearance and texture.
Because different yarns, stitch patterns, and projects may respond differently, trying both methods allows crocheters to decide which finish they prefer.
With a little practice, the invisible decrease quickly becomes an easy addition to any crochet skill set.
Conclusion
The invisible crochet decrease is a small adjustment that delivers impressive results. By changing how the hook enters the stitches, crocheters can reduce bulk, improve shaping, and create a much cleaner finished fabric.
As Roz from Play Hooky with Me demonstrates, this versatile technique isn’t just for amigurumi. Whether you’re working flat rows or crocheting in the round, invisible decreases can elevate the overall appearance of your projects. From single crochet to treble crochet, mastering this simple method is an excellent way to give handmade creations a smoother, more professional finish.