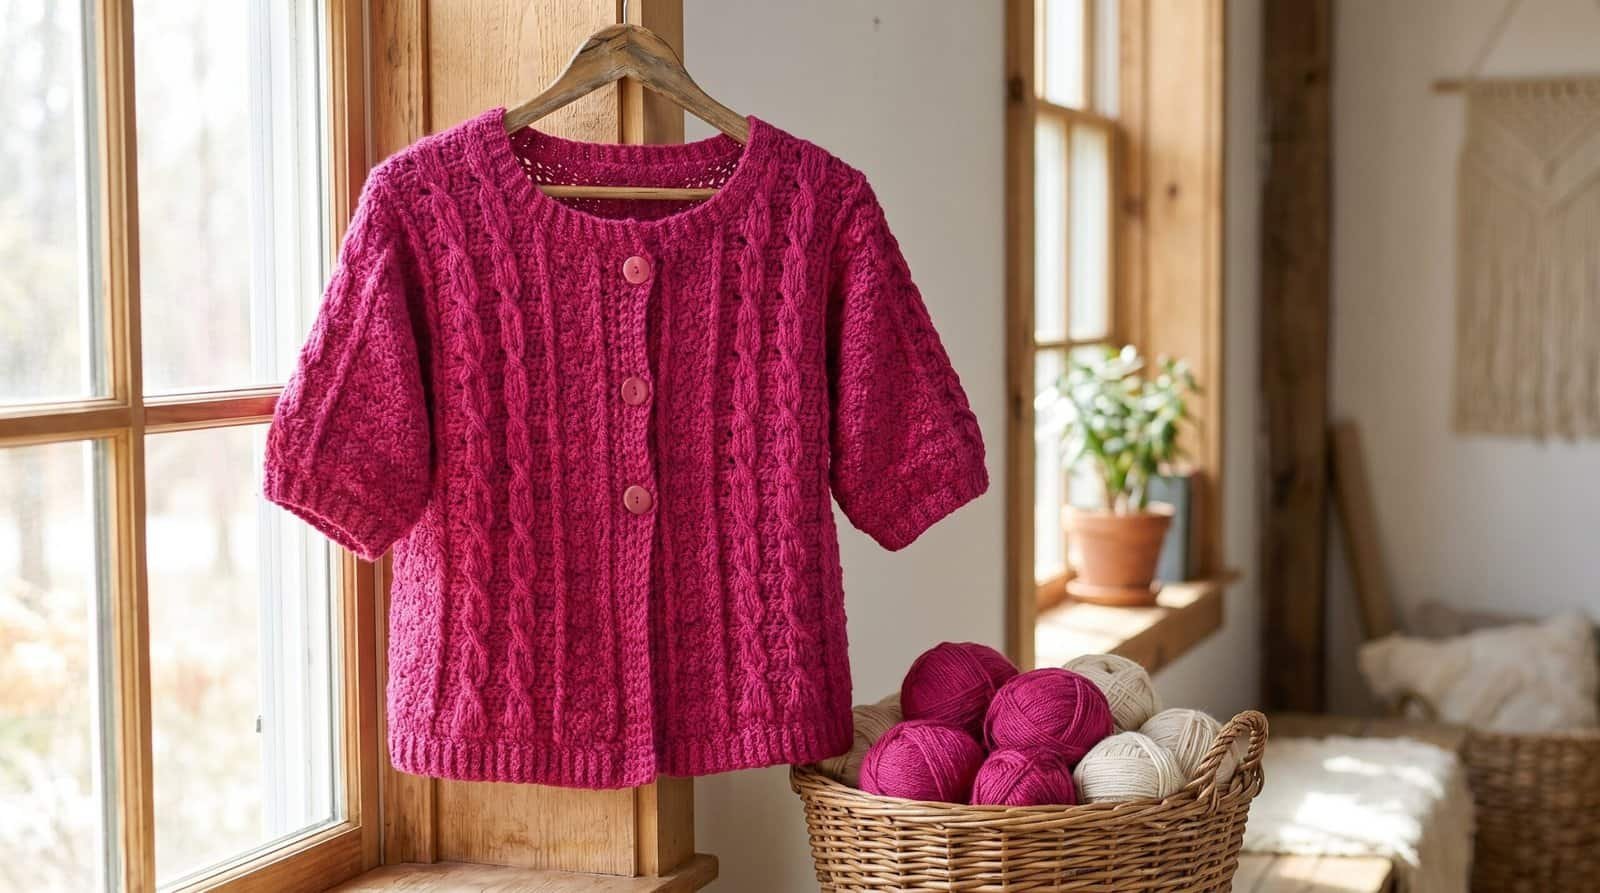
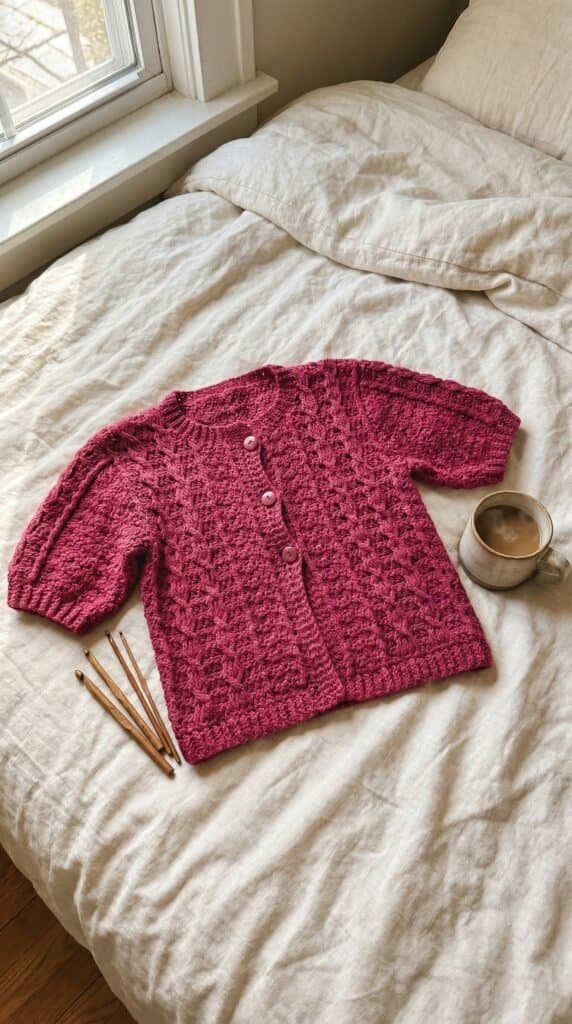
Cardi
Back
With larger hook, ch 53 (62, 71, 80, 89).
Row 1 (Right Side): Skip first ch, work in Plain Panel pattern over next 8 (10, 12, 14, 16) ch, dc in next ch, work in Popcorn pattern over next 5 ch, dc in next ch, work in Cable pattern over next 22 (27, 32, 37, 42) ch, dc in next ch, work in Popcorn pattern over next 5 ch, dc in next ch, work in Plain Panel pattern over last 8 (10, 12, 14, 16) ch, turn—52 (61, 70, 79, 88) sts.
Row 2: Ch 1, work in Plain Panel pattern over next 8 (10, 12, 14, 16) sts, BPdc around next st, work in Popcorn pattern over next 5 sts, BPdc around next st, work in Cable pattern over next 22 (27, 32, 37, 42) sts, BPdc around next st, work in Popcorn pattern over next 5 sts, BPdc around next st, work in Plain Panel pattern over last 8 (10, 12, 14, 16) sts, turn.
Row 3: Ch 1, work in Plain Panel pattern over next 8 (10, 12, 14, 16) sts, FPdc around next st, work in Popcorn pattern over next 5 sts, FPdc around next st, work in Cable pattern over next 22 (27, 32, 37, 42) sts, FPdc around next st, work in Popcorn pattern over next 5 sts, FPdc around next st, work in Plain Panel pattern over last 8 (10, 12, 14, 16) sts, turn.
Repeat last 2 rows, continuing in established patterns, until piece measures 11 (11½, 12, 12½, 13)” from beginning, end with a Right Side row.
Shape Armholes
Next Row: Slip st in first 4 (4, 6, 6, 6) sts, work in established patterns across row, leaving last 4 (4, 6, 6, 6) sts unworked, turn—44 (53, 58, 67, 76) sts.
Work even in established patterns on remaining sts until back measures 19 (20, 21, 22, 23)” from beginning, end with a Right Side row. Fasten off.

Right Front
With larger hook, ch 29 (33, 37, 41, 45).
Row 1 (Right Side): Hdc in 2nd chain from hook, dc in next ch, work in Plain Panel pattern over next 4 (6, 8, 10, 12) ch, dc in next ch, work in Cable pattern over next 12 ch, dc in next ch, work in Plain Panel pattern over last 8 (10, 12, 14, 16) ch, turn—28 (32, 36, 40, 44) sts.
Row 2: Ch 1, work in Plain Panel pattern over first 8 (10, 12, 14, 16) sts, BPdc around next st, work in Cable pattern over next 12 sts, BPdc around next st, work in Plain Panel pattern over next 4 (6, 8, 10, 12) sts, BPdc around next st, hdc in last st, turn.
Row 3: Ch 1, hdc in first st, FPdc around next st, work in Plain Panel pattern over next 4 (6, 8, 10, 12) sts, FPdc around next st, work in Cable pattern over next 12 sts, FPdc around next st, work in Plain Panel pattern over last 8 (10, 12, 14, 16) sts, turn.
Repeat last 2 rows, continuing in established patterns, until piece measures 11 (11½, 12, 12½, 13)” from beginning, end with a Right Side row.
Shape Armhole
Next Row (Wrong Side): Slip st in next 4 (4, 6, 6, 6) sts, work in established patterns across row, turn—24 (28, 30, 34, 38) sts.
Work even in established patterns on remaining sts until armhole measures 4 (4½, 5, 5, 5½)”, end with a Wrong Side row.
Shape Neck
Next Row (Right Side): Slip st in first 6 (8, 10, 12, 14) sts, work in established patterns across, turn—18 (20, 20, 22, 24) sts.
Next Row: Work in established patterns across to last 2 sts, hdc2tog, turn—17 (19, 19, 21, 23) sts.
Next Row: Ch 1, hdc2tog, work in established patterns across, turn—16 (18, 18, 20, 22) sts.
Repeat last 2 rows 2 (2, 2, 3, 3) more times—12 (14, 14, 14, 16) sts.
Work even in established patterns on remaining sts until right front measures same as back, end with a Right Side row. Fasten off.
Left Front
With larger hook, ch 29 (33, 37, 41, 45).
Row 1 (Right Side): Skip first ch, work in Plain Panel pattern over next 8 (10, 12, 14, 16) ch, dc in next ch, work Cable pattern over next 12 ch, dc in next ch, work Plain Panel pattern over next 4 (6, 8, 10, 12) ch, dc in next ch, hdc in last ch, turn—28 (32, 36, 40, 44) sts.
Row 2: Ch 1, hdc in first st, BPdc around next st, work in Plain Panel pattern over next 4 (6, 8, 10, 12) sts, BPdc around next st, work in Cable pattern over next 12 sts, BPdc around next st, work in Plain Panel pattern over last 8 (10, 12, 14, 16) sts, turn.
Row 3: Ch 1, work in Plain Panel pattern over first 8 (10, 12, 14, 16) sts, FPdc around next st, work in Cable pattern over next 12 sts, FPdc around next st, work in Plain Panel pattern over next 4 (6, 8, 10, 12) sts, FPdc around next st, hdc in last st, turn.
Repeat last 2 rows, continuing in established patterns, until piece measures 11 (11½, 12, 12½, 13)”, end with a Right Side row.
Shape Armhole
Next Row (Wrong Side): Work in established patterns across row, leaving last 4 (4, 6, 6, 6) sts unworked, turn—24 (28, 30, 34, 38) sts.
Work even in established patterns on remaining sts until armhole measures 4 (4½, 5, 5, 5½)”, end with a Wrong Side row.
Shape Neck
Next Row (Right Side): Work in established patterns across row, leaving last 6 (8, 10, 12, 14) sts unworked, turn—18 (20, 20, 22, 24) sts.
Next Row: Ch 1, hdc2tog, work in established patterns across, turn—17 (19, 19, 21, 23) sts.
Next Row: Work in established patterns across to last 2 sts, hdc2tog, turn—16 (18, 18, 20, 22) sts.
Repeat last 2 rows 2 (2, 2, 3, 3) more times—12 (14, 14, 14, 16) sts.
Work even in established patterns on remaining sts until left front measures same as back, end with a Right Side row. Fasten off.
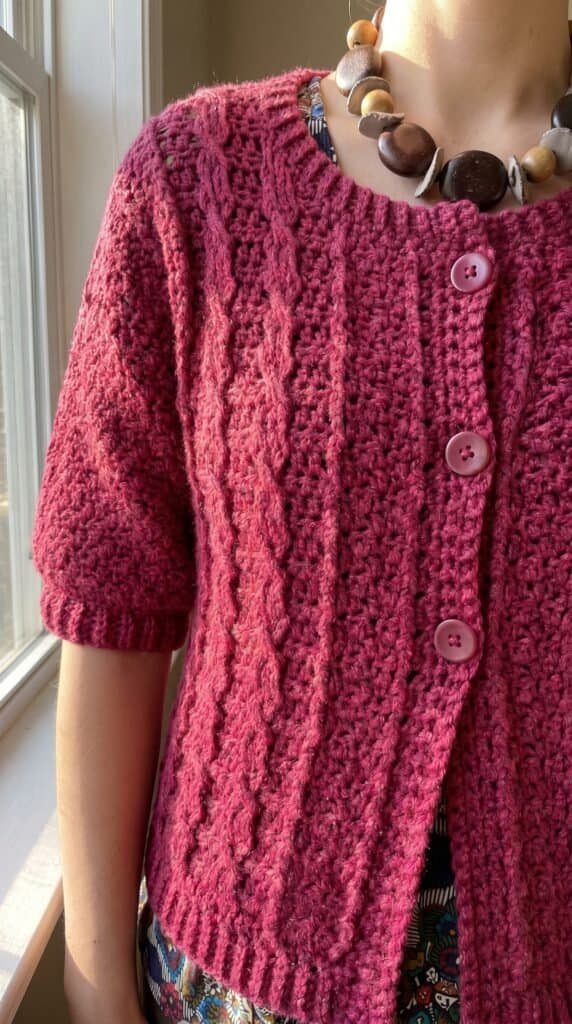
Sleeves (make 2)
With larger hook, ch 39 (43, 47, 51, 55).
Row 1 (Right Side): Skip first ch, work in Plain Panel pattern over next 12 (14, 16, 18, 20) ch, dc in next ch, work in Cable pattern over next 12 ch, dc in next ch, work in Plain Panel pattern over last 12 (14, 16, 18, 20) ch, turn—38 (42, 46, 50, 54) sts.
Row 2: Ch 1, work in Plain Panel pattern over next 12 (14, 16, 18, 20) sts, BPdc around next st, work in Cable pattern over next 12 sts, BPdc around next st, Plain Panel pattern over last 12 (14, 16, 18, 20) sts, turn.
Row 3: Ch 1, work in Plain Panel pattern over next 12 (14, 16, 18, 20) sts, FPdc around next st, work in Cable pattern over next 12 sts, FPdc around next st, Plain Panel pattern over last 12 (14, 16, 18, 20) sts, turn.
Row 4 (Increase Row): Ch 1, 2 hdc in first st, work in established patterns across row to last st, 2 hdc in last st, turn—40 (44, 48, 52, 56) sts.
Rows 5–7: Ch 1, work in established patterns across row (working increased sts into Plain Panel pattern), turn.
Repeat Rows 4–7, working in established patterns until piece measures 8” from beginning.
Work even in established patterns until piece measures 9 (9, 9½, 10, 10)” from beginning.
Fasten off.
Finishing
Sew shoulder seams. Sew sleeves into armholes. Sew sleeve and side seams.
Lower Ribbing
With Right Side facing and smaller hook, join yarn in front corner of lower edge, ch 5, sc in 2nd ch from hook, sc in next 3 ch, *[slip st in next st of lower edge; **ch 1, turn, sc in back loop only of next 4 sc; repeat from ** once more] twice, slip st in next 2 sts of lower edge; [ch 1, turn, sc in back loop only of next 4 sts] twice; repeat from * across lower edge. Fasten off.
Button Band
With Right Side facing and larger hook, join yarn and work 4 rows of single crochet evenly spaced across left front edge.
Place markers for buttons, placing first marker just below neck edge, last marker about 8” below first marker, and 2nd marker evenly spaced between first and last.
Fasten off.
Buttonhole Band
Rows 1 and 2: With Right Side facing and larger hook, join yarn and work 2 rows of single crochet evenly spaced across right front edge.
Row 3: Ch 1, [sc in each sc to next marker, ch 1, skip next (marked) sc] 3 times, sc in each sc across, turn.
Row 4: Ch 1, sc in each sc and 2 sc in each ch-1 space across. Fasten off.
Neck Edge
With Right Side facing and larger hook, work 1 row of sc evenly spaced around collar.
Change to smaller hook, ch 4, sc in 2nd ch from hook and next 2 ch, *slip st in next 2 sts of neck edge, [ch 1, turn, sc in back loop only of next 3 sc] twice; repeat from * across all neck sts. Fasten off.
Cuff
Join yarn at end of sleeve, ch 4, sc in 2nd ch from hook and next 2 ch, *slip st in next 2 sts at end of sleeve, [ch 1, turn, sc in back loop only of next 3 sc] twice; repeat from * around end of sleeve. Fasten off.
Repeat around end of other sleeve.
Sew edges of ribbing together.
Weave in all ends.