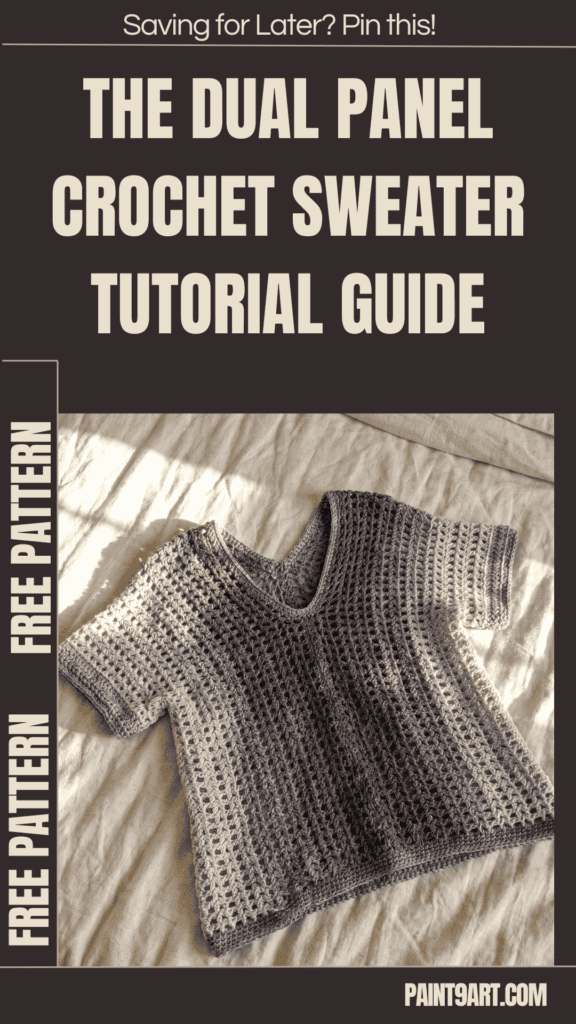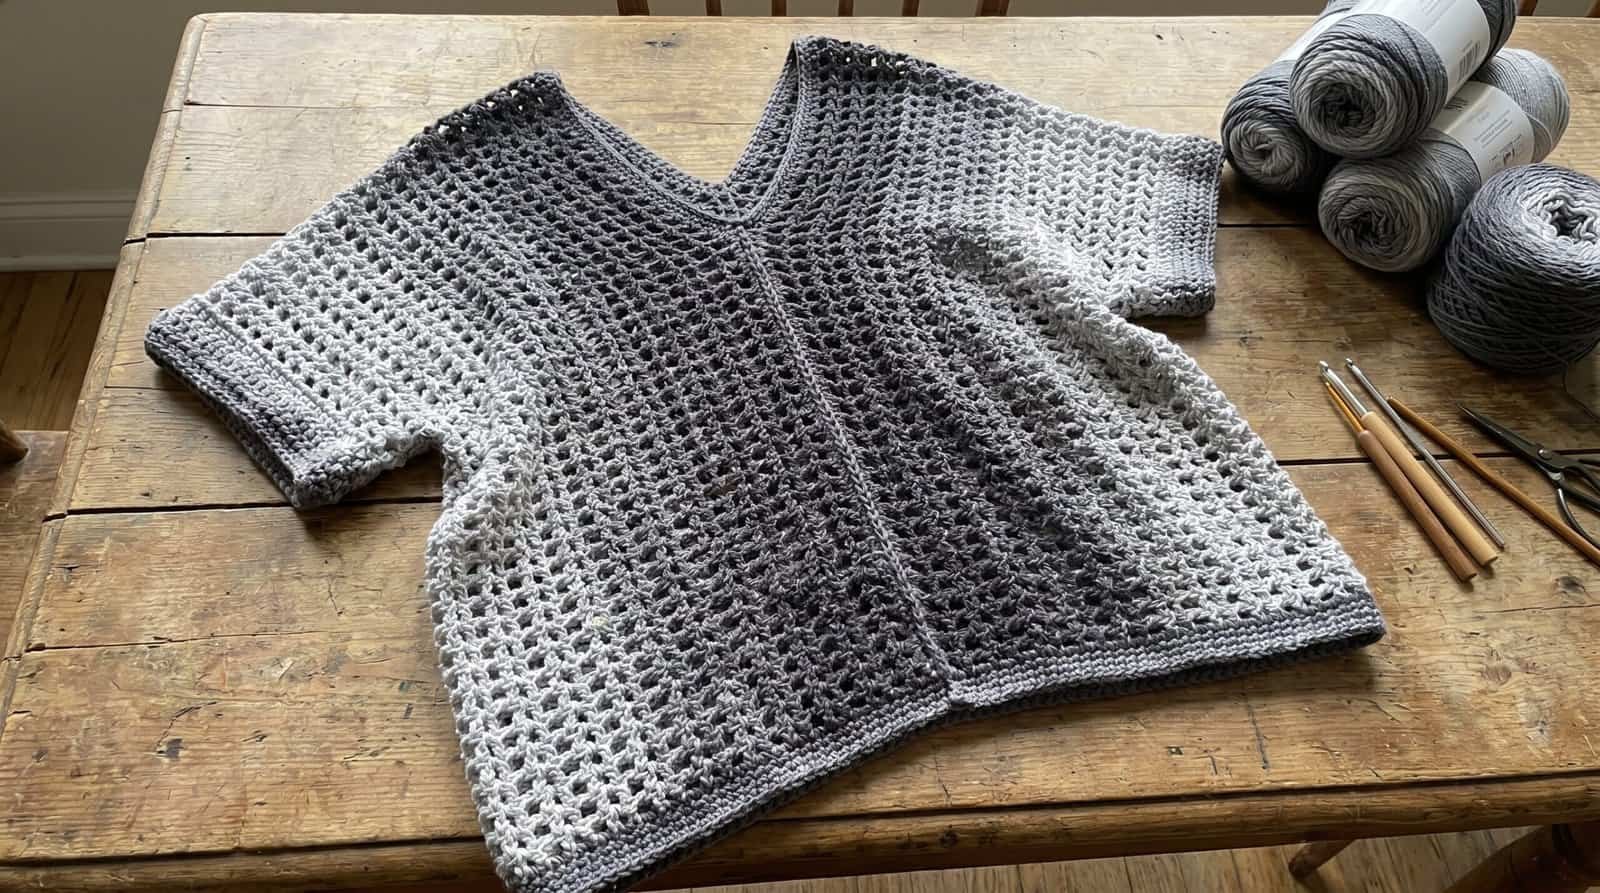
Create an effortlessly stylish wardrobe staple with this Free Dual Panel Crochet Sweater Pattern.
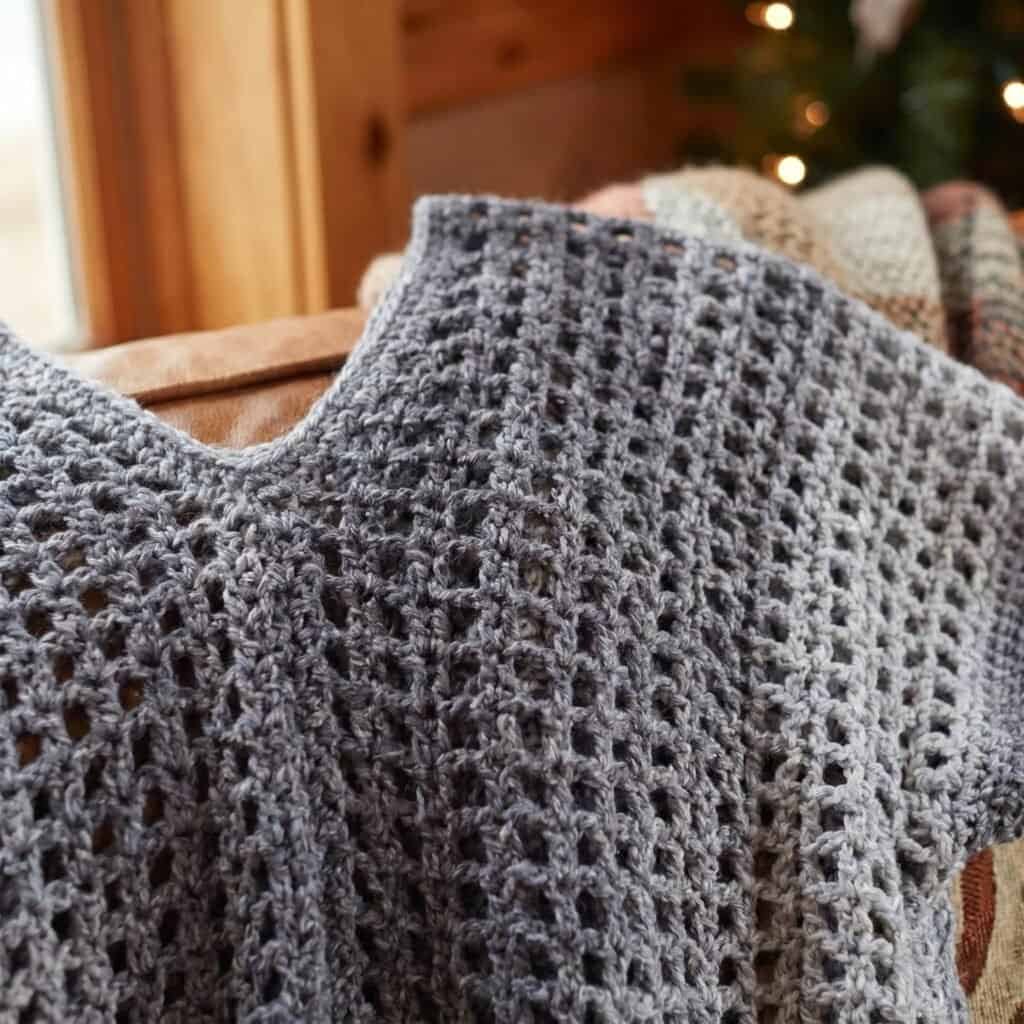
Made from two simple rectangles, this cozy sweater offers a modern oversized fit and an easy construction that’s perfect for layering all year long.
You can find the free pattern below, or you can purchase the ad-free printable PDF from my shop.
Sizes
Finished Chest
- Small: 44″ [112 cm]
- Medium: 48″ [122 cm]
- Large: 52″ [132 cm]
- X-Large: 56″ [142 cm]
- 2X: 64″ [162 cm]
- 3X: 68″ [173 cm]
Finished Length
- 23 (23, 24, 24, 25, 25)” [58 (58, 61, 61, 63, 63) cm]
You can find the free pattern below, or you can purchase the ad-free printable PDF from my shop.
Materials Needed
- RED HEART® Super Saver® Ombre™
- Yarn Weight: Medium 4
- Color: Anthracite (3964)
- 2 (3, 3, 3, 3, 4) skeins
- 6.5 mm (US K/10½) crochet hook
- Locking stitch markers
- Yarn needle
Gauge
13 dc = 4″ [10 cm]
7 rows = 4″ [10 cm] in double crochet.
Abbreviations
- Ch = Chain
- Dc = Double crochet
- Sc = Single crochet
- St(s) = Stitch(es)
- Cm = Centimeters
- Mm = Millimeters
You can find the free pattern below, or you can purchase the ad-free printable PDF from my shop.
Notes
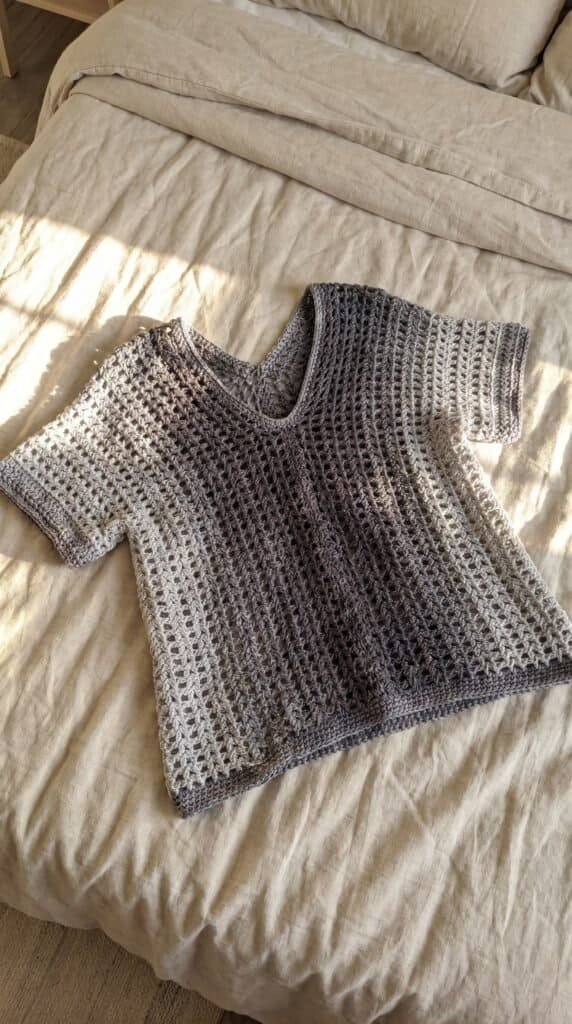
Sweater is worked in two long rectangles which are then folded in the middle for shoulder. Each rectangle forms one side of the front and one side of the back. The center front and back seams are joined, leaving room for the neck opening. Then side seams are joined, leaving room for armholes. Finally, borders are added to bottom, armholes, and neck opening.
Panels are worked lengthwise from side edges to center seam.
Both panels are worked the same.
You can find the free pattern below, or you can purchase the ad-free printable PDF from my shop.
Special Technique
Fsc (Foundation Single Crochet): Ch 2, insert hook in 2nd chain from hook and draw up a loop (ch stitch made) *yarn over and draw through 2 loops on hook (sc made), insert hook in ch stitch and draw up a loop; repeat from * for as many Fsc as called for in pattern.
Front and Back Panels (Make 2)
Method 1
Row 1: Work 147 (147, 155, 155, 163, 163) fsc.
Method 2
Ch 148 (148, 156, 156, 164, 164).
Row 1: Sc in 2nd ch from hook, sc in each ch to end – 147 (147, 155, 155, 163, 163) sc.
For Both
Row 2: Ch 3, (counts as first dc here and throughout), turn, dc in each sc across – 147 (147, 155, 155, 163, 163) dc.
Mark center dc for shoulder seam.
3rd row (Right Side): Ch 3, turn, dc in each dc across.
4th row: Ch 3, turn, dc in next dc, (ch 1, skip next dc, dc in next dc) across, dc in last dc – 75 (75, 79, 79, 83, 83) dc and 72 (72, 76, 76, 80, 80) ch-1 spaces.
Rows 5–20 (22, 24, 26, 28, 30): Ch 3, turn, dc in next dc, (ch 1, skip next ch-1 space, dc in next dc) across, dc in last dc.
Fasten off.
Mark center dc in last row for shoulder seam.
Finishing
Joining Center Seams
Measure and mark 7″ [18 cm] on either side of marked center st along last row of each Panel for Neck.
Joining Row: With wrong sides together and lining up sts, join yarn with slip st in first dc at lower edge of Panel 1, ch 1, sc in same dc, ch 1, sc in corresponding dc on Panel 2, (ch 1, sc in next dc in Panel 1, ch 1, sc in next dc in Panel 2) to first Neck marker. Fasten off.
Repeat to join Panels along opposite end, leaving marked center 14″ [35.5 cm] unsewn for neck.
Joining Side Seams
Measure and mark 8 (8, 9, 9, 10, 10)” [20.5 (20.5, 23, 23, 25.5, 25.5) cm] on either side of marked center st along first row of each Panel for Armholes.
Turn sweater inside out, lining up sts.
Joining Row: With right sides together and working through both layers, join yarn at lower edge with slip st in first st of both Panels, sc in each sc to first marked Armhole marker. Fasten off.
Repeat for opposite side seam.
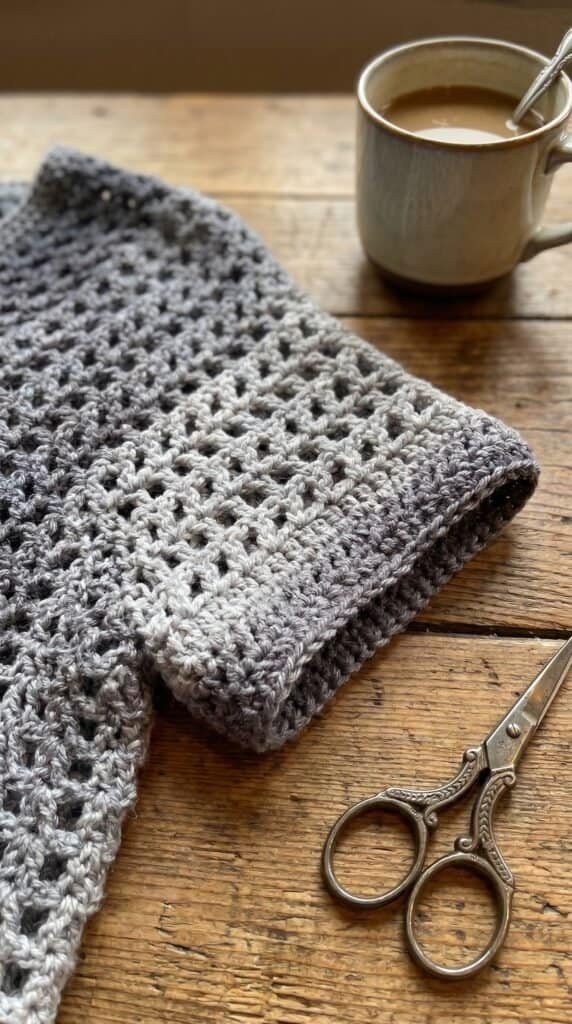
Bottom Border
Round 1: With right side facing, join yarn at one side seam, ch 1, sc in same space, working one sc in end of sc rows, 2 sc in end of each dc row and working sc in each seam, sc around to first sc, slip st in first sc.
Rounds 2–4: Ch 1, sc in each sc around, slip st in first sc. Fasten off.
Neck Border
Round 1: With right side facing, join yarn with a sc in same st as Neck shoulder marker, sc in each dc and ch-1 space around Panel 1 and Panel 2 to first st, slip st in first sc.
Round 2: Ch 1, sc in same sc and in each sc around, adjusting sts as needed to keep neck border flat, slip st in first sc. Fasten off.
Armhole Border
With right side facing, join yarn in st before one side seam with a slip st, ch 1, sc in same st, sc in each st around, skipping side seam, slip st in first sc.
Fasten off.
Repeat for opposite Armhole. Weave in ends.
Blocking
Place sweater on flat, surface, over a towel, and spray with cold water to flatten edges and straighten the sides if needed. Flatten edges and corners by pressing them down with your
fingers, and leave the sweater until completely dry.
Ready to Crochet?
This easy two-panel sweater is simple, stylish, and beginner-friendly. Enjoy creating a cozy handmade piece with a relaxed fit you’ll wear year-round.