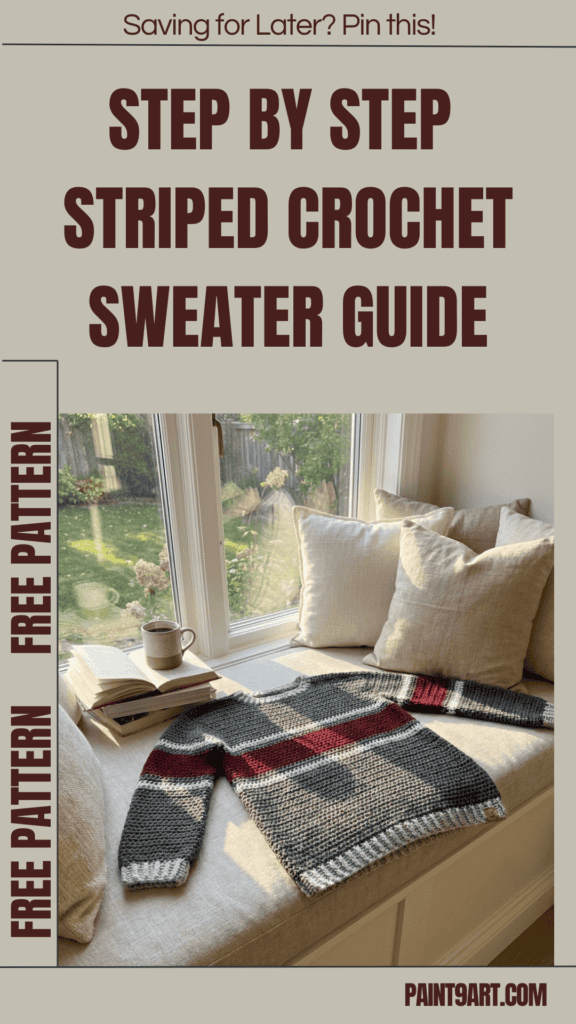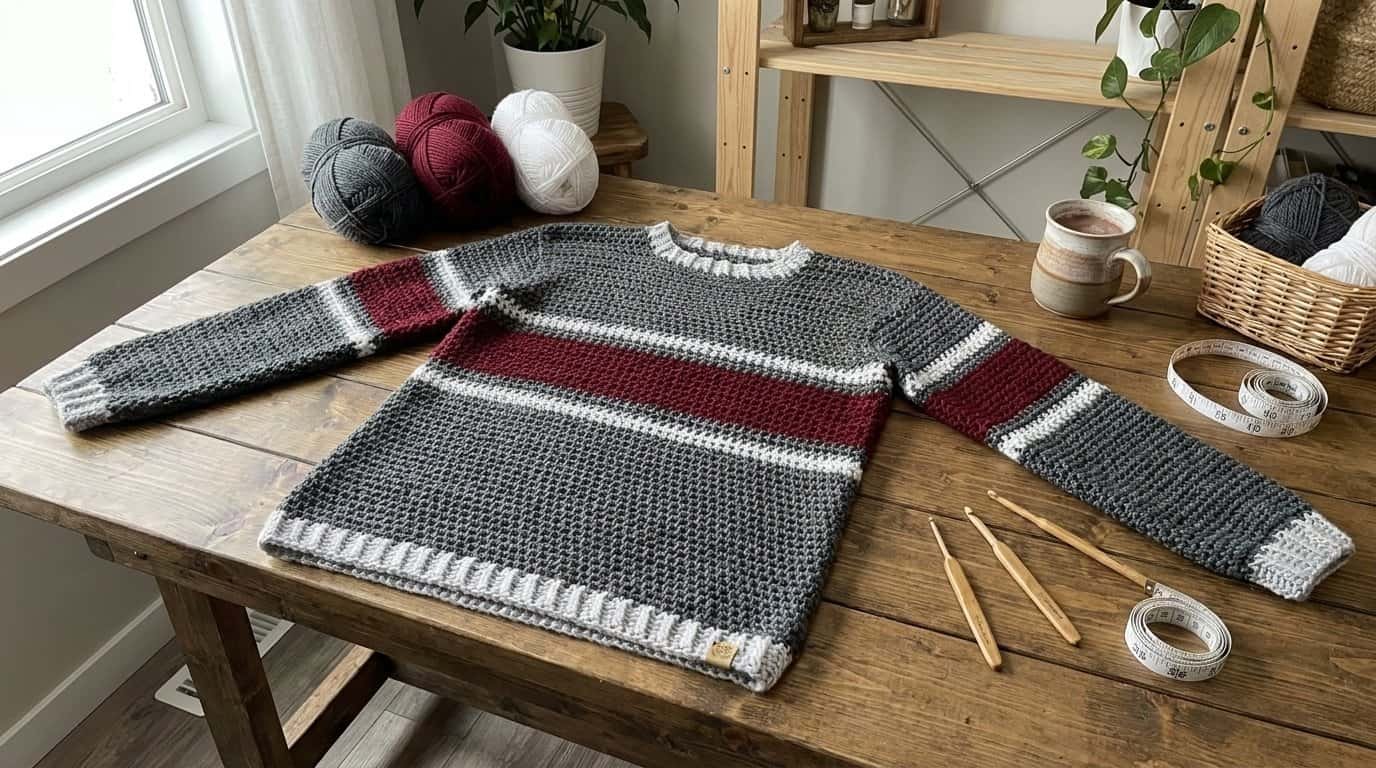
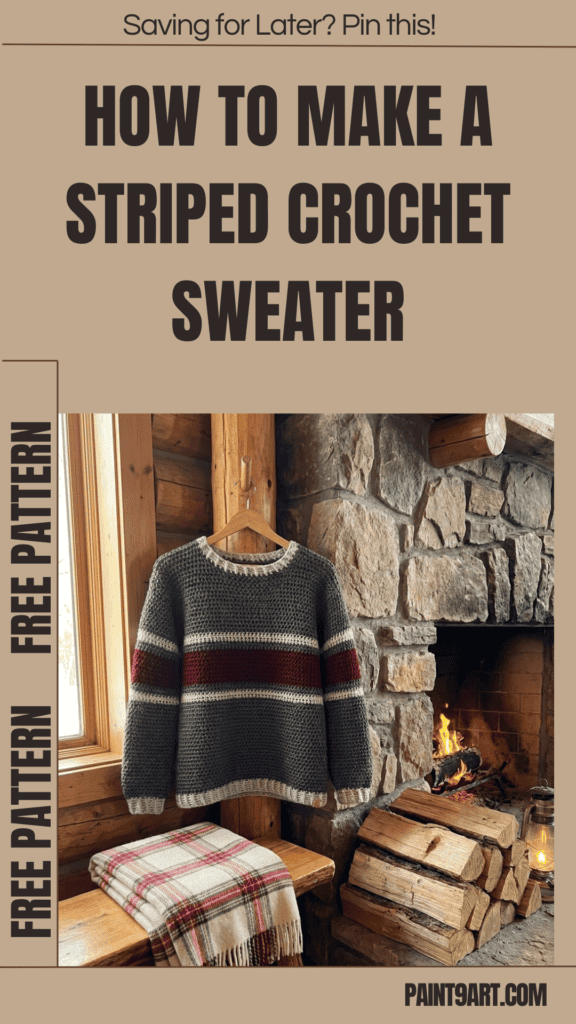
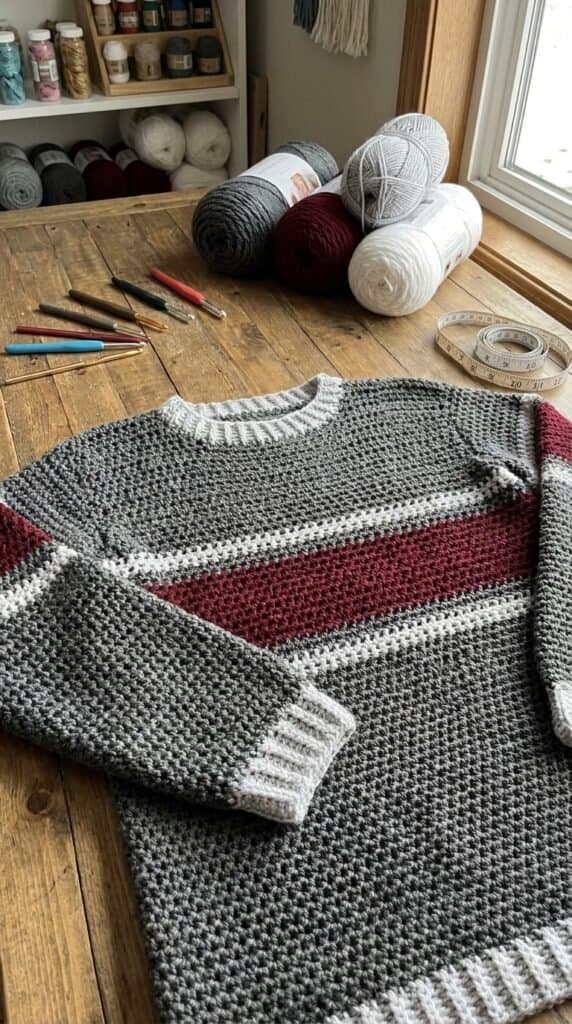
There is nothing quite like slipping into a luxurious, handmade sweater that perfectly balances classic style with cozy comfort.
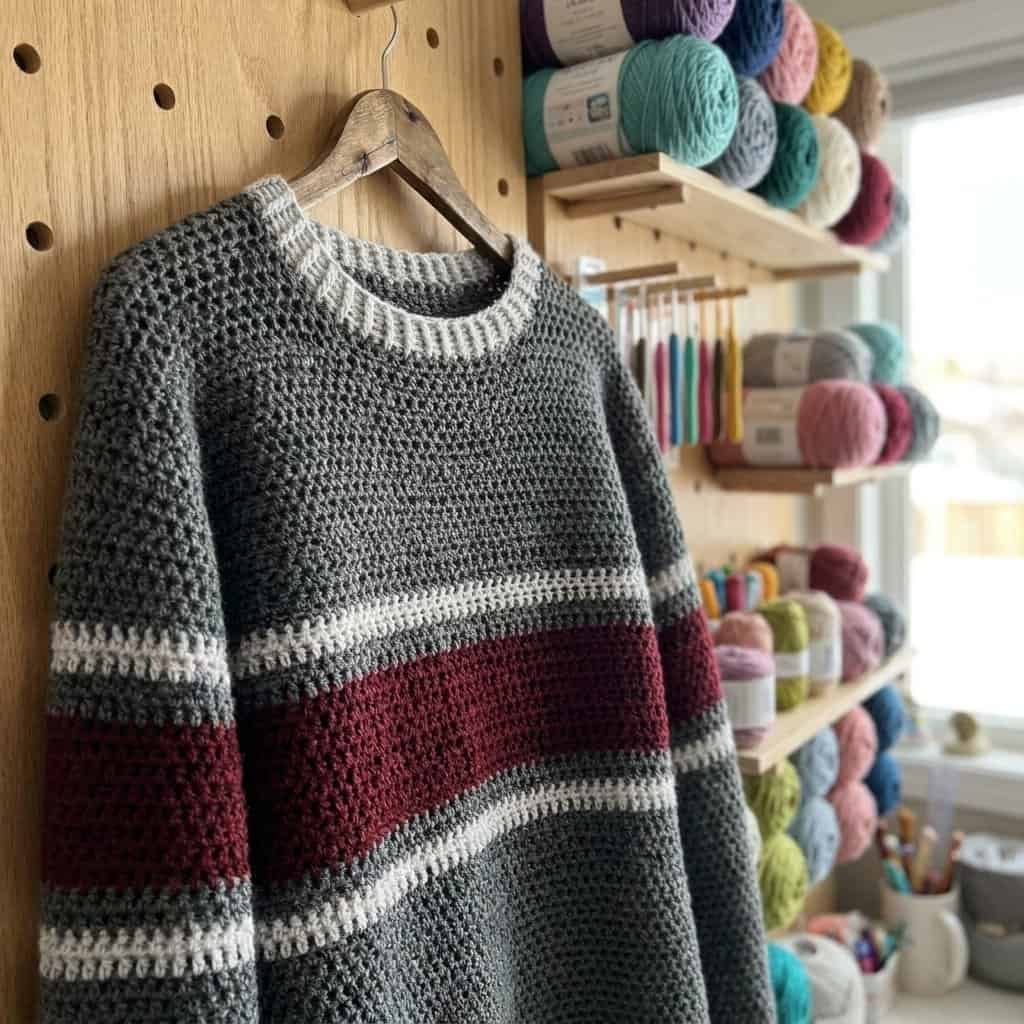
If you are looking to create an absolute wardrobe staple, the Everyday Stripe Crochet Sweater Pattern is your next perfect project!
Pattern Details & Materials
Before diving into your first stitch, let’s review the precise sizing metrics, required yarn amounts, and structural tools needed to set up your workspace.
Skill Level
-
Easy
Sizes
- XS (S, M, L, 1X, 2X, 3X, 4X, 5X)
- Finished Bust: 34 (35 $1/2$, 39 $1/2$, 43 $1/2$, 48 $1/2$, 53, 55, 57, 62) in. (86.5 (90, 100.5, 110.5, 123, 134.5, 139.5, 145, 157.5) cm)
- Finished Length: 26 $1/2$ (26 $1/2$, 27, 27, 27 $1/2$, 28 $1/2$, 28 $1/2$, 29, 29 $1/2$) in. (67.5 (67.5, 68.5, 68.5, 70, 72.5, 72.5, 73.5, 75) cm), not including collar
Note: Pattern is written for smallest size with changes for larger sizes in parentheses. When only one number is given, it applies to all sizes. To follow pattern more easily, circle all numbers pertaining to your size before beginning.
Materials
-
Yarn: Lion Brand® Touch Of Cashmere (Art. #678)
-
Color A: #149 Gull Grey 1 (1, 1, 2, 2, 2, 2, 3, 3) ball(s)
-
Color B: #152 Iron 3 (3, 4, 4, 5, 5, 5, 6, 6) balls
-
Color C: #189 Port 1 (1, 1, 1, 1, 2, 2, 2, 3, 3) ball(s)
-
- Crochet Hook: Lion Brand® crochet hook J-10 (6 mm)
- Notions: * Lion Brand® stitch markers
- Lion Brand® large-eyed blunt needle
Gauge
- 10 hdc + 10 rnds/rows = about 4 in. (10 cm).
- BE SURE TO CHECK YOUR GAUGE.
Abbreviations
- beg = begin(ning)
- ch = chain
- hdc = half double crochet
- rem = remain(ing)
- rep = repeat
- rnd(s) = round(s)
- RS = right side
- sc = single crochet
- sk = skip
- sl st = slip stitch
- st(s) = stitch(es)
- WS = wrong side
Stitch Explanations & Project Notes
Stitch Explanation
- BPHDC (Back Post half double crochet): Yarn over, insert hook from back to front then to back again, going around post of indicated st, draw up a loop, yarn over and draw through all loops on hook.
- FPHDC (Front Post half double crochet): Yarn over, insert hook from front to back then to front, going around post of indicated st, draw up a loop, yarn over and draw through all loops on hook.
- hdc2tog (hdc 2 sts together): (Yarn over, insert hook in next st and draw up a loop) twice, yarn over and draw through all 5 loops on hook – 1 st decreased.
Notes
- Sweater is worked in joined rnds from lower edge up to underarms.
- Piece is divided at underarms then back and front are worked separately, back and forth in rows.
- Sleeves are worked separately in joined rnds and sewn into armholes.
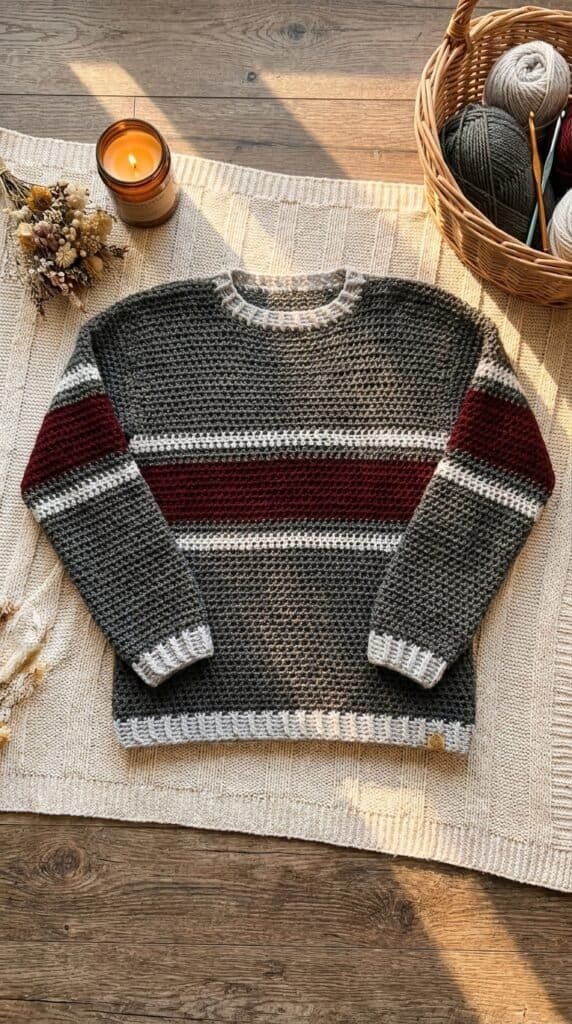
- Yarn color is changed to form sections of color and stripes. To change yarn color, work last st of old color to last yarn over. Yarn over with new color and draw through all loops on hook to complete st. Proceed with new color. Fasten off old color.
Instructions
Lower Ribbing
Beg at lower edge, with A, ch 85 (89, 99, 109, 121, 133, 137, 143, 155); taking care not to twist ch, join with sl st in first ch to form a ring.
Rnd 1: With A, ch 1, hdc in same ch as joining sl st and in each ch around; join with sl st in first hdc – you will have 85 (89, 99, 109, 121, 133, 137, 143, 155) hdc in this rnd.
Rnds 2-6: With A, ch 2 (counts as BPhdc), sk same st as joining sl st, *FPhdc around next st, BPhdc around next st; rep from * around; join with sl st in first st. Change to B at end of Rnd 6.
Body
Rnds 1-24: With B, ch 1, hdc in each st around; join with sl st in first st. Change to A at end of Rnd 24.
Shape Waist
Place a marker in the 43rd (45th, 50th, 55th, 61st, 67th, 69th, 72nd, 78th) hdc to indicate shaping location. Move marker up as each rnd is worked.
Rnd 25 (Decrease Rnd): With A, ch 1, hdc2tog, hdc in each st to marker, hdc2tog and move marker to hdc2tog just made, hdc in each st to end of rnd; join with sl st in first st – 83 (87, 97, 107, 119, 131, 135, 141, 153) hdc.
Rnd 26: With A, ch 1, hdc in each st around; join with sl st in first st. Change to B at end of rnd.
Rnds 27 and 28: With B, rep Rnds 25 and 26. Change to C at end of Rnd 28 – 81 (85, 95, 105, 117, 129, 133, 139, 151) hdc in Rnd 27.
Rnds 29-35: With C, rep Rnd 26 for 7 times. Change to B at end of Rnd 35.
Rnds 36 and 37: With B, rep Rnd 26 twice. Change to A at end of Rnd 37.
Rnd 38 (Increase Rnd): With A, ch 1, 2 hdc in first st, hdc in each st to marker, 2 hdc in next st and move marker to first hdc of 2-hdc group just made, hdc in each st to end of rnd; join with sl st in first st – 83 (87, 97, 107, 119, 131, 135, 141, 153) hdc.
Rnd 39: With A, rep Rnd 26. Change to B at end of rnd. Work remainder of body, back and front with B only.
Rnd 40: Rep Rnd 38, remove marker – 85 (89, 99, 109, 121, 133, 137, 143, 155) hdc.
Rnds 41-43: Rep Rnd 26. Do not change yarn color, continue with B only.
Divide at Underarm for Back and Front
Back
Row 1 (RS): Ch 1, hdc in next 43 (45, 50, 55, 61, 67, 69, 72, 78) sts for back; leave rem sts unworked for front – 43 (45, 50, 55, 61, 67, 69, 72, 78) sts for back.
Rows 2-15: Ch 1, TURN, hdc in each back st across.
Shape Back Neck
Next 2 (2, 3, 4, 5, 7, 7, 9, 10) Rows: Ch 1, turn, hdc in first 15 (16, 18, 20, 22, 24, 24, 25, 27) sts, sc in next 13 (13, 14, 15, 17, 19, 21, 22, 24) sts, hdc in last 15 (16, 18, 20, 22, 24, 24, 25, 27) sts.
Fasten off.
Front
From RS, draw up a loop of B in first unworked st following last st of Row 1 of back.
Row 1 (RS): Ch 1, hdc in same st as joining and in rem 41 (43, 48, 53, 59, 65, 67, 70, 76) unworked sts – 42 (44, 49, 54, 60, 66, 68, 71, 77) hdc for front.
Rows 2-13: Ch 1, TURN, hdc in each front st across.
Shape Front Neck
Right Front
Row 1 (WS): Ch 1, turn, hdc in first 15 (16, 18, 20, 22, 24, 24, 25, 27) sts for right front; leave rem sts unworked for front neck and left front.
Next 3 (3, 4, 5, 6, 8, 8, 10, 11) Rows: Ch 1, turn, hdc in each right front st across.
Fasten off.
Left Front
From WS, sk next 12 (12, 13, 14, 16, 18, 20, 21, 23) unworked sts following Row 1 of right front (for front neck), draw up a loop of B in next unworked st.
Row 1 (WS): Ch 1, hdc in same st as joining and in rem 14 (15, 17, 19, 21, 23, 23, 24, 26) unworked sts – 15 (16, 18, 20, 22, 24, 24, 25, 27) sts for left front.
Next 3 (3, 4, 5, 6, 8, 8, 10, 11) Rows: Ch 1, turn, hdc in each right front st across.
Fasten off.
Sleeves (Make 2)
Beg at lower edge, with A, ch 19 (19, 21, 21, 23, 23, 25, 25, 27); taking care not to twist ch, join with sl st in first ch to form a ring.
Cuff Ribbing
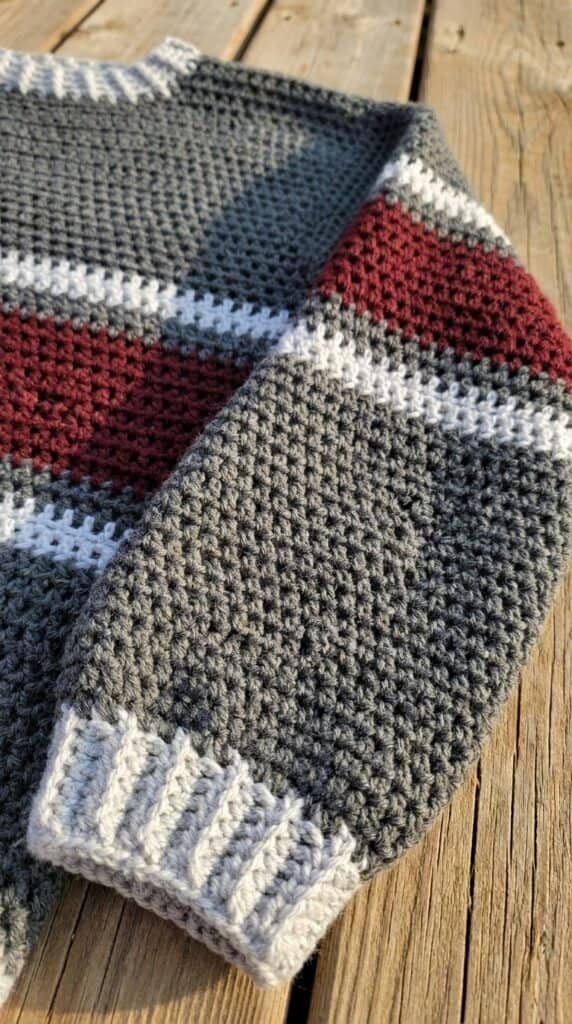
Rnds 1-6: With A, work same as Rnds 1-6 of Back lower ribbing. Change to B at end of Rnd 6 – you will have 19 (19, 21, 21, 23, 23, 25, 25, 27) sts in each rnd.
Rnd 7 (Increase Rnd): With B, ch 1, 2 hdc in each st around; join with sl st in first st – 38 (38, 42, 42, 46, 46, 50, 50, 54) hdc.
Rnd 8: With B, ch 1, hdc in each st around; join with sl st in first st.
Rnd 9 (Increase Rnd): With B, ch 1, *2 hdc in next st, hdc in next 5 (4, 5, 4, 5, 4, 5, 4, 5) sts; rep from * to last 2 (3, 0, 2, 4, 1, 2, 0, 0) st(s), hdc in next 2 (2, 0, 1, 3, 0, 1, 0, 0) st(s), 2 hdc in last 0 (1, 0, 1, 1, 1, 1, 0, 0) st(s); join with sl st in first st – 44 (46, 49, 51, 54, 56, 59, 60, 63) sts.
Rnds 10-17: With B, rep Rnd 8 for 8 times.
Shape Sleeve
Place a marker in the 22nd (23rd, 25th, 26th, 27th, 28th, 30th, 30th, 32nd) hdc to indicate decrease location. Move marker up as each rnd is worked.
Rnd 18 (Decrease Rnd): With B, ch 1, hdc2tog, hdc in each st to marker, hdc2tog and move marker to hdc2tog just made, hdc in each st to end of rnd; join with sl st in first st – 42 (44, 47, 49, 52, 54, 57, 58, 61) sts.
Rnds 19 and 20: With B, rep Rnd 8 twice.
Rnds 21-29: With B, rep Rnds 18-20 for 3 more times – 36 (38, 41, 43, 46, 48, 51, 52, 55) sts in Rnd 27.
Rnd 30: With B, rep Rnd 8. Change to A at end of rnd.
Rnd 31: With A, rep Rnd 18, remove marker – 34 (36, 39, 41, 44, 46, 49, 50, 53) sts.
Next 20 (20, 21, 22, 23, 24, 24, 25, 25) Rnds: Rep Rnd 8, changing yarn color as in following sequence: Work 1 rnd with A, 2 rnds with B, 7 rnds with C, 2 rnds with B, 2 rnds with A, and rem 6 (6, 7, 8, 9, 10, 10, 11, 11) rnds with B.
Fasten off.
Finishing
Sew shoulder seams. Sew Sleeves into armholes.
Collar
From RS, draw up a loop of A in back neck.
Rnd 1: Ch 2 (counts as hdc), work an even number of hdc sts as evenly spaced as possible around neck edge (so that there are an odd number of sts including the beg ch-2); join with sl st in top of beg ch-2.
Rnds 2-4: Ch 2 (counts as st), sk same st as joining sl st, *FPhdc around next st, BPhdc around next st; rep from * around; join with sl st in top of beg ch-2.
Fasten off.
Weave in ends.
Final Thoughts
Congratulations on wrapping up your Everyday Stripe Crochet Sweater Pattern!
By seaming your panels flawlessly and adding that gorgeous texture-rich post-stitch collar, you have transformed basic rounds into a beautiful, high-quality garment.
Throw this dynamic striped pullover over your everyday casuals, step out into the fresh air, and enjoy the incredibly soft fit of your brand-new handmade masterpiece!