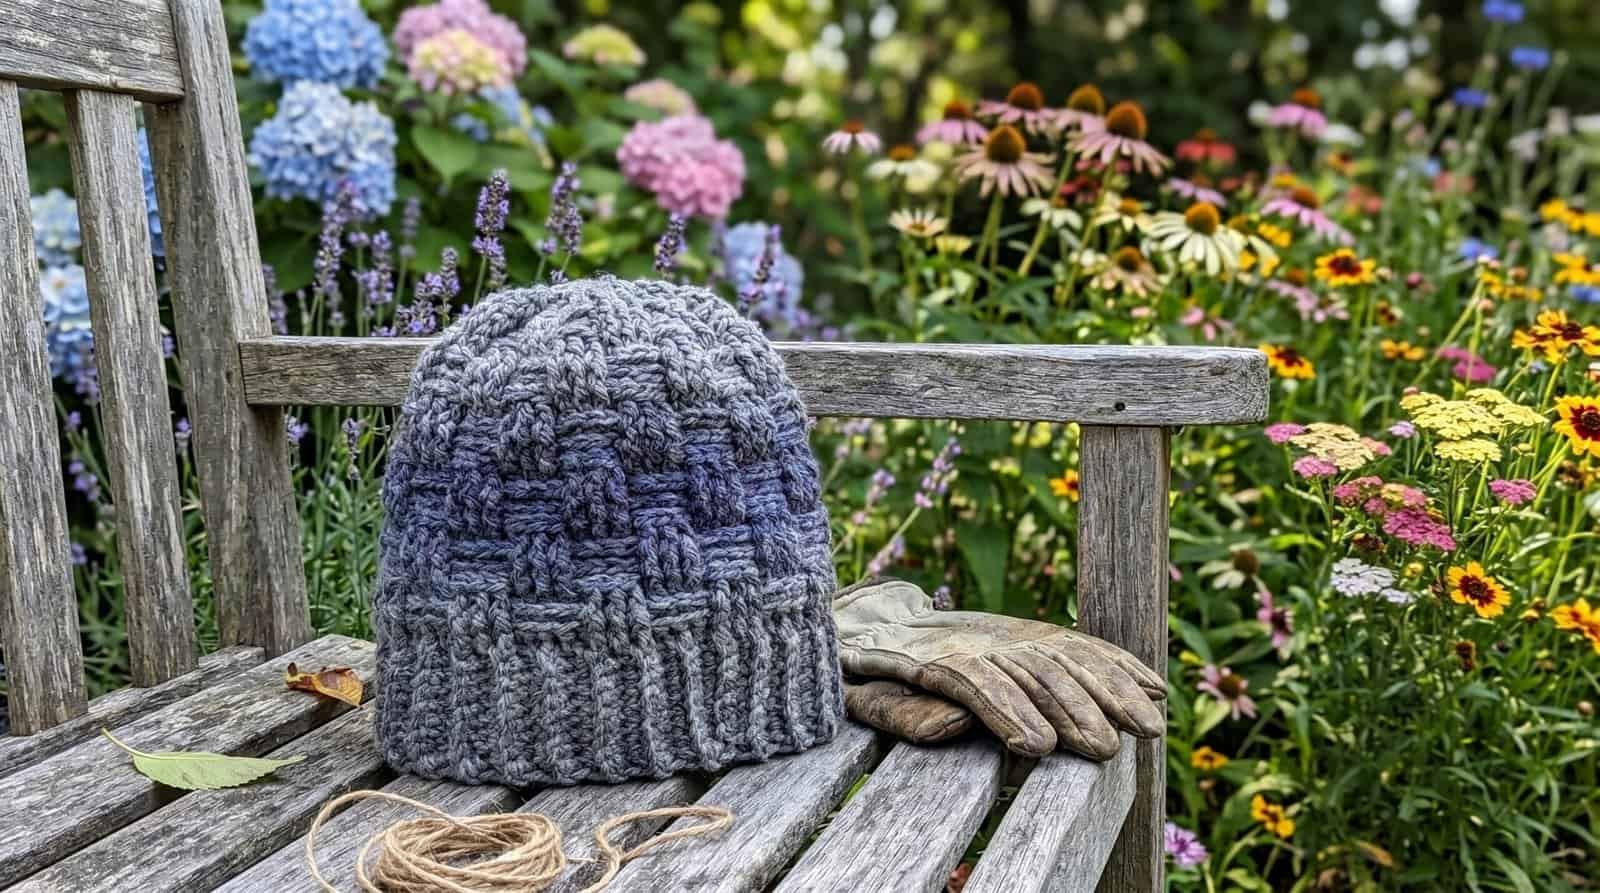
When the winter frost sets in, having a thick, reliable beanie in your wardrobe is an absolute must, and the Free Frost Ridge Crochet Beanie Pattern is the ultimate structural project.
Featuring a beautifully snug silhouette and a dense, deeply textured body created by an alternating basketweave design, this gorgeous accessory looks incredibly high-end.
It hooks up remarkably fast using unique ombre yarn and transitions from a neat ribbed lower band into joined rounds. Best of all, it is completely free to make, so grab your hook and let’s start stitching this winter staple!
Pattern Details & Materials
Before picking up your hook, let’s review the sizing, measurements, and required tools to prepare your workspace.
Skill Level
-
Easy
Sizes
- Finished Circumference: About 18 in. (45.5 cm), will stretch to fit a range of sizes
- Finished Height: About 9 in. (23 cm)
Materials
- Yarn: LION BRAND® SCARFIE® (Art. #826), #234 Steel Blue/Slate, 1 ball
- Yarn Weight: Bulky 5
- Crochet Hook: LION BRAND® crochet hook size K-10.5 (6.5 mm)
- Notions: LION BRAND® large-eyed blunt needle
Gauge
- 15 sts + 11 rnds = about 4 1/2 in. (11.5 cm) in Basketweave pattern of Rnds 7-12.
- BE SURE TO CHECK YOUR GAUGE.
Abbreviations
- ch = chain
- dc = double crochet
- rep = repeat
- rnd(s) = round(s)
- RS = right side
- sc = single crochet
- sl st = slip stitch
- st(s) = stitch(es)
- WS = wrong side

Stitch Explanations & Project Notes
Stitch Explanations
- BPdc (Back Post double crochet): Yarn over, insert hook from back to front then to back, going around post of indicated st, draw up a loop, (yarn over and draw through 2 loops on hook) twice. Skip top of st in front of the BPdc.
- FPdc (Front Post double crochet): Yarn over, insert hook from front to back then to front, going around post of indicated st, draw up a loop, (yarn over and draw through 2 loops on hook) twice. Skip top of st behind the FPdc.
Pattern Notes
- Beanie is worked from the lower edge upwards.
- A ribbed band is worked back and forth in rows, then short ends are joined to make a circle.
- Stitches are worked along one edge of circle, then Beanie is worked upwards in joined rnds in Basketweave pattern.
Instructions
Lower Band
Ch 9.
Row 1 (RS): Sc in 2nd ch from hook and in each ch across – you will have 8 sc in this row.
Row 2-60: Ch 1, turn, working in back loops only, sc in each st across.
Bring short ends of piece together, matching sts.
Joining Row: From WS, and working through both thicknesses, sl st in each st across to join piece into a circle.
Turn band RS out.
Do not fasten off.
Body
Note: When joining the last st of each rnd to top of beg ch, insert hook from back to front under loops at top of beg ch, yarn over and draw through all loops on hook to complete join.
Rnd 1 (RS): Ch 2 (does not count as a st), working along edge of band, dc in end of each row around; join with sl st in top of beg ch-2 – 60 dc.
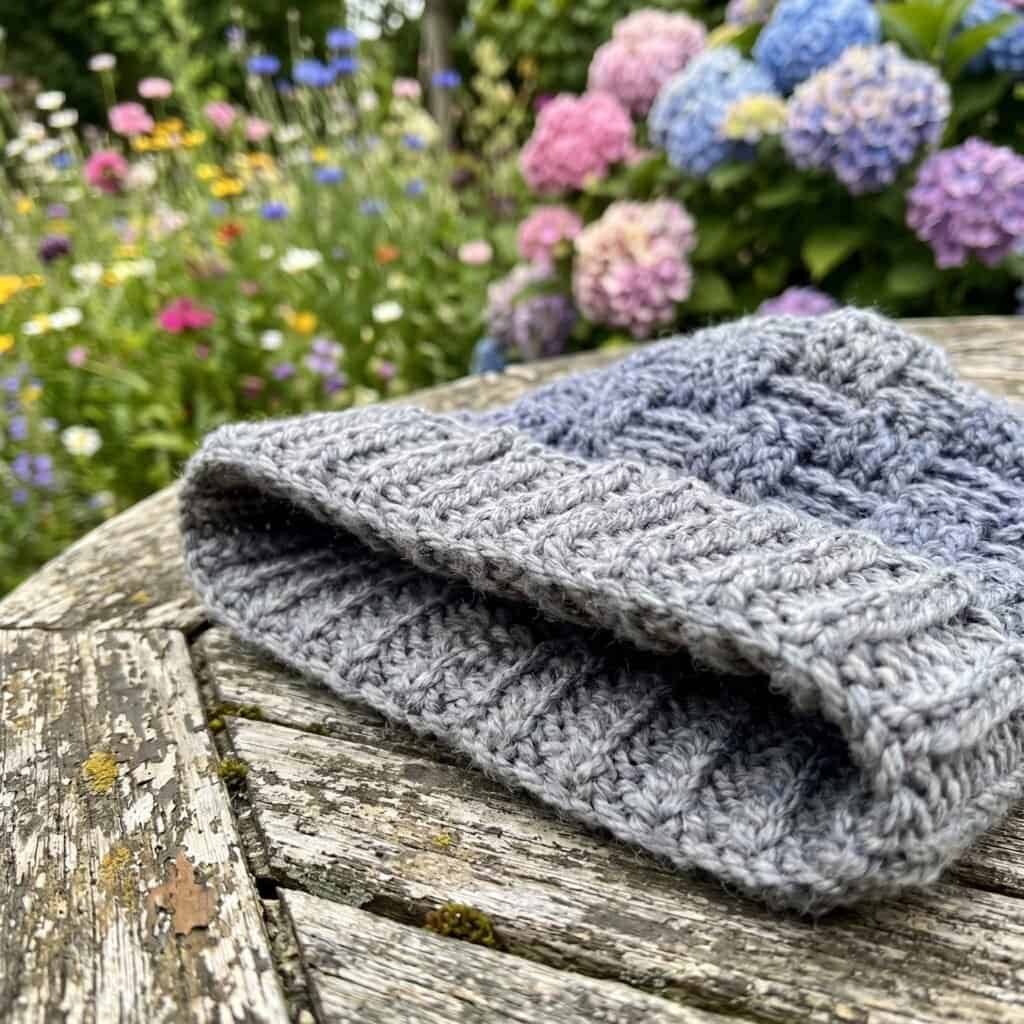
Basketweave Pattern
Rnds 2-3: Ch 2 (counts as first FPdc), FPdc around each of next 2 sts, * BPdc around each of next 3 sts, FPdc around each of next 3 sts; rep from * to last 3 sts, BPdc around each of last 3 sts; join with sl st in top of beg ch-2.
Rnds 4-6: Ch 2 (counts as first BPdc), BPdc around each of next 2 sts, * FPdc around each of next 3 sts, BPdc around each of next 3 sts; rep from * to last 3 sts, FPdc around each of last 3 sts; join with sl st in top of beg ch-2.
Rnds 7-9: Rep Rnd 2 for 3 times.
Rnds 10-12: Rep Rnds 4-6.
Rnds 13-18: Rep Rnds 7-12.
Fasten off, leaving a long yarn tail.
Thread tail into blunt needle, then through top of sts of last rnd. Pull to close opening at top of Beanie and knot.
Finishing
Weave in ends.
Happy Crocheting!
Congratulations on completing your Free Frost Ridge Crochet Beanie Pattern!
By combining a stretch-to-fit ribbed band with a gorgeous interwoven texture, you have constructed a wonderfully cozy and structured winter piece.
Throw this beautifully draped beanie on for your next chilly outdoor stroll, enjoy the lovely color transitions of your yarn, and wear your new handmade creation with pride all season long!