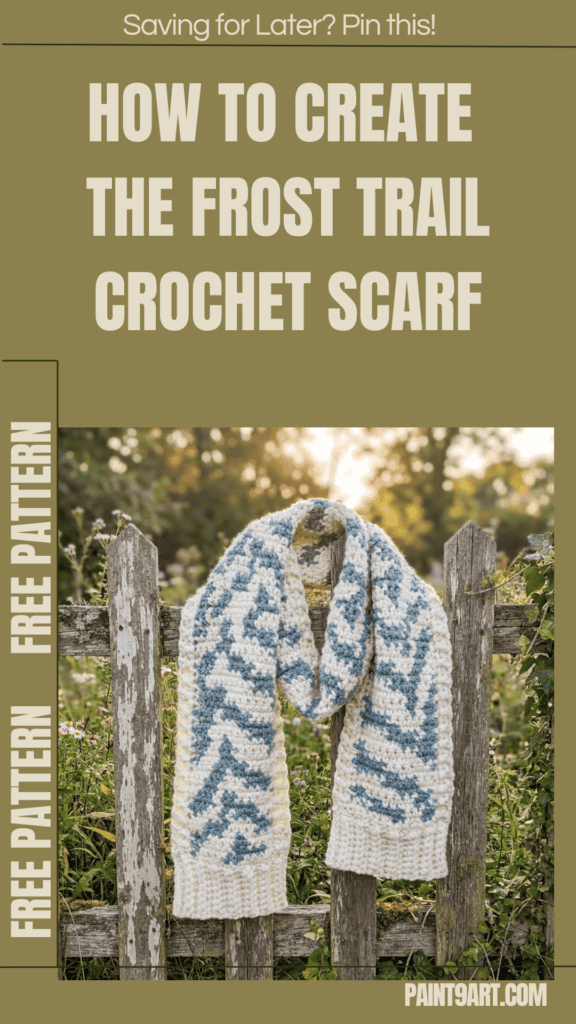
When you want to blend bold graphic style with ultimate cold-weather defense, a super-sized statement wrap is the perfect answer.
The Free Frost Trail Crochet Scarf Pattern offers an engaging project to hone your color-changing skills!
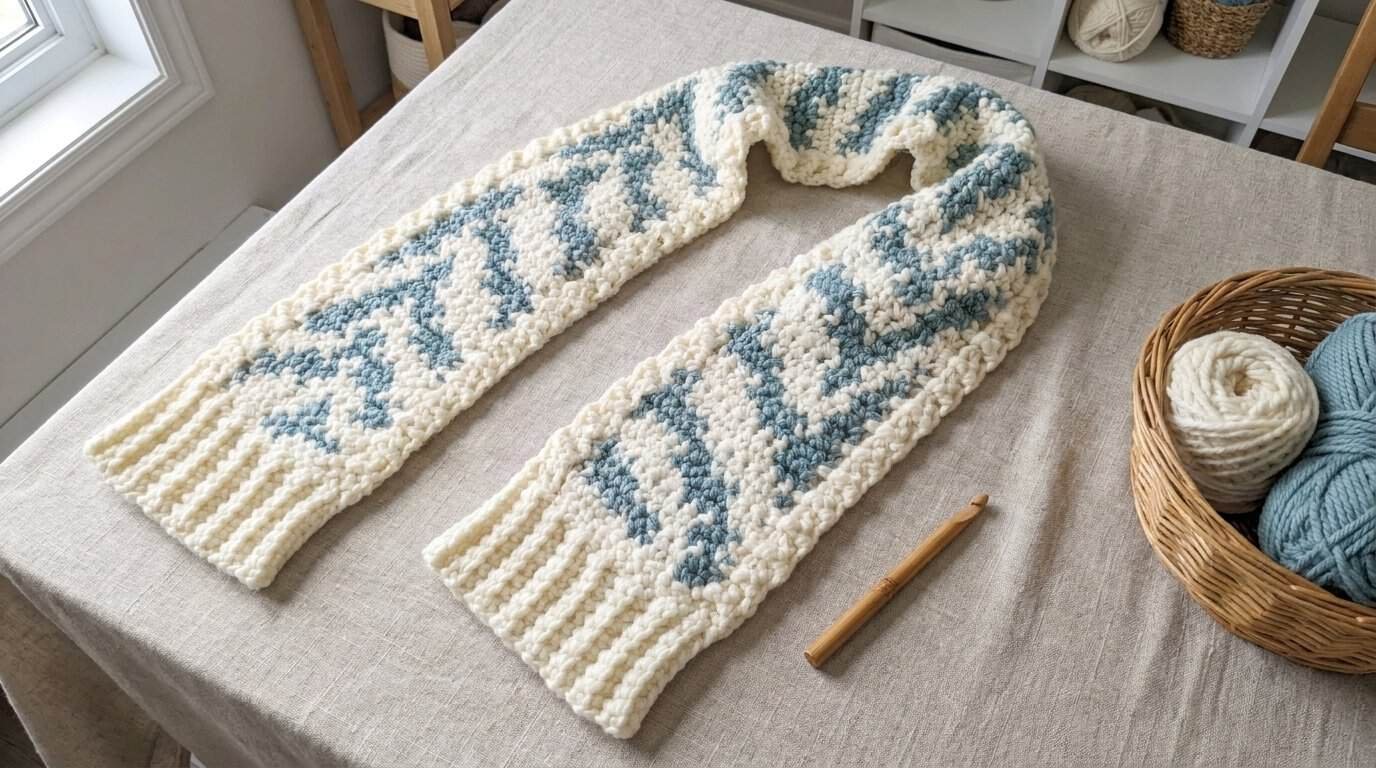
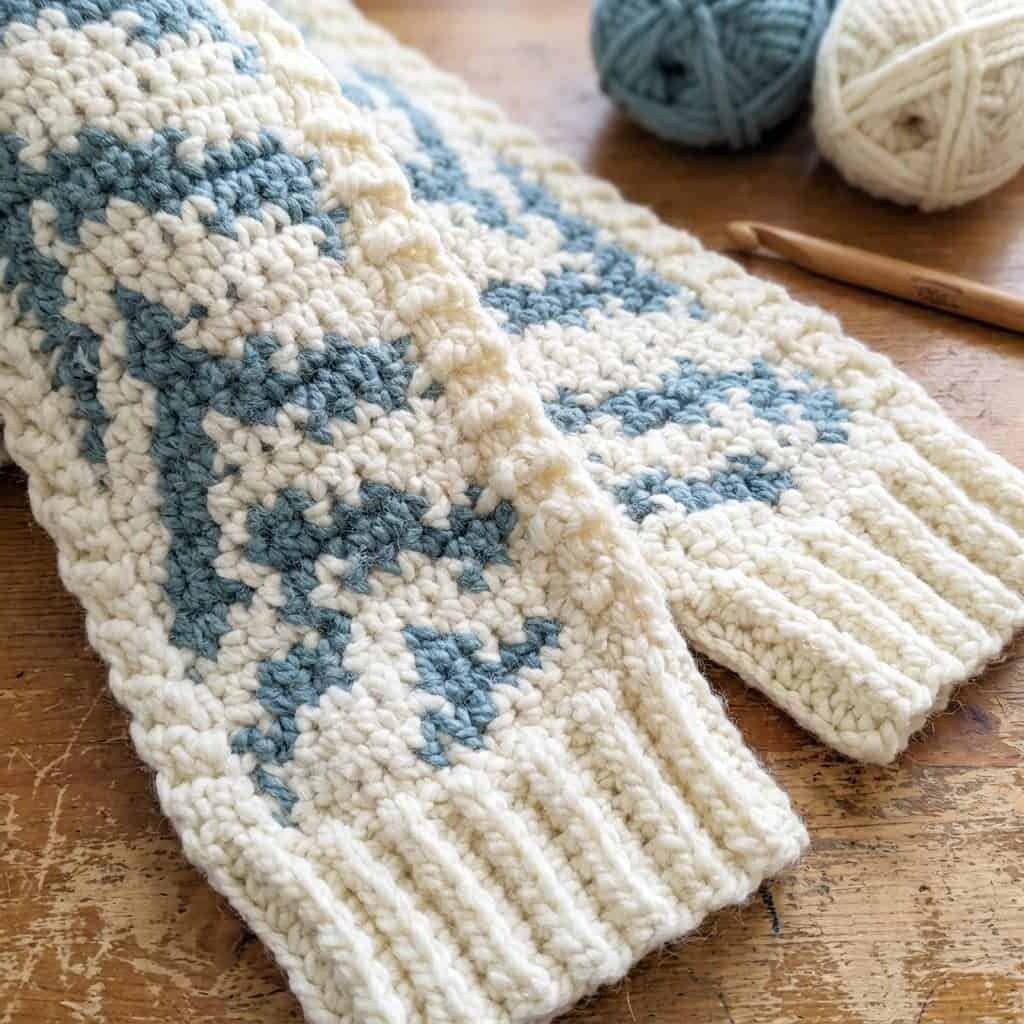
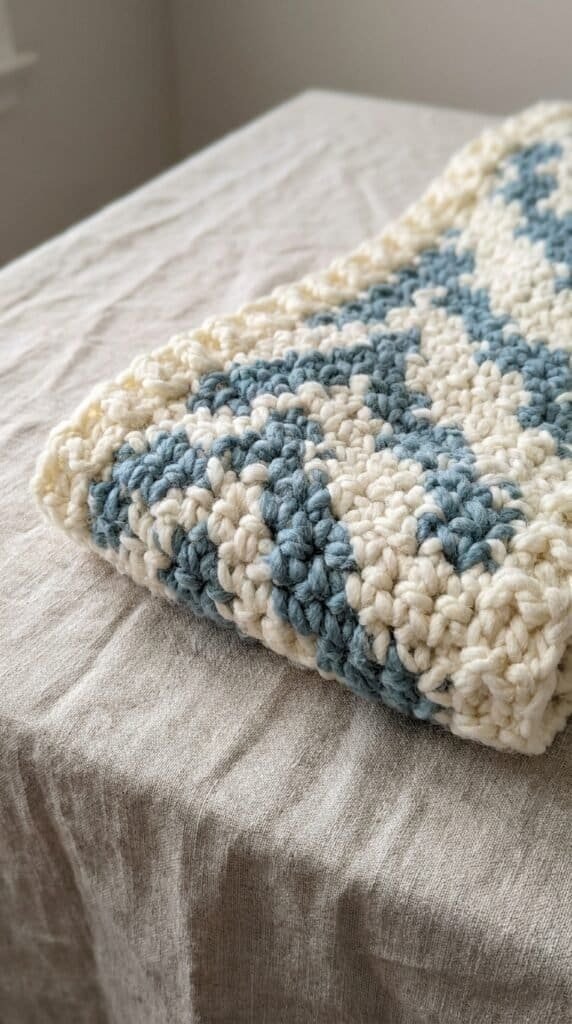
Using an easy-to-follow colorwork grid, this intermediate design mixes a clean cream landscape color with organic trailing paths of deep teal. Structured post-stitch edges frame the colorwork panel to prevent curling and deliver a clean, high-end boutique finish.
Grab a size 10 mm hook, pick your colors, and stitch this bold winter staple!
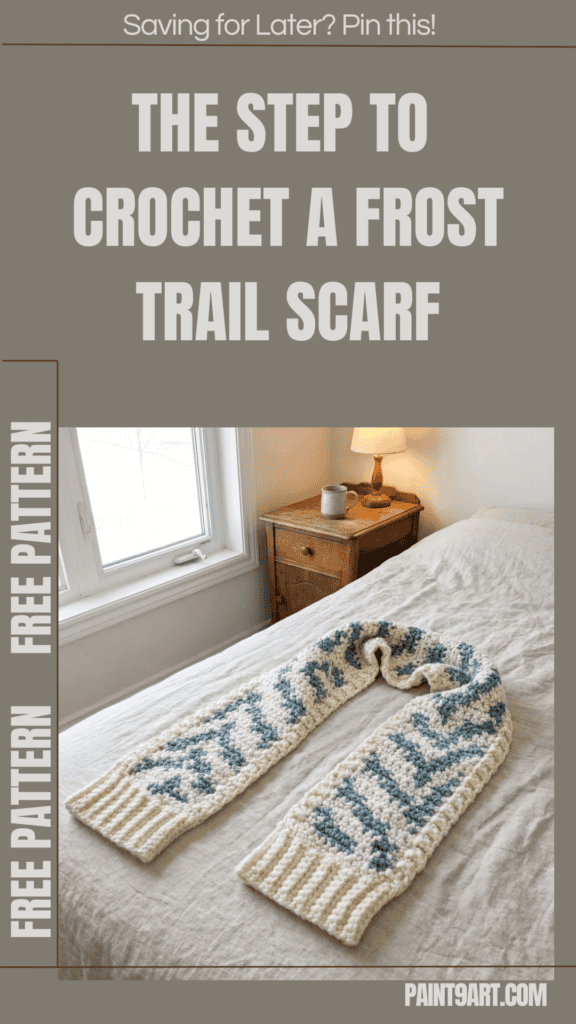
Pattern Details & Materials
Skill Level
Intermediate
Size
About 8 x 85 in. (20.5 x 216 cm)
Materials
- Yarn: LION BRAND® WOOL-EASE® THICK & QUICK® (Art. #640)
- Main Color (MC): #99 Fisherman – 3 balls
- Contrasting Color (CC): #116 Succulent – 1 ball
- Crochet Hook: Size N (10 mm)
- Notions: LION BRAND® large-eyed blunt needle
Gauge
- 8 sts over 8 rows = about 4 in. (10 cm).
- BE SURE TO CHECK YOUR GAUGE.
Abbreviations
- BL = back loop
- BLO = back loop only
- ch = chain
- CC = contrasting color
- hdc = half double crochet
- MC = main color
- RS = right side
- sc = single crochet
- sl st = slip stitch
- sp = space
- st(s) = stitch(es)
Stitch Explanations & Colorwork Notes
Stitch Explanations
- BPHDC (Back Post half double crochet): Yo, insert hook from back to front then to back again, going around the post of the indicated st, draw up a loop, yo and draw through all loops on hook. Skip the stitch top behind the post stitch.
- FPHDC (Front Post half double crochet): Yo, insert hook from front to back then to front, going around the post of the indicated st, draw up a loop, yo and draw through all loops on hook. Skip the stitch top behind the post stitch.
Pattern Notes
- See APPENDIX I for Intarsia Grid.
- Intarsia grid is worked in sc. Each row starts with a ch 1 (ch 1 does not count as a stitch).
- Carry and sc over unused colors as you work.
- Color changes – Upon reaching last stitch before next color change, begin sc but stop before completing last yarn over. Yarn over with new color to complete sc.
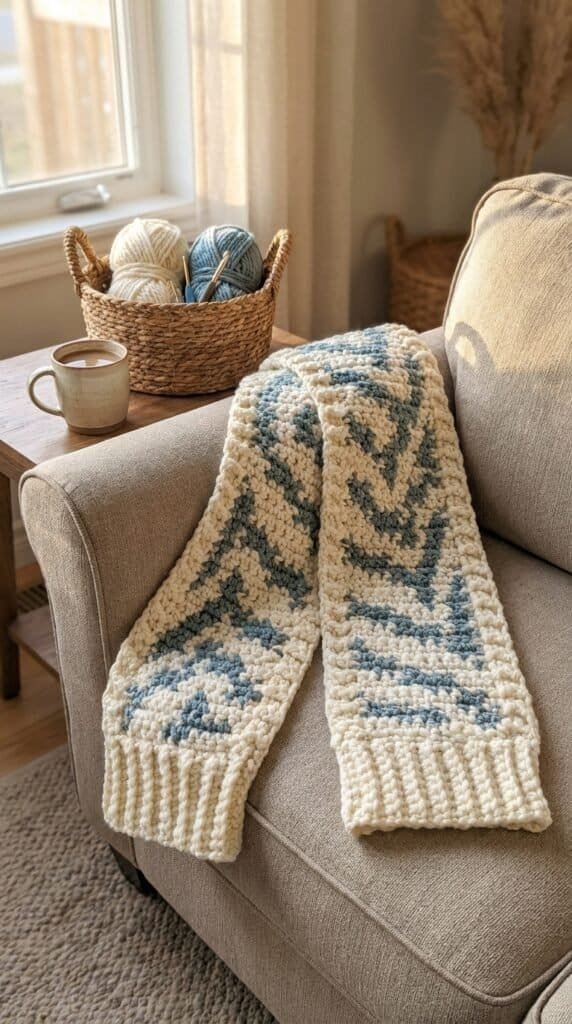
Instructions
Scarf Body
With MC, ch 12.
Row 1: Starting in the 2nd ch from your hook, sc across each stitch; turn.
Begin Graphic Colorwork Grid
Rows 2–151: Work the Intarsia colorwork grid back and forth in rows using MC and CC. Repeat the 30-row grid instructions a total of 5 times.
Row 152 (RS): With MC, ch 1, turn, sc across the row.
Cut CC safely. Do not cut your MC strand.
Side Border Ribbing
Each side border will be worked independently back and forth in flat rows directly along the raw edge.
Side Border 1
With the RS facing you, rotate your work so that Row 152 is positioned to the right-most side, and the raw side edge is positioned horizontally along the top.
Row 1: Ch 1, starting in the space of the last sc from Row 152, work 151 sc stitches evenly along the raw side edge, ending in the next corner stitch. Sl st into the corner stitch; turn.
Row 2: Ch 2, FPhdc around the first stitch post, BPhdc around the next post, *FPhdc around the next post, BPhdc around the next post; repeat from * until 1 stitch remains; FPhdc around the last stitch. Sl st into the next corner stitch; turn.
Row 3: Ch 2, BPhdc around the first post, FPhdc around the next post, *BPhdc around the next post, FPhdc around the next post; repeat from * until 1 stitch remains; BPhdc around the last post, hdc directly into the top of the turning ch-2 from the previous row.
Fasten off.
Side Border 2
With the RS facing you, rotate your work and position the remaining raw side edge horizontally along the top. Attach MC with a sl st in the right-most corner.
Row 1: Ch 1, starting directly in the corner, work 151 sc stitches evenly along the side edge, ending in the next corner stitch. Sl st into the next corner stitch; turn.
Rows 2 and 3: Repeat the exact instructions for Rows 2 and 3 of Side 1. Do not fasten off after completing Row 3.
Top & Bottom Edge Ribbing
With the RS facing you, rotate your work so that the ending edge of your SCARF BODY is positioned horizontally along the top.
Ch 9.
Row 1: Starting in the 2nd ch from your hook, sc in each ch across to the end, sl st cleanly into the side of the last hdc stitch from your SIDE BORDER RIBBING; turn – 8 sc.
Row 2: Ch 1, sc in the BLO (back loops only) across each stitch; turn – 8 sc.
Row 3: Ch 1, sc in the BLO across the next 7 stitches, sc through the back loop of the last stitch while aligning and crocheting the edge stitch together; sl st into the next edge stitch; turn – 8 sc.
Rows 4–14: Repeat Rows 2 and 3 a total of five times.
Row 15: Repeat Row 2.
Fasten off.
With the RS facing you, rotate your work so that the starting foundation edge of your SCARF BODY is positioned horizontally along the top.
Attach MC to the right-most corner (this will attach to the side of a hdc stitch). Ch 9.
Rows 1–15: Repeat Rows 1–15 of the TOP & BOTTOM EDGE RIBBING instructions.
Fasten off.
Weave in all ends.
Optional
Block to finished measurements.
In Summary
Congratulations on finishing your beautifully vibrant Free Frost Trail Crochet Scarf! By pairing clean tapestry techniques with textured post-stitch ribbing, you have built an incredibly thick winter shield that looks like a modern work of graphic art.
Wrap it long over a sleek wool coat, show off your colorwork loops, and embrace the cold season with hand-stitched style!