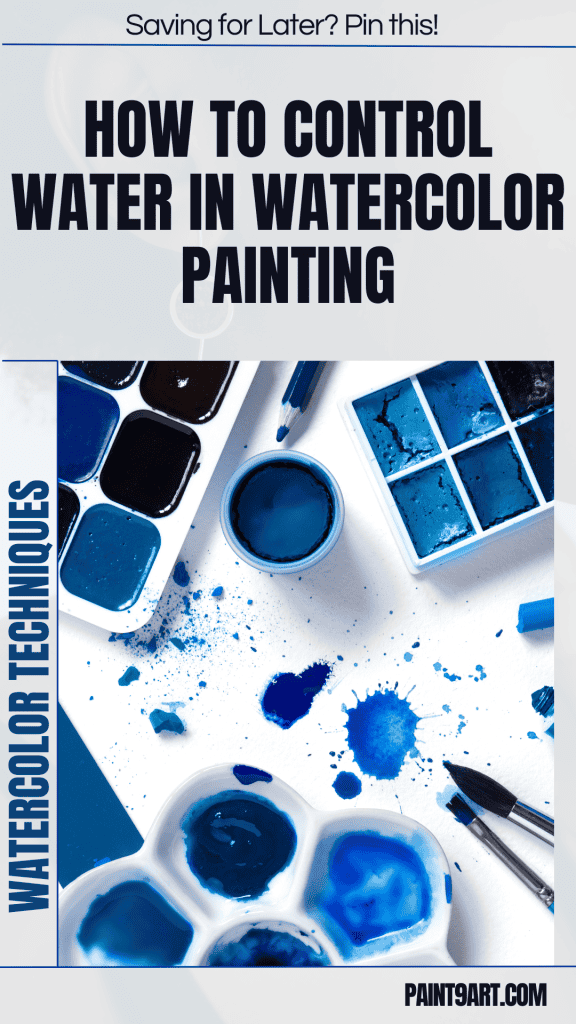
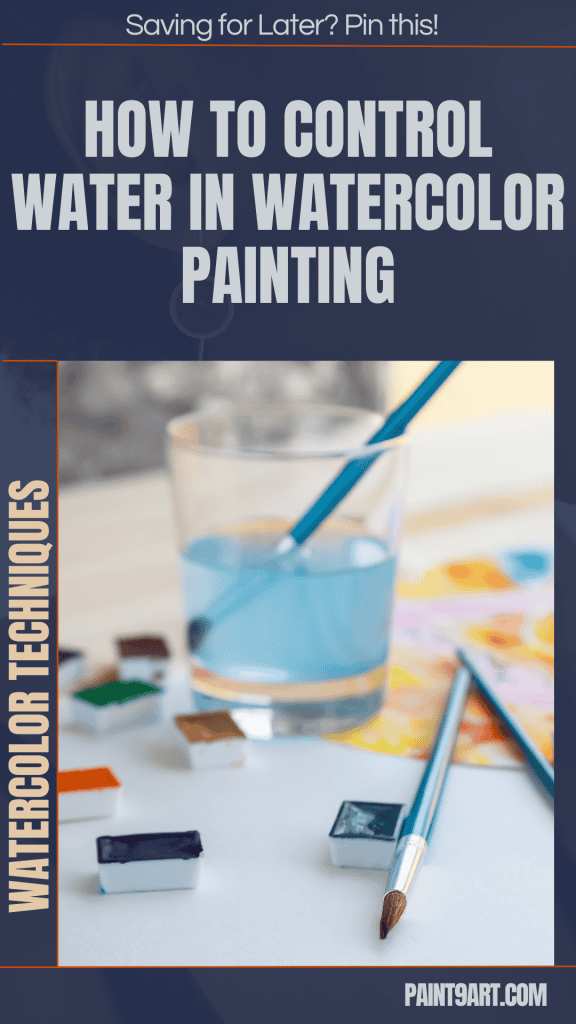
Watercolor painting is beautiful but challenging, and one of the biggest struggles beginners face is learning how to control water.
As Olga Koelsch often emphasizes, the balance between too much and too little water can completely change the outcome of your artwork.
Too much water can create unwanted edges, blooms, or sharp borders, while too little can leave your painting looking dry and lifeless.
I’ve experienced the same frustrations—and over time, I learned simple but effective tricks that make water control so much easier.
In this article, Olga Koelsch will guide you through practical techniques for managing water in watercolor painting so you can create smooth, professional-looking results with confidence.
Contents
Understanding Water Control in Watercolor
Water plays a crucial role in watercolor painting. It affects how colors blend, dry, and interact with the paper.
If it isn’t controlled properly, unexpected results may occur. Let’s take a closer look at why water control is so important.
Why Water Control is Essential in Watercolor Painting
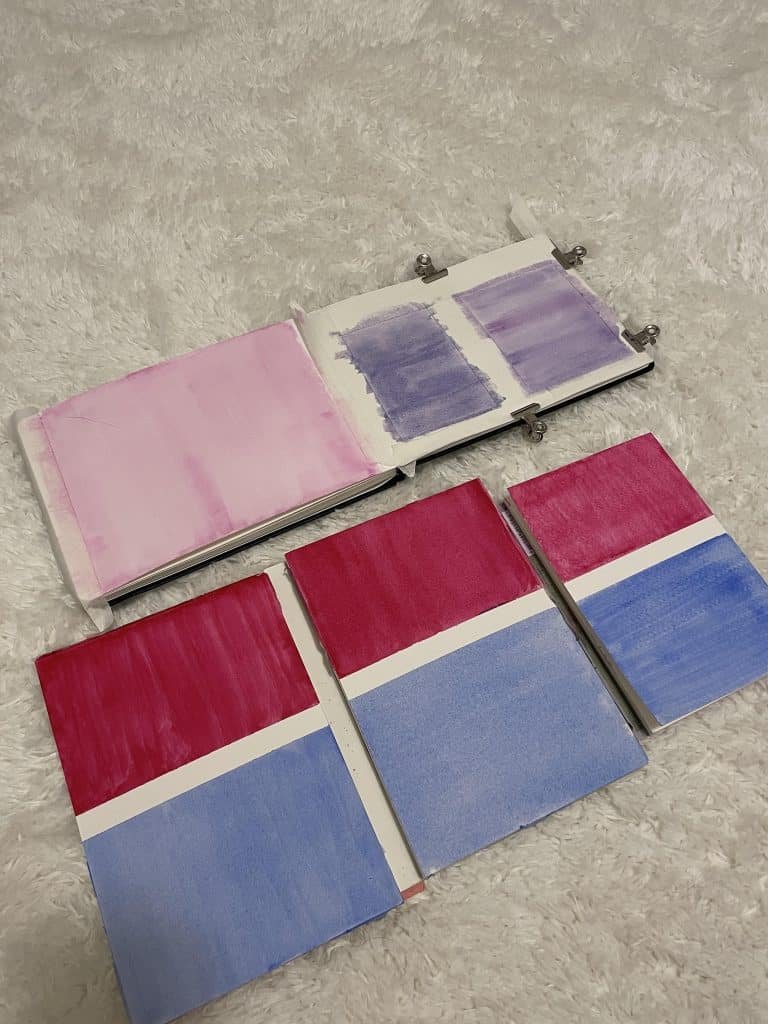
Water determines the flow and transparency of the paint. The right amount of water helps create smooth transitions and soft blends.
Too much water, however, can lead to puddles and uneven drying. On the other hand, too little water can result in harsh, dry brush marks.
By learning how to manage water effectively, artists can achieve beautiful, controlled results in their paintings.
The good news is that anyone can take full control of the water on the paper with a few simple techniques.
 Trying to learn the basics
Common Water-Related Issues in Watercolor
Many beginners face similar problems when they first start using watercolors. Here are some of the most common issues:
- Puddles and Uneven Drying: When too much water pools in one area, it dries unevenly, leaving unwanted marks.
Sharp Edges and Blooms: If a wet area meets a drier one, it can create sharp, unnatural borders or “blooms” where pigments push outward.
Unexpected Color Shifts: Water affects how pigments settle on the paper. If not controlled, colors may dry lighter or darker than expected.
Techniques to Control Water Effectively
Over time, the artist developed a few habits that completely changed the way they paint. Here’s what they do to keep water and paint under control.
#1. Preparing Brush Before Painting
Before touching the paper, the artist ensures the brush is ready. A wet brush holds a lot of water; if not managed properly, it can release too much onto the paper.
Here’s what they do:
- Wash the brush – Always start with a clean brush to remove any leftover pigment.
- Press the brush against the edge of the water container – This helps remove large water droplets.
- Check the moisture level – If the brush still holds too much water, they adjust it before picking up any paint.
These small steps make a huge difference in how much water ends up on the paper.
#2. Controlling Water Before Applying Paint to Paper
Even after adjusting the brush, excess water may still be present. That’s why the artist makes a stop before touching the paper.
Instead of going straight to the paper, they:
- Lightly dab the brush on a paper towel to remove excess water.
- Check how wet the brush feels. If it’s still too wet, they dab it again.
This quick habit prevents the brush from dumping too much water onto the painting. Over time, it has helped them gain much better control over washes.
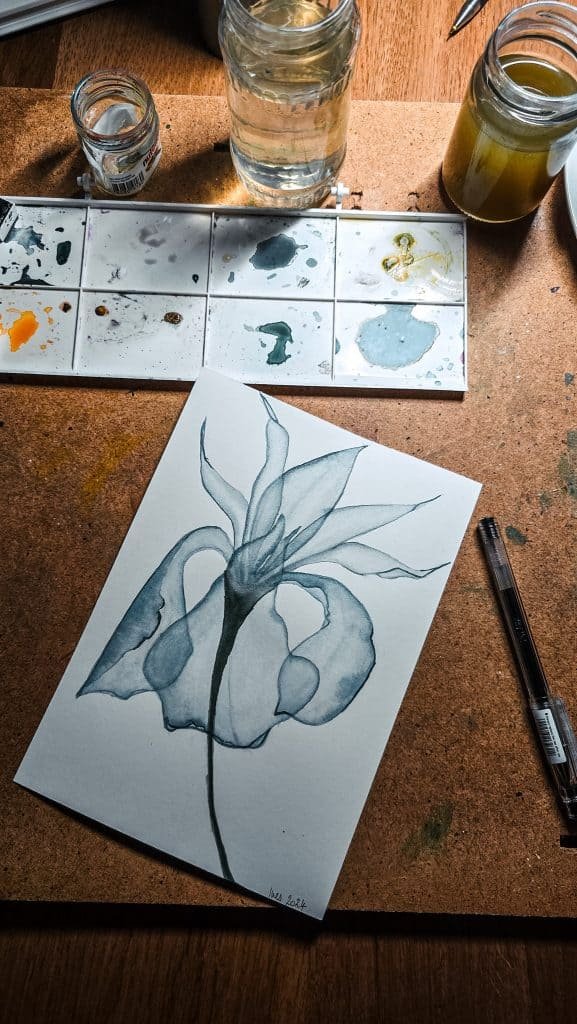
#3. The Magic Trick: Using the Brush to Absorb Excess Water
Sometimes, the artist doesn’t realize there is too much water until it’s already on the paper.
Maybe a flower petal has been painted, and suddenly a large puddle forms around the edges.
Instead of panicking, they use this trick:
- Wash the brush – A dirty brush won’t absorb cleanly.
- Dry it with a paper towel – This removes excess moisture.
- Hold the brush at a 30-degree angle and touch the puddle with the tip.
The brush works like a sponge, pulling the extra water back in. This simple trick has saved many paintings from unwanted edges and puddles.
#4. Handling Large Watery Areas
Larger areas, like leaves or backgrounds, can be tricky. If there’s too much water, the paint won’t dry evenly.
In these cases, the artist has two options:
- Use a paper towel to absorb water along the edges – This helps prevent harsh drying lines.
- Use a dry brush to move the water gently – They make sure to dry the brush often and use soft strokes to avoid damaging the paper.
This keeps washes smooth and prevents unwanted marks from forming.
Tips for Practicing Water Control for Better Results
Water control takes practice, but the good news is that it becomes second nature over time.
Here are some ways to develop good habits and improve technique.
Tip#1: Developing a Habit of Using a Paper Towel
A paper towel is one of the most valuable tools in watercolor painting. Keeping it next to the workspace allows the artist to adjust brush moisture quickly.
Every time they pick up paint, they pause for a moment to check if the brush holds too much water.
If it does, they dab it lightly on a paper towel before painting. This small habit can make a huge difference in the final look of a painting.
Tip#2: Practicing Water Control with Simple Exercises
To master water control, simple practice exercises help a lot. For example:
- Paint simple shapes like tulips, roses, or leaves. Observe how water moves on the paper and adjust accordingly.
- Experiment with different brush moisture levels. Try painting with a drier brush versus a wet one to see how they behave.
- Test the absorbent brush trick. Intentionally create a puddle and practice using the brush to soak up excess water.
With regular practice, the artist becomes more confident in managing water and controlling brushwork.
Wrapping Up
Water control is a fundamental skill in watercolor painting, but with the proper techniques, it becomes easy to master.
Artists can prevent unwanted edges, puddles, and blooms by managing brush moisture, using a paper towel, and practicing absorbent brush techniques.
The key is consistency—keeping a paper towel nearby, practicing these techniques regularly, and allowing water control to become second nature.
Now it’s their turn to try these tips in their next painting and see the difference for themselves.