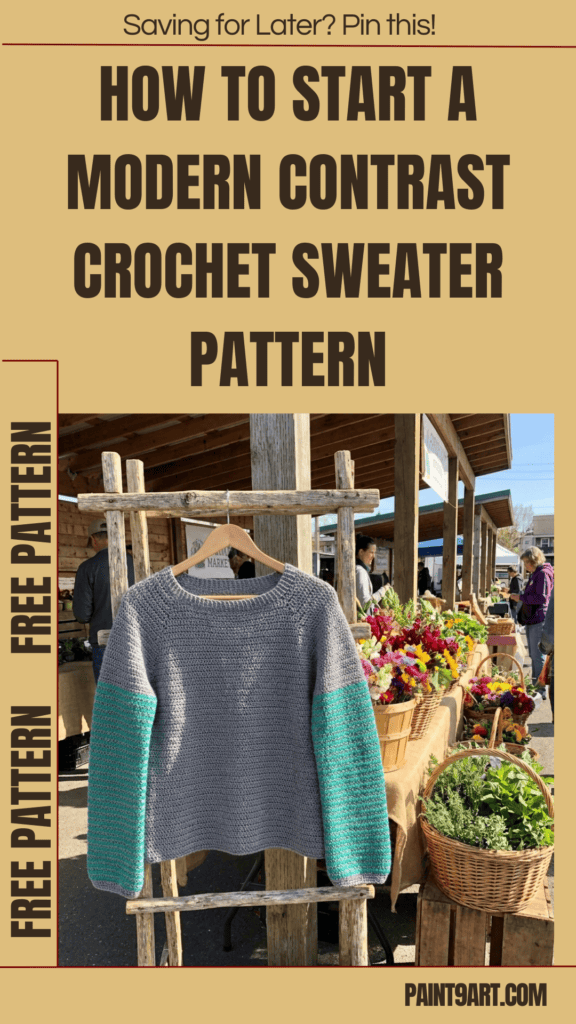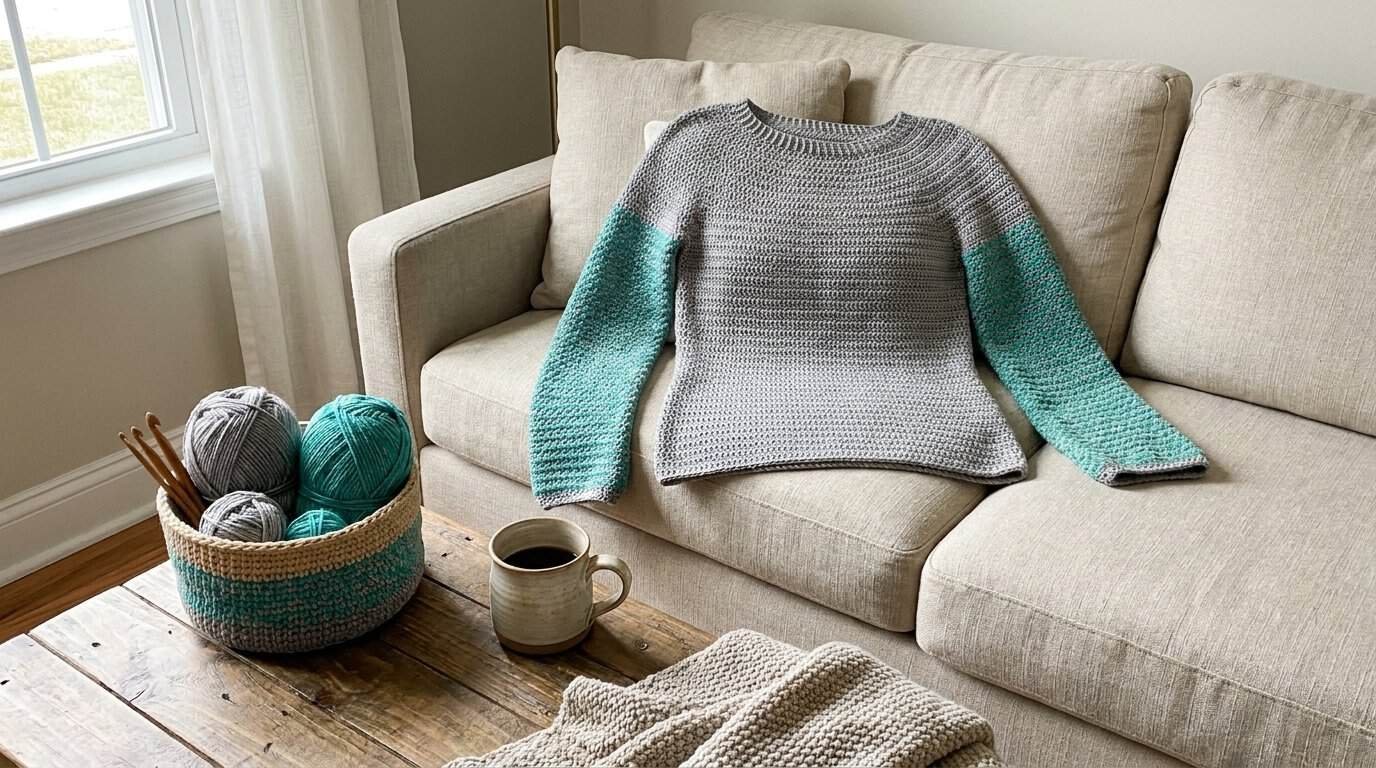
When you want a cozy layer that offers clean lines with a playful pop of color, a top-down sweater is the perfect choice.
The Free Modern Contrast Crochet Sweater Pattern is an engaging project that will elevate your garment-making skills !
Best of all, the complete pattern is entirely free! Grab your hook, select your two high-contrast colorways, and let’s start stitching this stunning wardrobe staple.
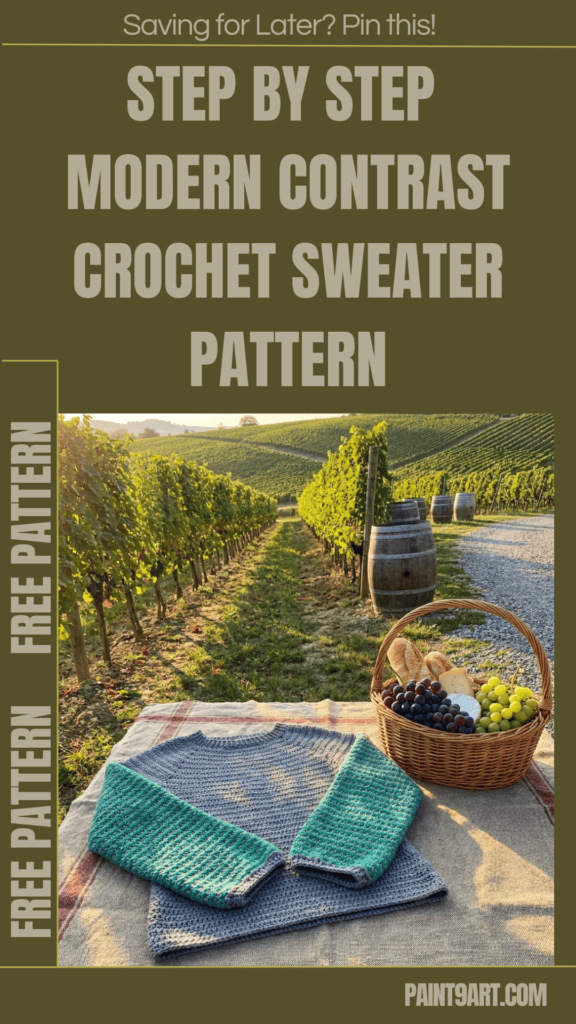
Pattern Details & Materials
Before pulling up your very first loop, let’s review the required tools, sizing metrics, and structural preparation.
Skill Level
-
Easy
Sizes
- XS (S, M, L, 1X, 2X, 3X, 4X, 5X)
- Finished Bust: 31 1/2 (35, 39, 44, 49, 56, 57, 62 1/2, 65 1/2) in. (80 (89, 99, 112, 124.5, 142, 145, 159, 166.5) cm)
Note: Pattern is written for smallest size with changes for larger sizes in parentheses . When only one number is given, it applies to all sizes . To follow pattern more easily, circle all numbers pertaining to your size before beginning .
Materials
-
Yarn: LION BRAND TOUCH OF MERINO (Art. #676)
-
Color A: #150 Oxford Grey 4 (4, 5, 6, 6, 7, 8, 8, 9) balls
-
Color B: #172 Ivy 1 (1, 2, 2, 2, 2, 2, 2, 2) ball(s)
-
- Crochet Hook: Size 7 (4.5 mm)
- Notions: * LION BRAND® stitch markers
-
LION BRAND® large-eyed blunt needle
-
Gauge
- 17 sts = about 4 in. (10 cm) over pattern of alternating sc and dc rnds .
- BE SURE TO CHECK YOUR GAUGE.
Abbreviations
- beg = begin(ning)
- ch = chain
- ch-space = chain space previously made
- dc = double crochet
- rem = remain(ing)
- rep = repeat
- rnd(s) = round(s)
- RS = right side
- sc = single crochet
- sk = skip
- sl st = slip stitch
- st(s) = stitch(es)
- WS = wrong side
Stitch Explanations & Project Notes
Stitch Explanation
-
Fsc (Foundation single crochet):
- Ch 2 (counts as first Fsc), insert hook in 2nd ch from hook and draw up a loop; yarn over and draw through one loop on hook (the chain); yarn over and draw through 2 loops on hook (the single crochet) .
- Insert hook into the chain of the stitch just made and draw up a loop; yarn over and draw through one loop on hook (the chain), yarn over and draw through 2 loops on hook (the single crochet); rep from * the total number of times indicated .
-
sc2tog (sc 2 sts together): (Insert hook in next st and draw up a loop) twice, yarn over and draw through all 3 loops on hook – 1 st decreased .
Notes
- Sweater is worked in the round from the neck downwards .
- Piece is divided at underarms . Body is then worked, with waist and hip shaping, down to lower edge .
- Sleeves are worked from sts picked up around armholes, then worked in rounds down to cuff edge .
Instructions
Yoke
Rnd 1: With A, Fsc 68 (72, 76, 80, 84, 84, 88, 88, 88), taking care not to twist sts, join with sl st in first st .
Rnd 2: Ch 2 (doesn’t count as a st here and throughout), dc in each st around; join with sl st in first st .
Note: In some Increase Rnds for some sizes, work the sts within the */rep until there are not enough sts rem to work another rep . Then work one st in each of rem sts .
Rnd 3 (Increase Rnd): Ch 1, *sc in next 3 (3, 3, 3, 3, 3, 3, 3, 2) sts, 2 sc in next st; rep from * around, working sc in any rem st – 27 sc .
Rnd 4: Ch 2, dc in each st around; join with sl st in first st .
Rnd 5: Ch 1, sc in each st around; join with sl st in first st .
Rnd 6: Rep Rnd 4 .
Rnd 7 (Increase Rnd): Ch 1, *sc in next 3 sts, 2 sc in next st; rep from * around, working sc in any rem st(s) – 106 (112, 118, 125, 131, 131, 137, 137, 146) sc .
Rnds 8-11: Rep Rnds 4-7 – 132 (140, 147, 156, 163, 163, 171, 171, 182) sts in Rnd 11 .
Rnds 12-14: Rep Rnds 4-6 .
Rnd 15 (Increase Rnd): Ch 1, *sc in next 4 (3, 3, 3, 3, 3, 3, 3, 3) sts, 2 sc in next st; rep from * around, sc in any rem st(s) – 158 (175, 183, 195, 203, 203, 213, 213, 227) sts .
Rnds 16-18: Rep Rnds 4-6 .
Rnd 19 (Increase Rnd): Ch 1, *sc in next 4 (4, 4, 4, 3, 4, 3, 3, 3) sts, 2 sc in next st; rep from * around, sc in any rem st(s) – 189 (210, 219, 234, 253, 243, 266, 266, 283) sts .
Rnds 20-22: Rep Rnds 4-6 .
Rnd 23 (Increase Rnd): Ch 1, *sc in next 4 (4, 4, 3, 3, 4, 4, 3, 3) sts, 2 sc in next st; rep from * around, sc in any rem st(s) – 226 (252, 262, 292, 316, 291, 319, 332, 353) sts .
Rnd 24: Rep Rnd 4 .
Sizes XS (S) ONLY
Proceed to End Yoke .
Sizes M (L, 1X) ONLY
Rnds 25 and 26: Rep Rnds 5 and 6 . Proceed to End Yoke .
Sizes 2X (3X, 4X, 5X) ONLY
Rnds 25 and 26: Rep Rnds 5 and 6 .
Rnd 27 (Increase Rnd): Ch 1, *sc in next 4 sts, 2 sc in next st; rep from * around, sc in any rem st(s) – 349 (382, 398, 423) sts .
Rnd 28: Rep Rnd 4 . Proceed to End Yoke .
End Yoke
Next Rnd: Ch 1, sc in each st around; join with sl st in first st – 226 (252, 262, 292, 316, 349, 382, 398, 423) sts .
Next Rnd: Ch 2, dc in each st around; join with sl st in first st .
Rep last 2 rnds for 0 (0, 0, 1, 2, 2, 3, 4, 4) more times .
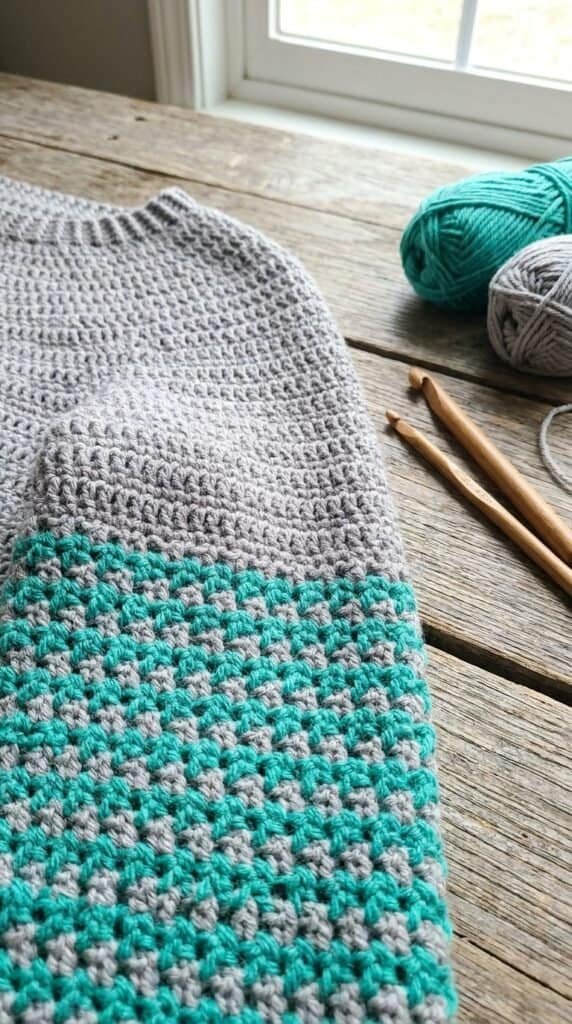
Divide for Body and Armholes
Rnd 1: Ch 1, sc in first st, ch 1 (0, 4, 3, 4, 6, 4, 8, 6) for underarm ch, place a marker (pm) on first ch made, sk next 47 (52, 52, 55, 58, 62, 74, 74, 78) sts for first armhole, sc in next 66 (74, 79, 91, 100, 112, 117, 125, 133) sts for front, ch 1 (0, 4, 3, 4, 6, 4, 8, 6) for underarm ch, pm on last ch made, sk next 47 (52, 52, 55, 58, 62, 74, 74, 78) sts for second armhole, sc in each rem st around; join with sl st in first st – 132 (148, 158, 182, 200, 225, 234, 250, 267) sts and 2 underarm chains rem for Body .
Rnd 2: Ch 2, working in each sc and ch, dc in each st around; join with sl st in first st – 134 (148, 166, 188, 208, 237, 242, 266, 279) sts .
Rnd 3: Ch 1, sc in each st around; join with sl st in first st .
Rnd 4: Ch 2, dc in each st around; join with sl st in first st .
Rep Rnds 3 and 4 until piece measures about 2 3/4 (2 3/4, 3, 3 1/4, 3 1/4, 3 1/2, 3 3/4, 3 3/4, 4) in. (7 (7, 7.5, 8.5, 8.5, 9, 9.5, 9.5, 10) cm) from divide, end with a Rnd 4 as the last rnd you work .
Note: Your sweater should be hitting you just above the bottom of your bust . If you need additional length before the waist shaping, continue repeating Rnds 2 and 3 until you reach your desired length.
Shape Waist
Note: Decreases are now worked so that Sweater stays closer to your waist and defines your shape . This may be omitted if you prefer a boxier shape .
Rnd 1: Ch 1, *sc in next 7 (6, 5, 5, 5, 5, 5, 4, 4) sts, sc2tog; rep from * around, sc in any rem st(s); join with sl st in first st – 120 (130, 143, 162, 179, 204, 208, 222, 233) sts .
Rnd 2: Ch 2, dc in each st around; join with sl st in first st .
Rnd 3: Ch 1, sc in each st around; join with sl st in first st .
Rep Rnds 2 and 3 until piece measures about 7 (7, 7 1/2, 7 1/2, 7 3/4, 7 3/4, 8, 8, 8 1/4) in. (18 (18, 19, 19, 19.5, 19.5, 20.5, 20.5, 21) cm) from divide, end with a Rnd 2 as the last rnd you work.
Shape Hip
Note: Increases are now worked so that Sweater stays fitted over your hips . If you omitted the waist shaping, continue working even around in pattern .
Rnd 1: Ch 1, *sc in next 7 (6, 5, 5, 5, 5, 5, 4, 4) sts, 2 sc in next st; rep from * to last 8 (4, 5, 6, 5, 6, 4, 2, 3) sts, sc in any rem st(s); join with sl st in first st – 134 (148, 166, 188, 208, 237, 242, 266, 279) sts.
Rnd 2: Ch 2, dc in each st around; join with sl st in first st .
Rnd 3: Ch 1, sc in each st around; join with sl st in first st .
Rep Rnds 2 and 3 until piece measures about 13 1/2 (13 1/2, 13 3/4, 13 3/4, 14, 14, 14 1/4, 14 1/2, 14 3/4) in. (34.5 (34.5, 35, 35, 35.5, 35.5, 36, 37, 37.5) cm) from divide, end with a Rnd 3 as the last rnd you work .
Note: If you want to add length to Sweater, continue repeating Rnds 2 and 3 to desired length .
Fasten off.
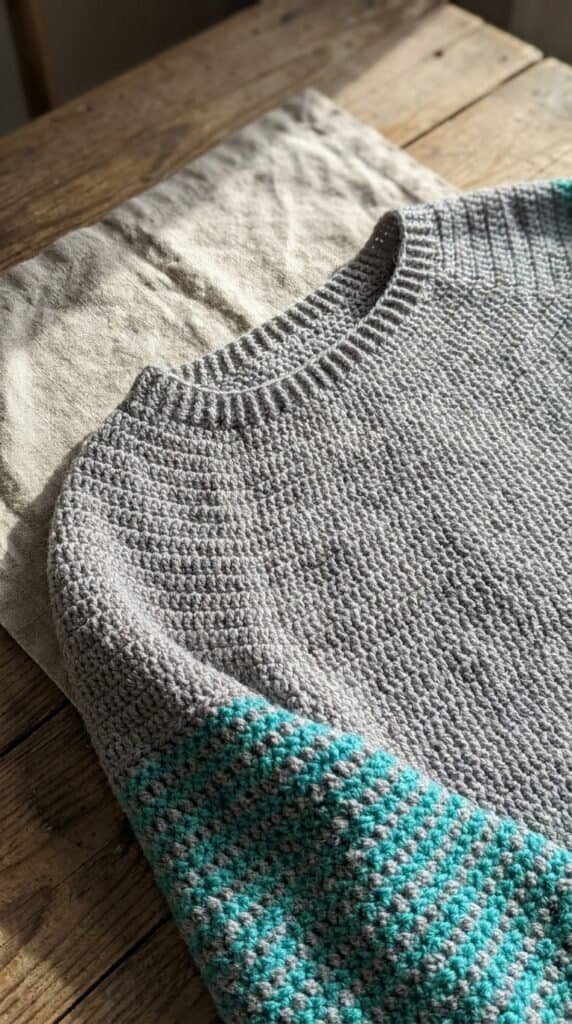
Sleeves
From RS, join A in marked st of one armhole .
Rnd 1 (RS): Ch 1, sc in each st and ch around; join with sl st in first st – 48 (52, 56, 58, 62, 68, 78, 82, 84) sts .
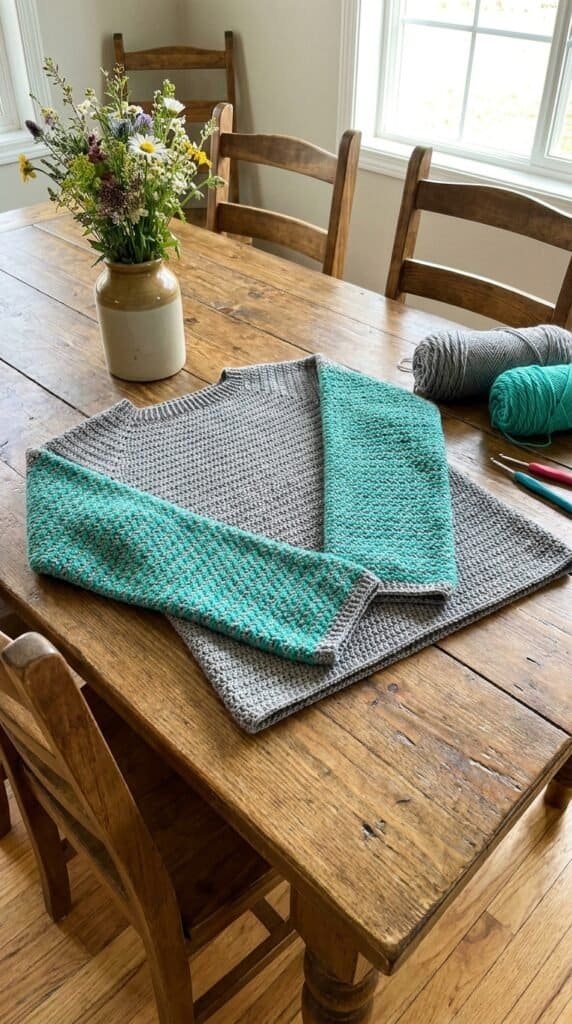
Rnd 2: Ch 1, beg in same st as joining sl st, *sc in next st, dc in next st; rep from * around; join with sl st in first st and change to B .
Rnd 3 (WS): With B, ch 1, TURN, beg in same st as joining sl st, *sc in next st, dc in next st; rep from * around; join with sl st in first st and change to A .
Rnd 4 (RS): With A, ch 1, TURN, beg in same st as joining sl st, *sc in next st, dc in next st; rep from * around; join with sl st in first st and change to B .
Rep Rnds 3 and 4 until sleeve measures about 18 (18, 19, 20, 20, 20 1/2, 20 1/2, 21, 21) in. (45.5 (45.5, 48.5, 51, 51, 52, 52, 53.5, 53.5) cm) from underarm, end with a Rnd 4 (worked with A) as the last rnd you work . Do not change yarn color at end of last rnd . Work rem of sleeve with A only .
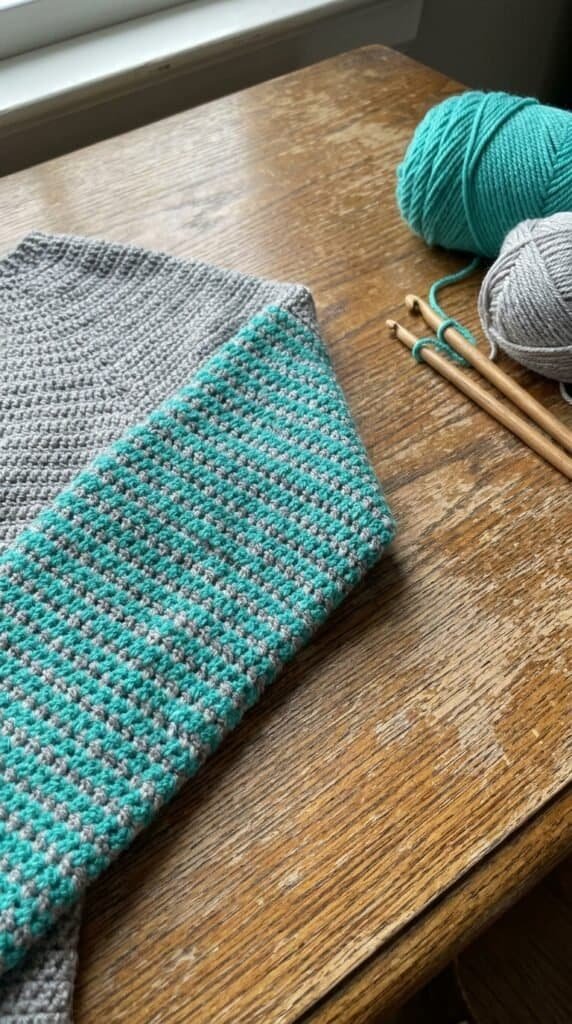
Next Rnd (Decrease Rnd – RS): Ch 1, *sc2tog; rep from * around; join with sl st in first st – 25 (27, 28, 29, 31, 34, 39, 41, 42) sts .
Next Rnd (Decrease Rnd): Ch 1, *sc in next 4 (3, 3, 3, 3, 3, 3, 3, 3) sts, sc2tog; rep from * around, sc in any rem st(s); join with sl st in first st – 21 (22, 23, 24, 25, 28, 32, 33, 34) sts .
Next Rnd: Ch 1, sc in each st around; join with sl st in first st .
Fasten off.
Finishing
Weave in ends . Block by soaking in lukewarm water with a non-rinse soap for 20 minutes, then lay flat to dry on blocking mats or a towel.
Wrapping Up
Congratulations on wrapping up your Free Modern Contrast Crochet Sweater Pattern! By starting at the neckline and carefully following your customized yoked metrics down to underarm partition points, you have generated a beautifully personalized fit .
Alternating high-contrast stripes creates a striking graphic cuff accentuation that will catch eyes wherever you choose to wear it .
Give it a fresh block to smooth your stitches out, pull it over a sleek pair of jeans, and step out into the world wearing your stunning new handmade masterwork with pride !