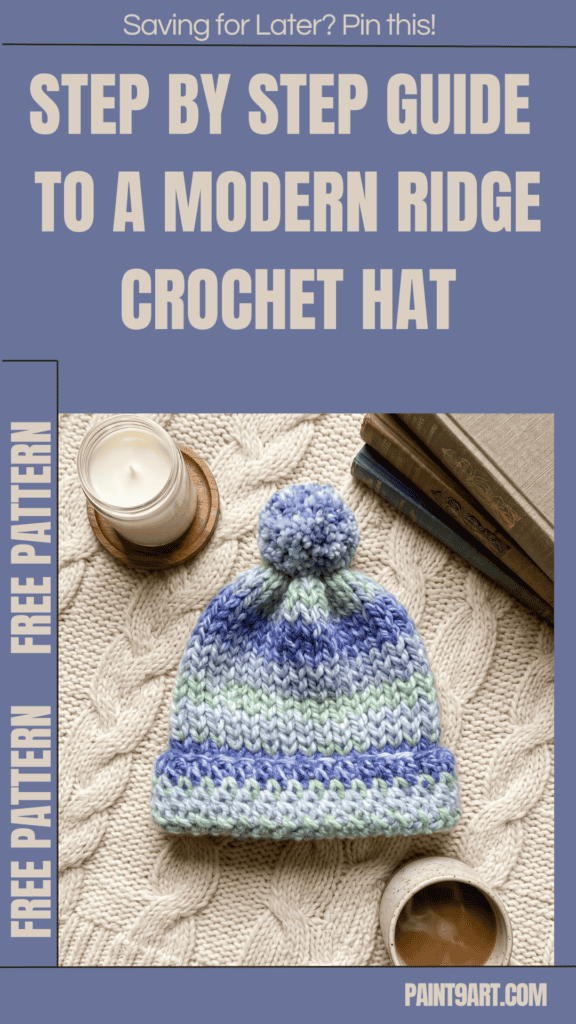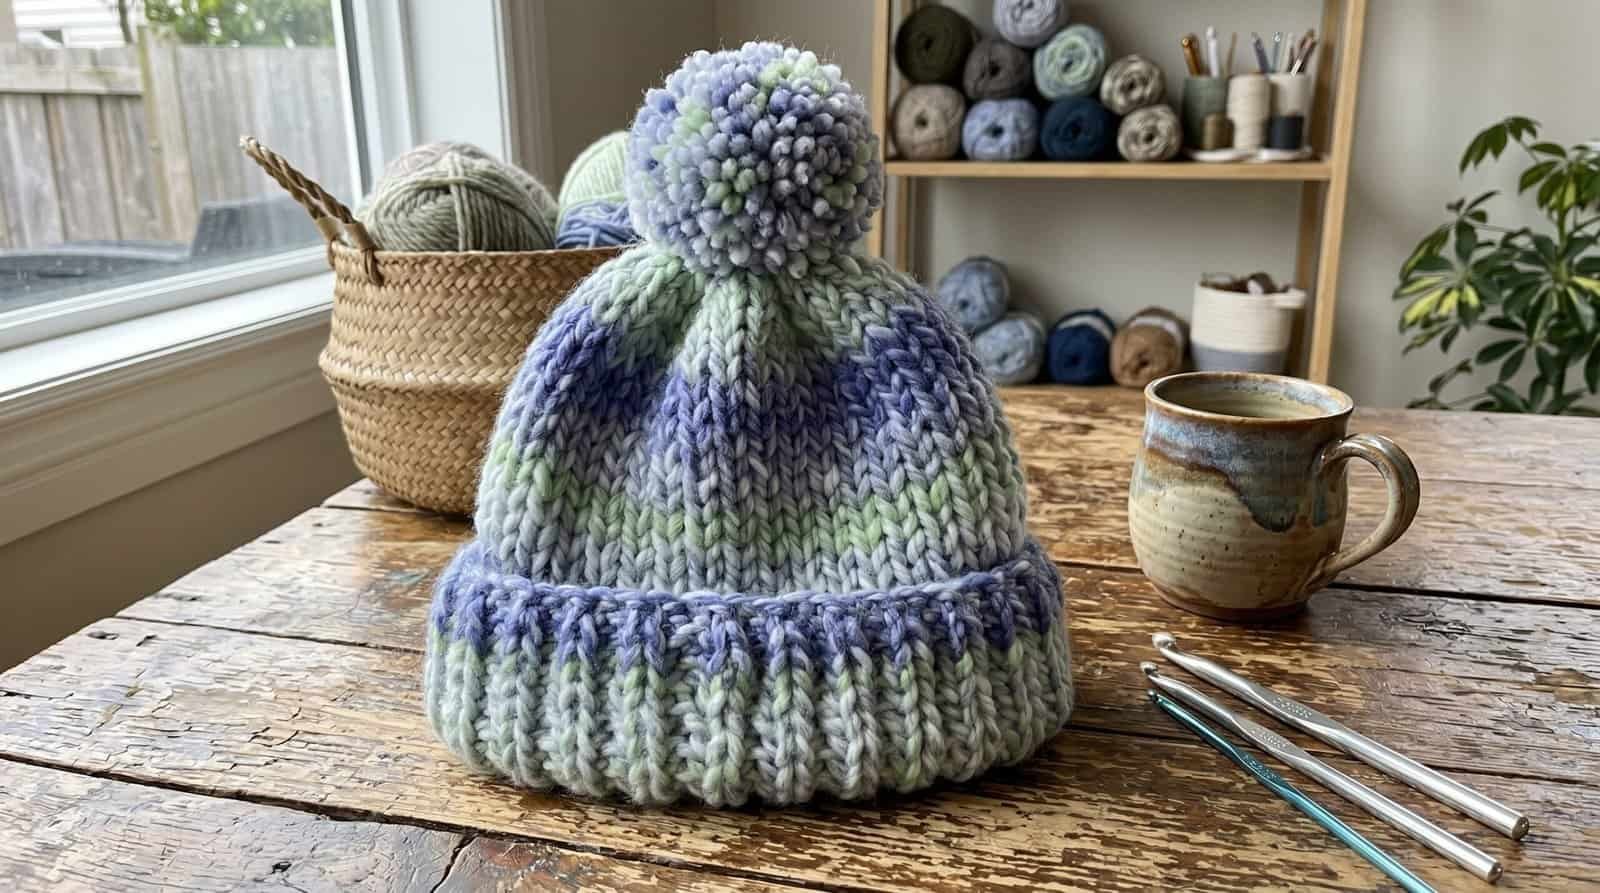
When the winter frost sets in, having a thick, reliable beanie in your wardrobe is an absolute must, and the Free Modern Ridge Crochet Hat Pattern.
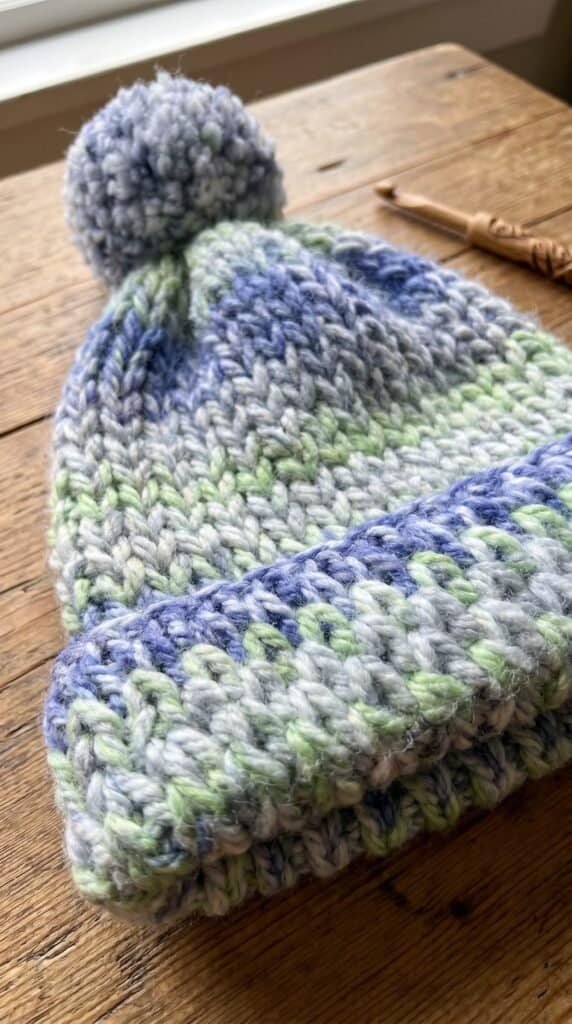
Featuring a beautifully snug silhouette and a dense, knit-like texture created by the waistcoat stitch, this gorgeous accessory looks incredibly high-end.
It hooks up remarkably fast using super bulky yarn and finishes with a fun, oversized pom-pom. Best of all, it is completely free to make, so grab your hook and let’s start stitching this winter staple!
Pattern Details & Materials
Before picking up your hook, let’s review the sizing, measurements, and required tools to prepare your workspace.
Skill Level
-
Easy
Sizes
- Size: Adult Medium
- Finished Circumference: About 20 in. (51 cm)
- Finished Height: About 12 in. (30.5 cm)
Materials
-
Yarn: LION BRAND® RE-SPUN THICK & QUICK® (Art. #843), #204 Riverside, 1 ball
-
Yarn Weight: Super Bulky 6
-
- Crochet Hook: Size P-16 (11.5 mm)
- Notions:
-
-
LION BRAND® stitch markers
-
LION BRAND® large-eyed blunt needle
-
-
Additional Materials: Pom-Pom Maker
Gauge
- 7 WC + 9 rnds = about 4 in. (10 cm).
- BE SURE TO CHECK YOUR GAUGE.
Abbreviations
- ch = chain
- rnd(s) = round(s)
- sc = single crochet
- st(s) = stitch(es)
Stitch Explanations & Project Notes
Stitch Explanations
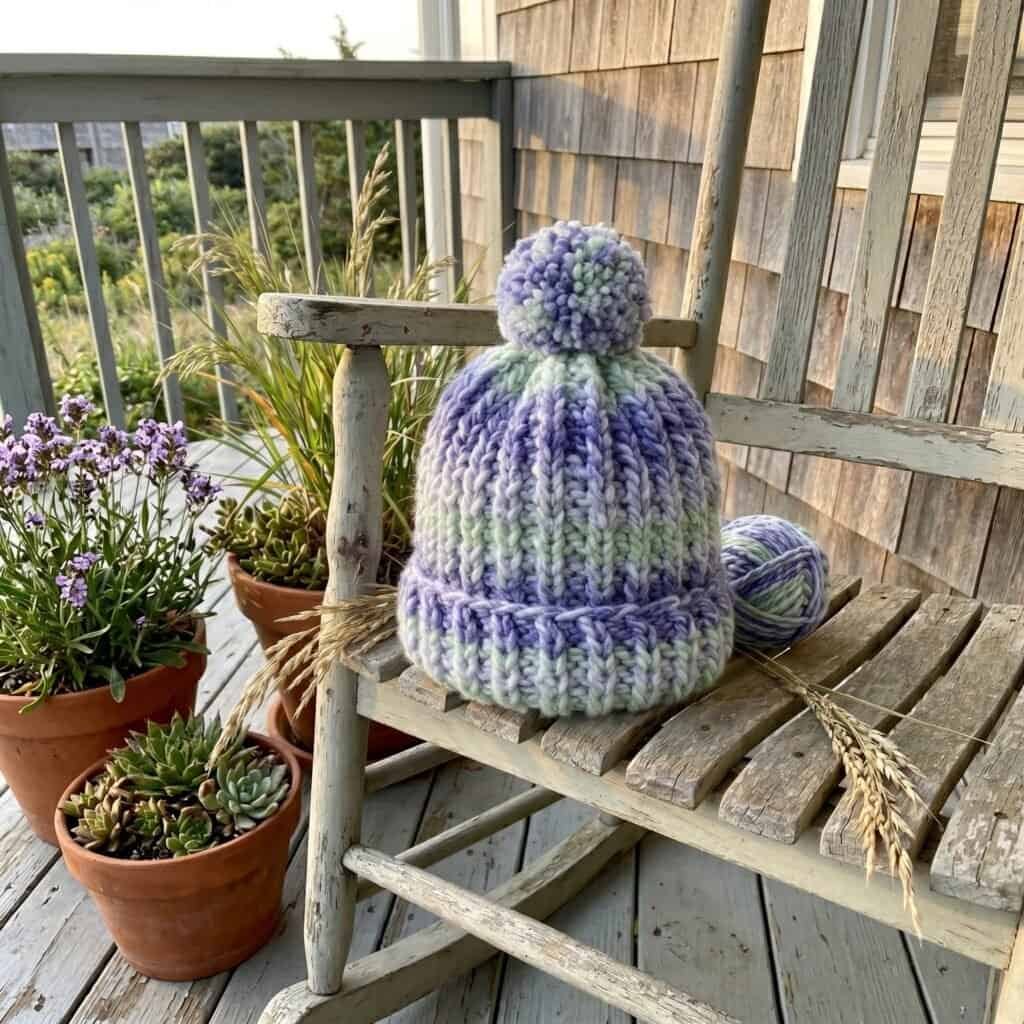
WC (Waistcoat Stitch): Insert hook between the “legs” of the next st, taking care that the hook exits on the wrong side between the legs and below the top 2 loops, yarn over and draw up a loop, yarn over and draw through both loops on hook.
Notes:
- A waistcoat stitch is worked like a single crochet EXCEPT that the hook is inserted between the legs of the next sc instead of under the top 2 loops.
- The “legs” of a single crochet are the two leaning vertical strands that form a “V” on the front of the st.
WC2tog (Waistcoat Stitch 2 stitches together): (Insert hook between the “legs” of the next st and draw up a loop) twice, yarn over and draw through all loops on hook – 1 st decreased.
Pattern Notes
- Hat is worked in continuous rnds from the lower edge upwards. Do not join last st of rnds to first st with a slip st.
- A decrease rnd is worked to shape top of Hat.
- Pom-pom is tied to completed Hat.
Instructions
Hat
Ch 35.
Row/Rnd 1: Sc in 2nd ch from hook and in each ch across you will have 34 sc in this row. Taking care not to twist Row 1, bring ends of Row 1 together to form a circle. Work first st of next rnd in first st of Row 1 to begin working in rnds. Place a marker in last st made to indicate end of rnd. Move marker up as each rnd is completed.
Rnds 2-26: WC in each st around; do not join at end of rnds, work in continuous rnds (spiral).
Shape Top of Hat
Rnd 27: WC2tog; repeat from * around – 17 WC.
Fasten off, leaving a long yarn tail. Thread tail through top of sts of last rnd. Pull tail to close opening at top of Hat. Knot securely.
Finishing
Make a Pom-Pom using whichever method you prefer. Trim yarn ends evenly, then tie Pom-Pom to top of Hat.
Pom-Pom with Pom-Pom Maker
Follow package instructions to make a pom-pom.
Pom-Pom by Hand
Cut a strand of yarn, about 12 in. (30.5 cm) long, fold strand in half and set aside. Spread the fingers of one hand then wrap yarn around fingers – the more wraps, the fuller the pom-pom. Cut working yarn.
Weave in ends.
Wrapping Up
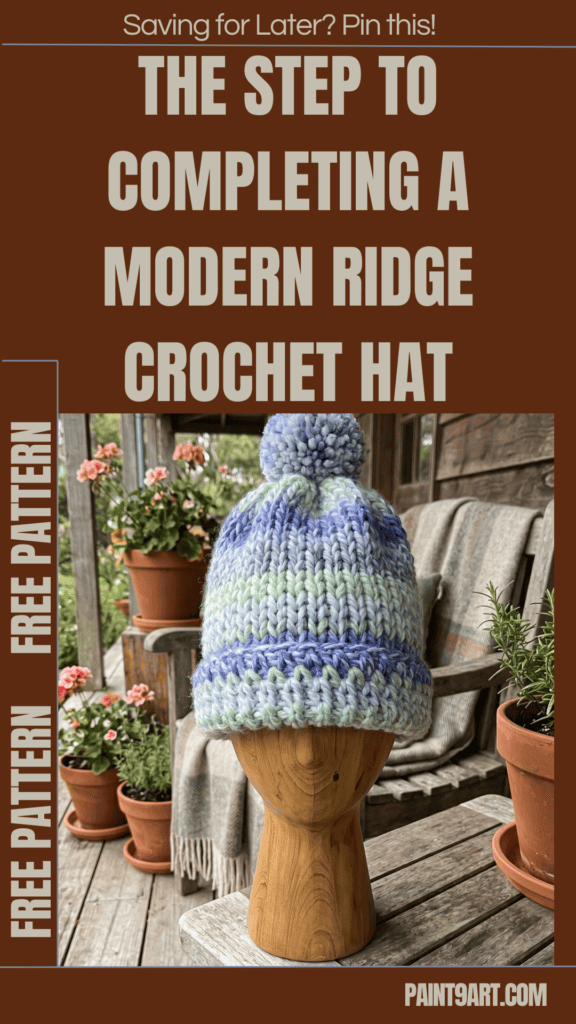
Congratulations on completing your Free Modern Ridge Crochet Hat Pattern!
By utilizing super bulky yarn and mastering the tight structure of the waistcoat stitch, you have crafted a wonderfully cozy and insulated winter accessory.
Top off your finished beanie with a fluffy pom-pom, throw it on for your next chilly outdoor adventure, and enjoy the stylish warmth of your lovely new handmade masterpiece!