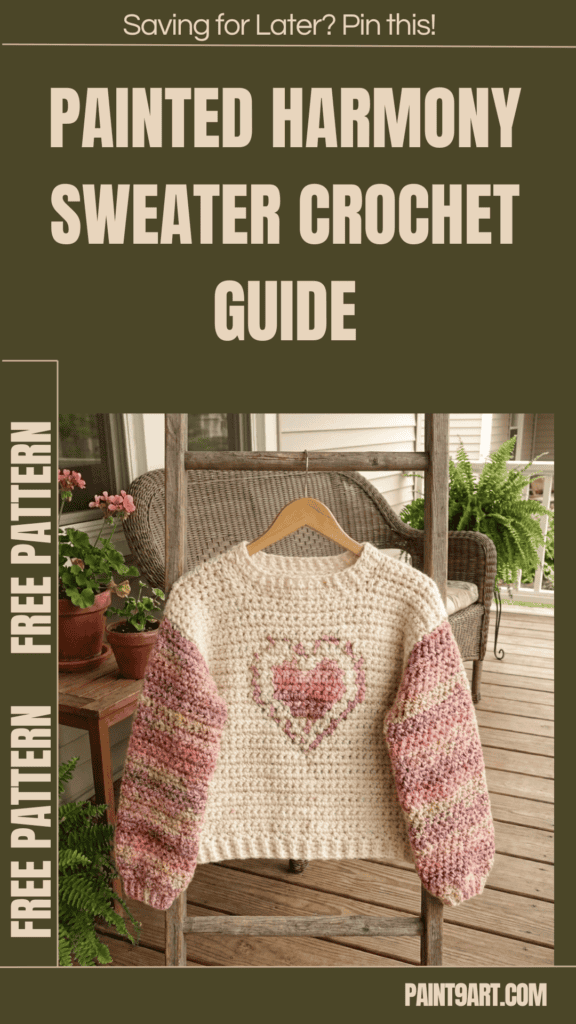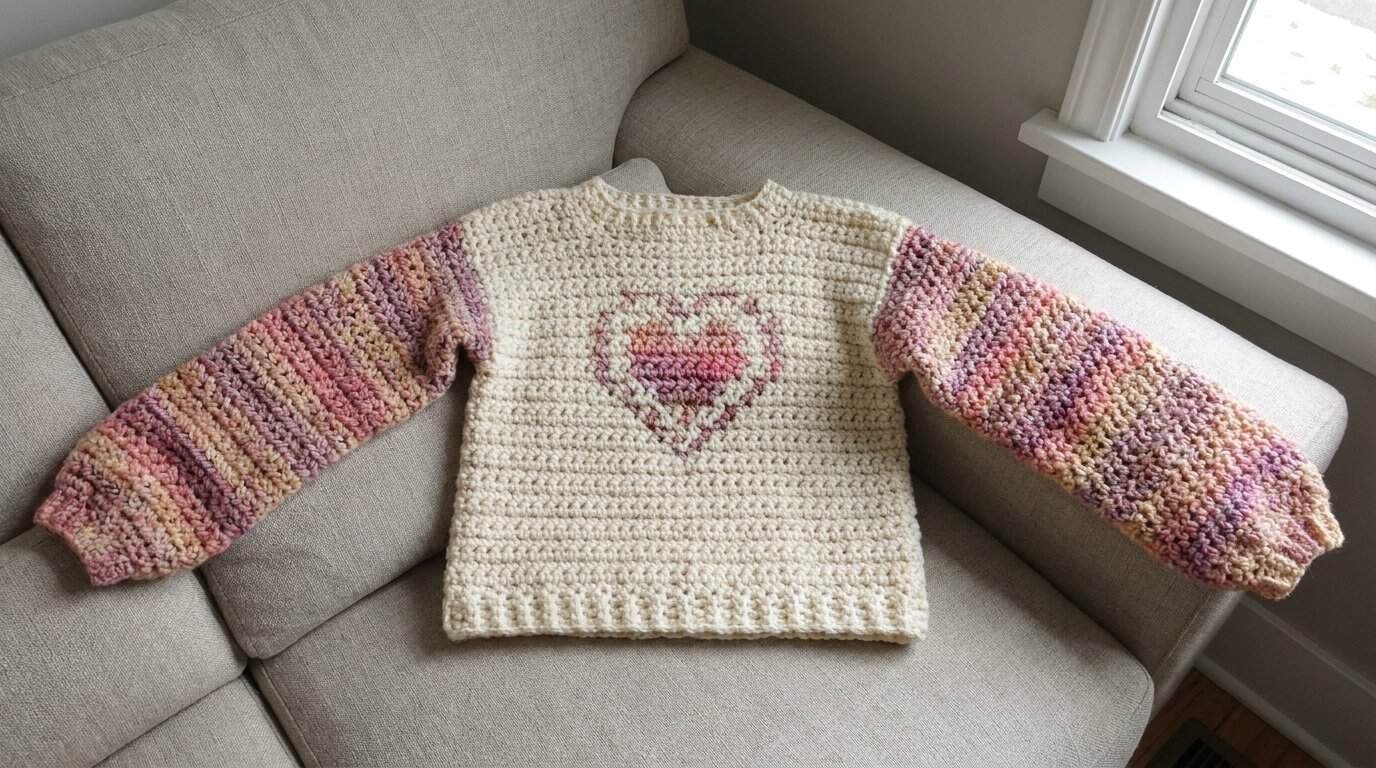
There is nothing quite like cozying up in a chunky, handmade pullover that has a beautiful, statement-making design.
If you want to expand your intermediate skills with a gorgeous graphic project, the Free Painted Harmony Crochet Sweater Pattern is your next must-make masterpiece!
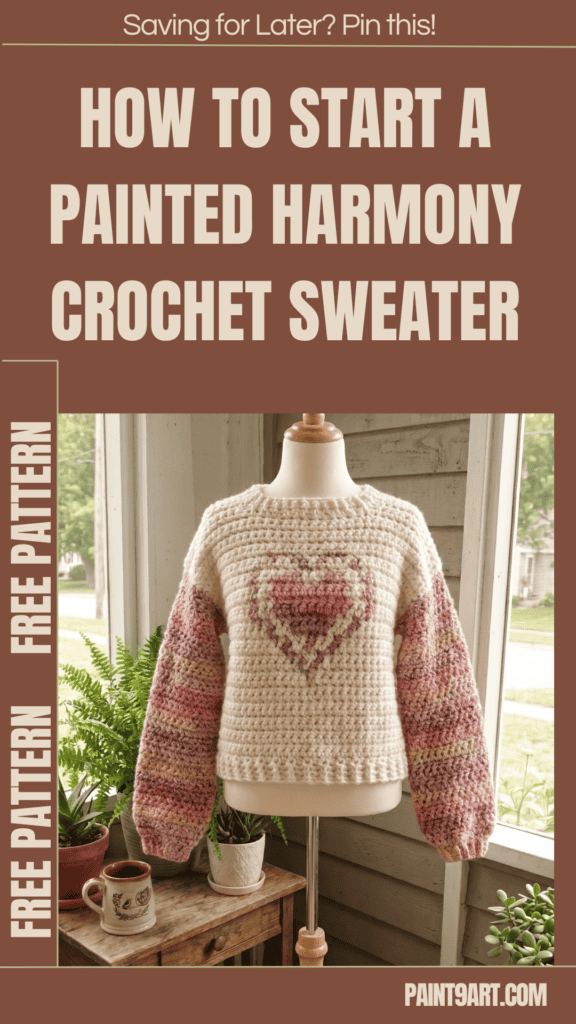
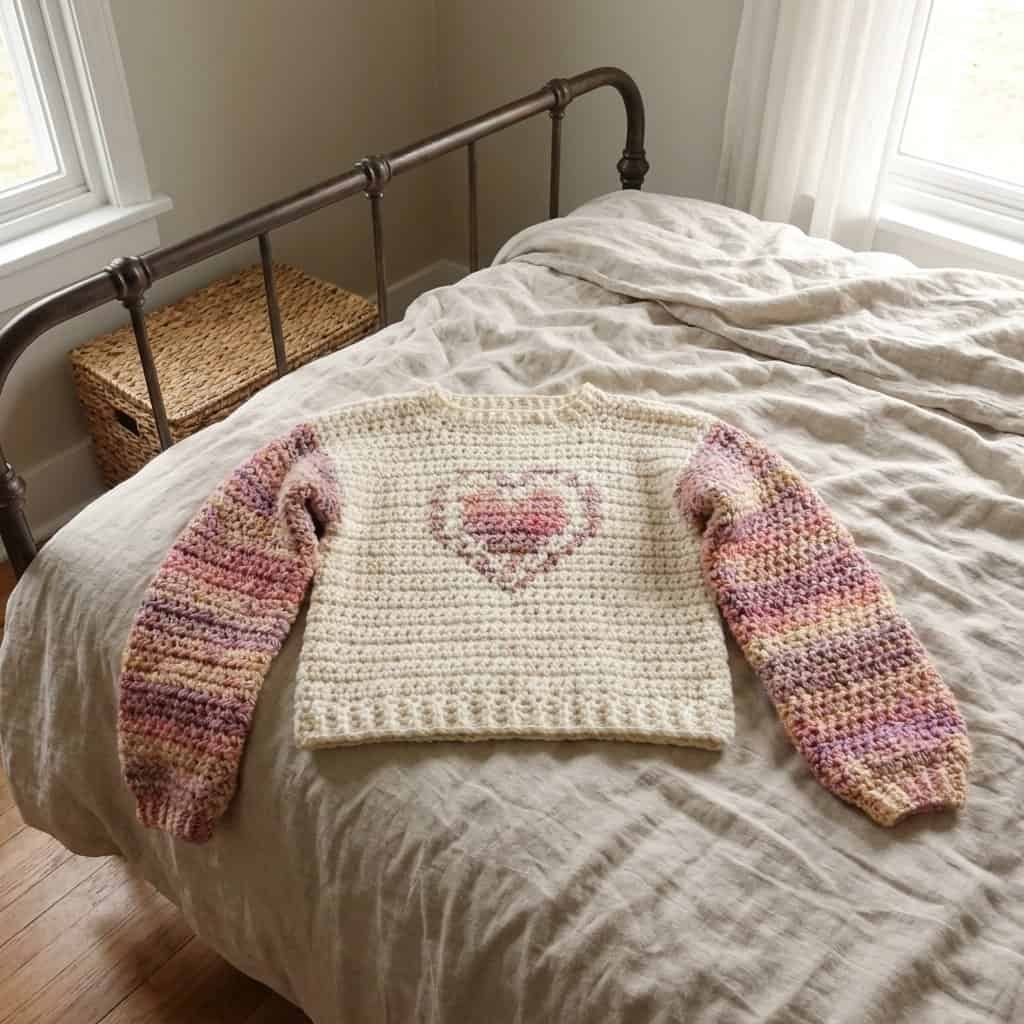
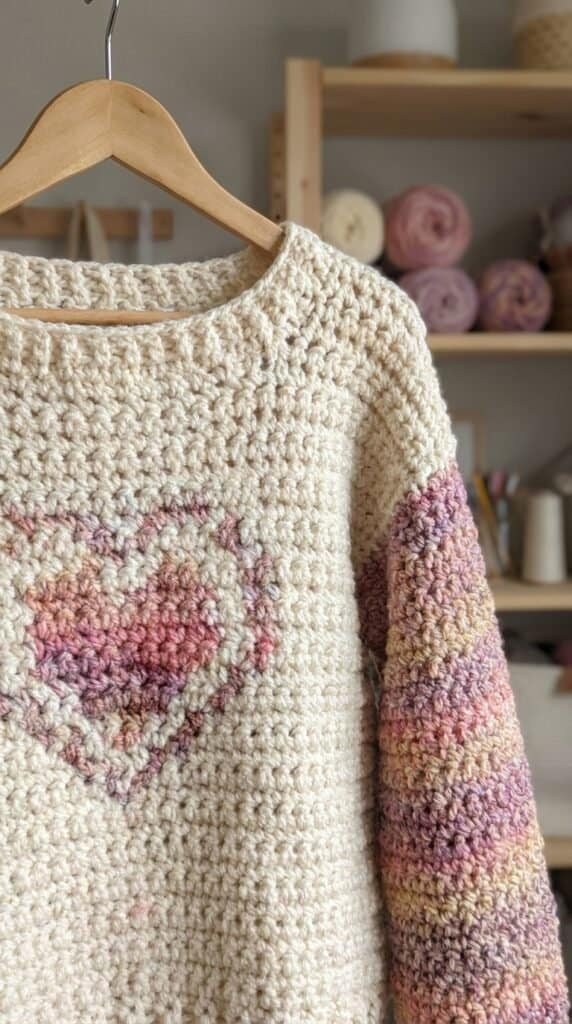
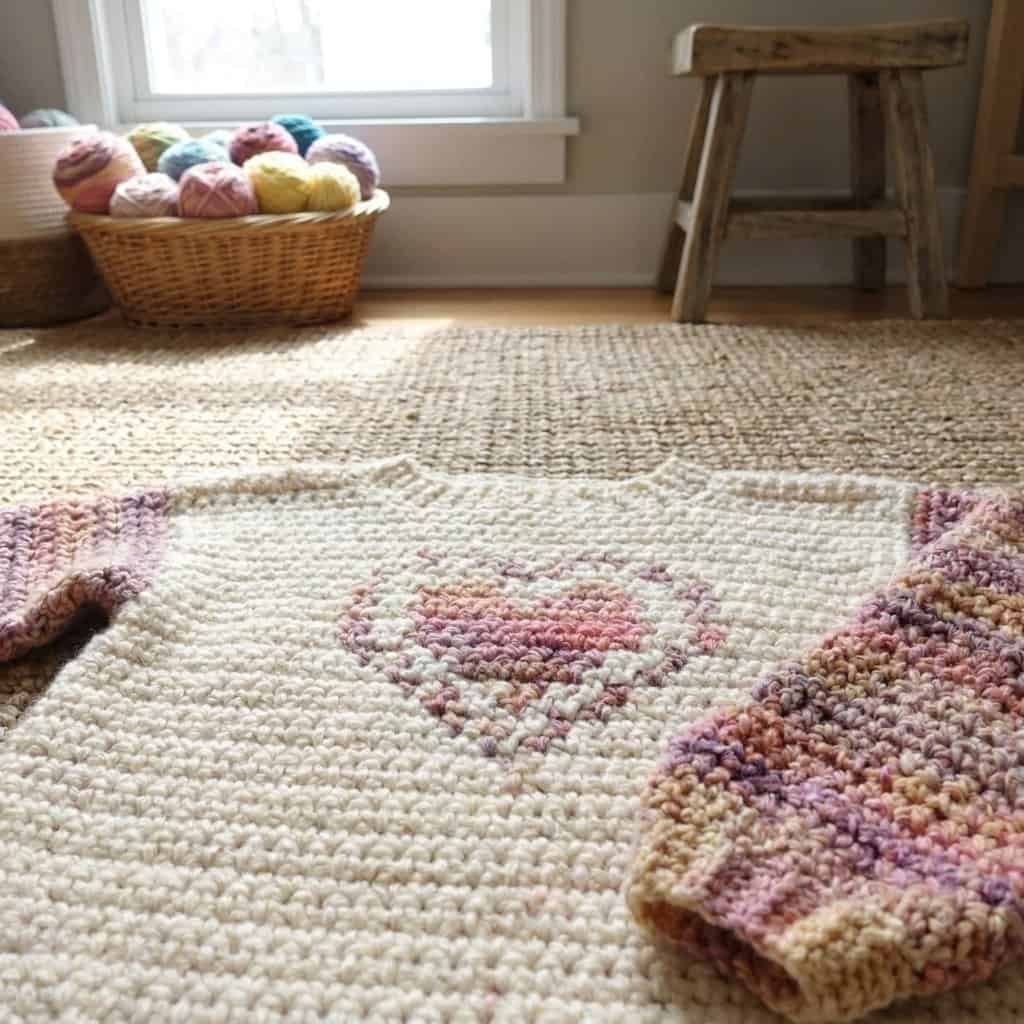
This soft, plush sweater features a neutral, classic body accented by an adorable statement heart design right on the chest and highly textured sleeves.
Pattern Details & Materials
Before diving into your first row of stitches, let’s look over the sizing guidelines, dimensions, and materials needed to prepare your workspace.
Skill Level
-
Intermediate
Sizes
- XS/S (M/L, 1X/2X, 3X/4X)
- Finished Bust: About 38 (46, 54, 62) in. (96.5 (117, 137, 157.5) cm)
- Finished Length: About 201/2 (21, 211/2, 22) in. (52 (53.5, 54.5, 56) cm)
Note: Pattern is written for smallest size with changes for larger sizes in parentheses. When only one number is given, it applies to all sizes. To follow pattern more easily, circle all numbers pertaining to your size before beginning.
Materials
-
Yarn: LION BRAND® WOOL-EASE® THICK & QUICK® (Art. #640)
-
Yarn Weight: Super Bulky 6
-
Yarn A: #099 Fisherman 3 (4, 5, 6) balls
-
Yarn B: #615 Spice Market 3 (3, 4, 4) balls
-
- Crochet Hook: Size Q-19 (15 mm)
- Notions: stitch markers, large-eyed blunt needle
Gauge
- 8 sc = about 5 $1/4$ in. (13.5 cm); 8 rows = about 4 in. (10 cm).
- 5 hdc + 6 rows = about 4 $1/2$ in. (11.5 cm).
- BE SURE TO CHECK YOUR GAUGE.
Abbreviations
- beg = begin(ning)(s)
- ch = chain
- hdc = half double crochet
- rem = remain(ing)
- rep = repeat
- RS = right side
- sc = single crochet
- sk = skip
- sl st = slip stitch
- st(s) = stitch(es)
- WS = wrong side
Stitch Explanations & Project Notes
Stitch Explanations
- sc-blo (single crochet in back loop only): Insert hook in back loop only of indicated st and draw up a loop, yarn over and draw through 2 loops on hook.
- sc2tog (sc 2 sts together): (Insert hook in next st and draw up a loop) twice, yarn over and draw through all 3 loops on hook – 1 st decreased.
Pattern Notes
- Pullover is worked in 4 pieces: Front, Back, and 2 Sleeves.
- Each piece begins with a lower ribbed band. Stitches are then worked along the long edge of the band to begin the body of the piece.
- Ribbing is worked around the neck edge after shoulders are seamed.
- Yarn color is changed to form Heart on Front, following Chart.
- To change yarn color, work last st of old color to last yarn over. Yarn over with new color and draw through all loops on hook to complete st. Proceed with new color. Do not fasten off old color. Drop yarn color not in use to WS of piece and pick it up again in the next row.
- You’ll need to use a separate ball of yarn for each section of color. If needed wind yarn into separate smaller balls before beginning.
Instructions
Back
With A, ch 5.
Lower Ribbing
Row 1: Sc in 2nd ch from hook and in each ch across – 4 sc.
Rows 2-29 (35, 41, 47): Ch 1, turn, sc-blo in first 3 sts, sc in last st.
Do not fasten off.
Body
Row 1: Ch 1, do not turn, sc in end of each row along long edge of ribbing – 29 (35, 41, 47) sc.
Rows 2-37 (38, 39, 40): Ch 1, turn, sc in each st across.
Fasten off.
Front
With A, ch 5. Work Lower Ribbing as for Back.
Body
Row 1: Ch 1, do not turn, sc in end of each row along long edge of ribbing – 29 (35, 41, 47) sc.
ows 2-11 (12, 13, 14): Ch 1, turn, sc in each st across.
Charted Heart Pattern
Row 1 (RS): With A, ch 1, turn, sc in first 7 (10, 13, 16) sts; sc in next 15 sts, changing yarn color following Row 1 of Chart and place a marker in the first and last st of these 15 sts; with A, sc in each st to end of row. Move markers up as each row is completed.
Rows 2-15: With A, ch 1, turn, sc in each st to first marked st; sc in next 15 sts and change yarn color following next row of Chart; with A, sc in each st to end of row. Fasten off B.
Next 6 Rows: Ch 1, turn, sc in each st across.
Work remainder of piece with A only.
Shape First Shoulder
Row 1 (WS): Ch 1, turn, sc in first 9 (12, 15, 18) sts; leave rem sts unworked for front neck and second shoulder – 9 (12, 15, 18) sc.
Row 2: Ch 1, turn, sc2tog, sc in each st across – 8 (11, 14, 17) sc.
Row 3: Ch 1, turn, sc in each st to last 2 sts, sc2tog – 7 (10, 13, 16) sc.
Row 4: Ch 1, turn, sc2tog, sc in each st across – 6 (9, 12, 15) sc.
Row 5: Ch 1, turn, sc in each st across.
Fasten off.
Shape Second Shoulder
Row 1 (WS): From WS, sk next 11 unworked sts of body following Row 1 of first shoulder, join A with sc in next st, sc in each st to end of row – 9 (12, 15, 18) sc.
Row 2: Ch 1, turn, sc in each st to last 2 sts, sc2tog – 8 (11, 14, 17) sc.
Row 3: Ch 1, turn, sc2tog, sc in each st across – 7 (10, 13, 16) sc.
Row 4: Ch 1, turn, sc in each st to last 2 sts, sc2tog – 6 (9, 12, 15) sc.
Row 5: Ch 1, turn, sc in each st across.
Fasten off.
Sleeves (make 2)
Cuff
With B, ch 5.
Row 1: Sc in 2nd ch from hook and in each ch across – 4 sc.
Row 2: Ch 1, turn, sc-blo in first 3 sts, sc in last st.
Repeat Row 2 until cuff measures about 5 (6, 7, 8) in. (13 (15, 18, 20.5) cm). Do not fasten off.
Note: Cuff is very stretchy and will stretch to fit.
Shape Sleeve
Row 1: Ch 1, do not turn, sc in end of each row along long edge of cuff.
Note: Depending on the number of sts in Row 1, you may not be able to complete the final repeat of some of the following shaping rows. Don’t worry about this, just work the repeat instruction until you reach the end of the row then stop.
Row 2: Ch 2 (does not count as a st), turn, *hdc in next 2 sts, 2 hdc in next st; rep from * to end of row.
Row 3: Ch 2 (does not count as a st), turn, hdc in each st across.
Row 4: Ch 2 (does not count as a st), turn, 2 hdc in first st, hdc in each st across.
Repeat Row 4 until you have 22 (24, 26, 28) sts.
Next Row: Ch 2 (does not count as a st), turn, hdc in each st across.
Repeat last row until piece measures about 20 (20, 19, 19) in. (51 (51, 48.5, 48.5) cm) from beg.
Fasten off.
Finishing
Sew shoulder seams.
Place markers on side edges of Front and Back, 9 $1/2$ (10 $1/2$, 11 $1/2$, 12 $1/2$) in. (24 (26.5, 29, 32) cm) down from shoulder seams.
Sew Sleeves between markers.
Sew side and Sleeve seams.
Neck Ribbing
Row 1: From RS, join A with sl st at back neck edge, so that you are ready to work along back neck, ch 4. Sc in 2nd ch from hook and in next 2 ch, sl st in next 2 sts of neck edge – 3 sc and 2 sl sts.
Row 2: Turn, sk the sl sts, sc-blo in next 2 sc, sc in last sc – 3 sc.
Row 3: Ch 1, turn, sc-blo in first 2 sc, sc in last sc, sl st in next 2 sts of neck edge – 3 sc and 2 sl sts.
Repeat Rows 2 and 3 all the way around neck edge.
Fasten off, leaving a long yarn tail.
Thread tail into blunt needle and sew first row of ribbing to last row of ribbing.
Weave in ends.
Wrapping Up
Congratulations on completing your Free Painted Harmony Crochet Sweater Pattern!
By seaming the structural body panels together and pulling up those stretchy, graphic colorwork ribs around the cuffs and neck, you have stitched up a incredibly beautiful, statement-making winter piece.
Pair your gorgeous new sweater with your favorite high-waisted denim, step out into the crisp weather, and enjoy the cozy warmth of your beautiful handmade creation!