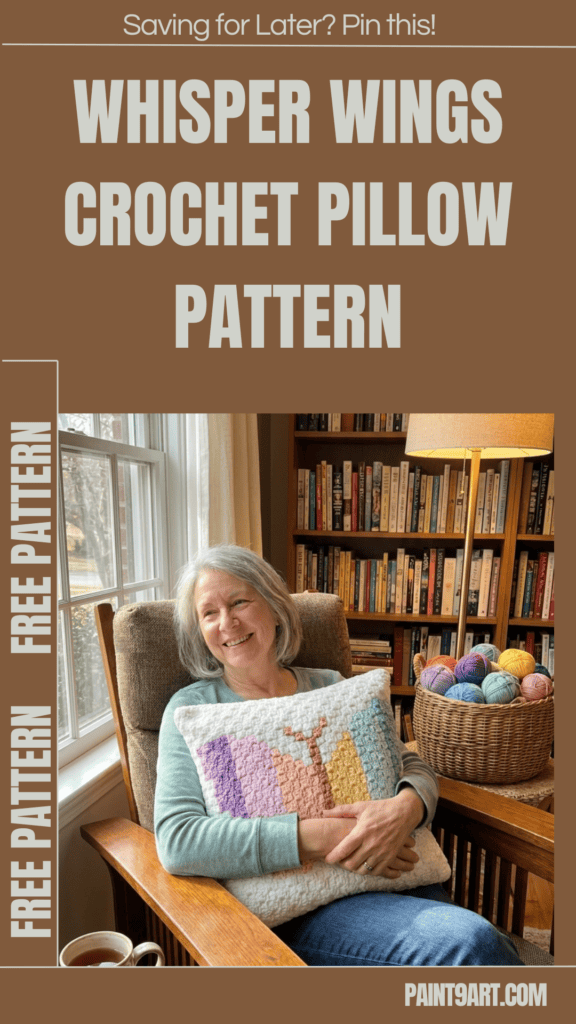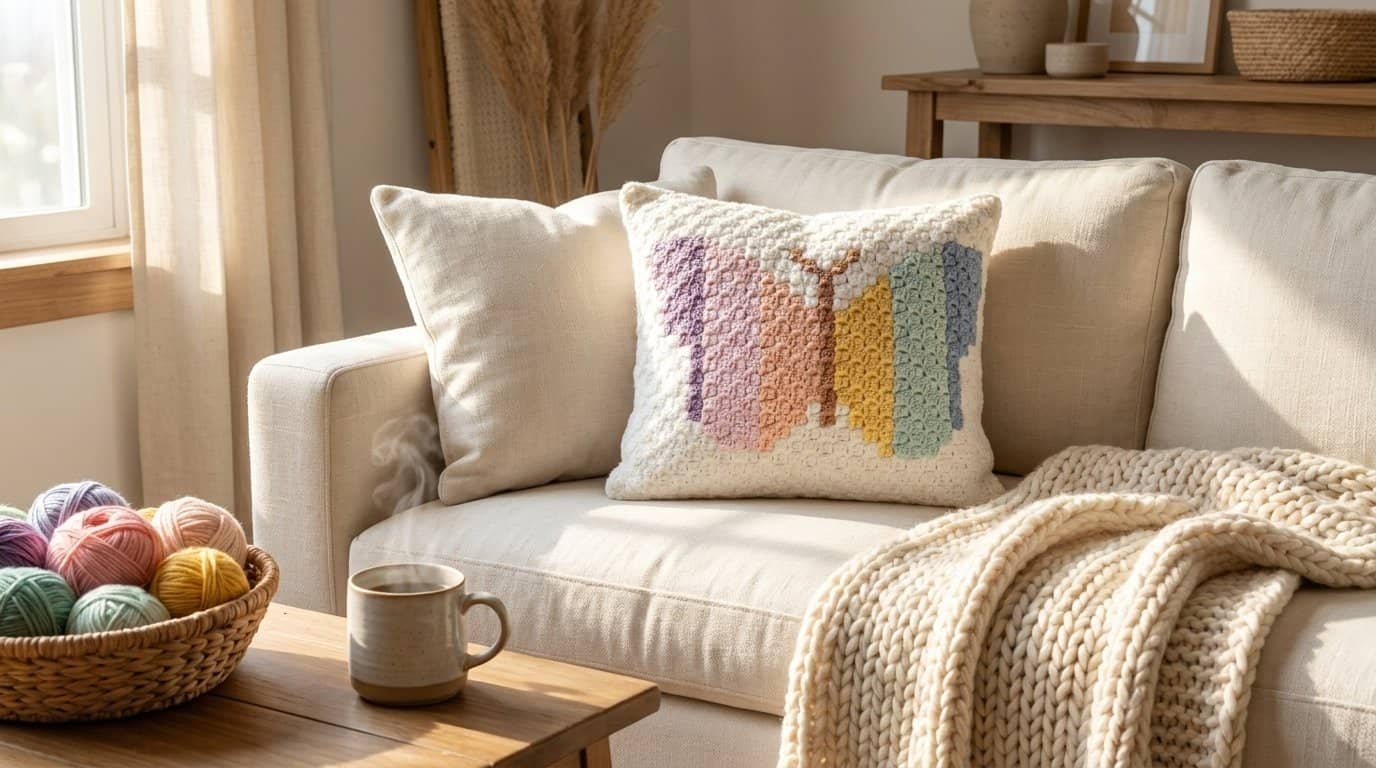
When the seasons change and flowers begin to bloom, adding a pop of handmade warmth to your home decor is the perfect way to celebrate.
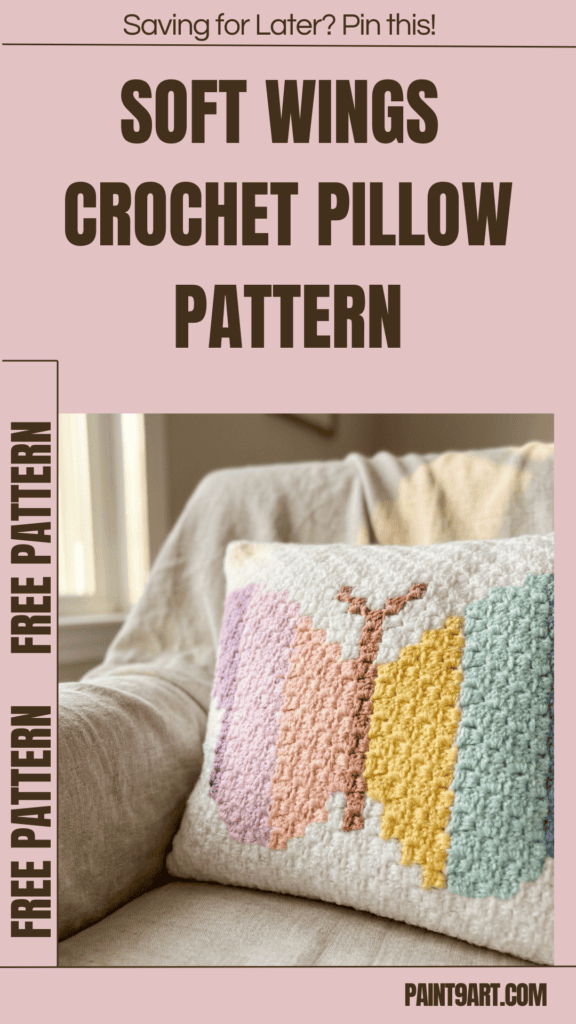
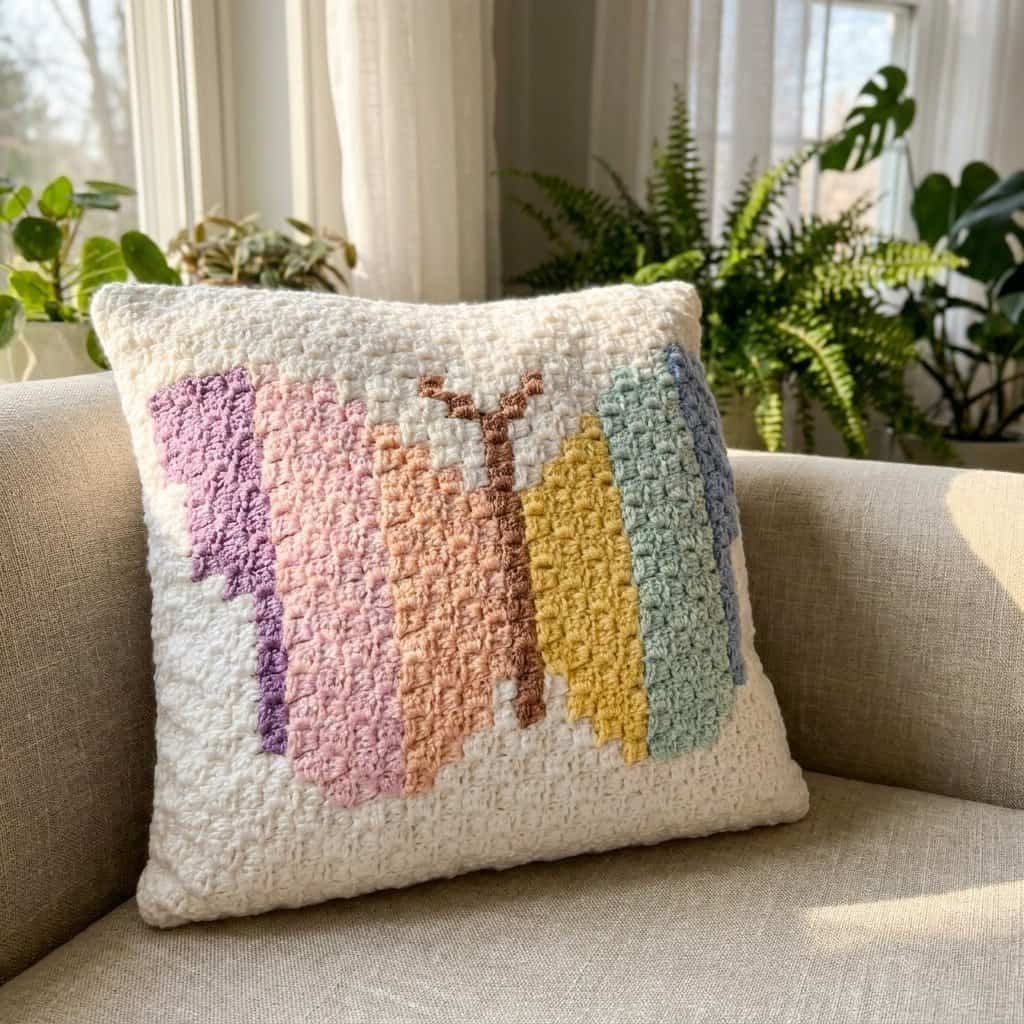
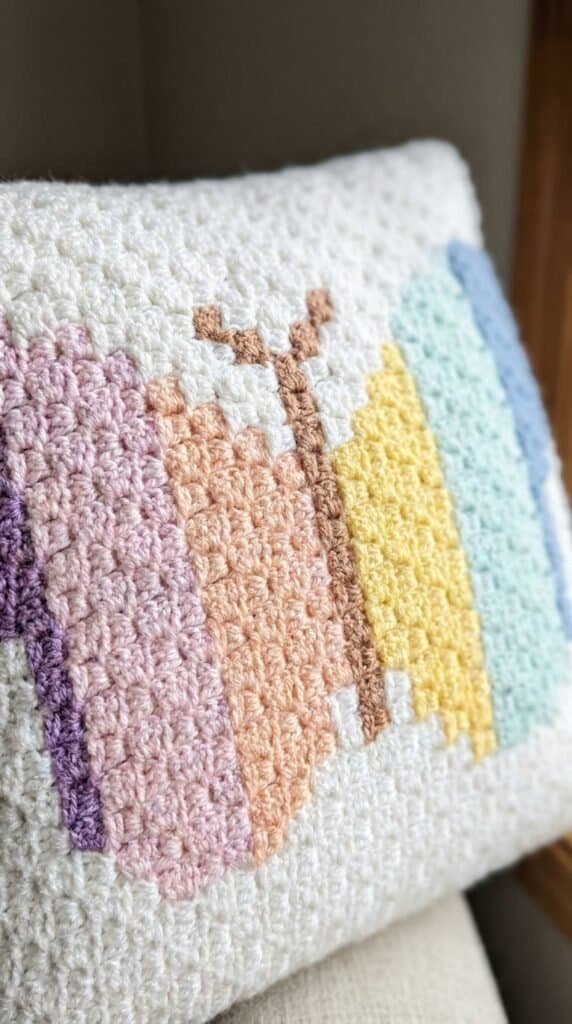
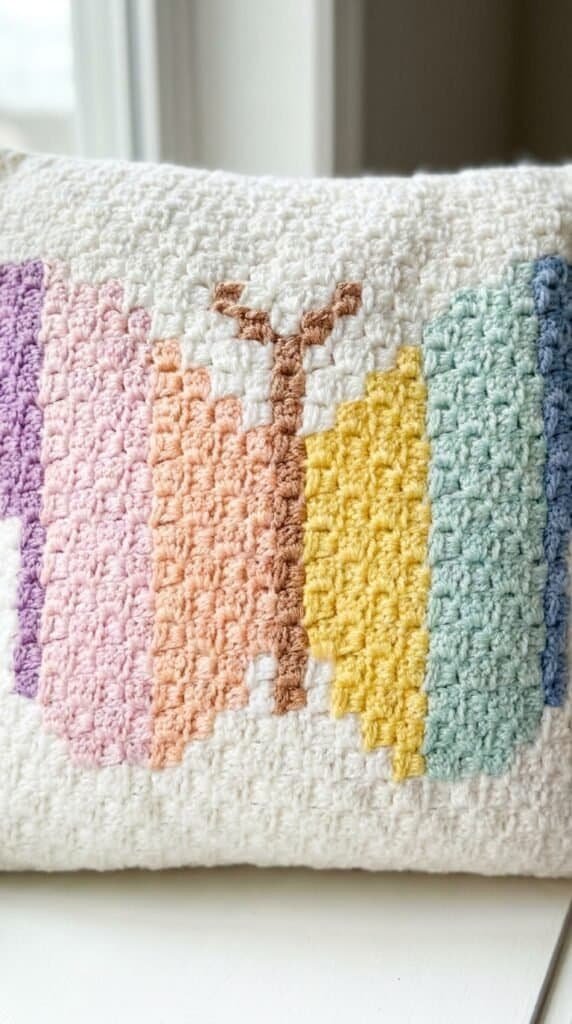
If you love projects that combine playful pixel art with functional design, the Free Spring Wings Crochet Pillow Pattern is an absolute must-make!
Using the popular corner-to-corner (C2C) technique, this pattern builds a gorgeous 14×14-inch accent cushion featuring a beautiful, multi-colored butterfly against a clean white backdrop.
Grab your hooks, pick out your favorite pastel shades, and let’s start stitching this cheerful spring staple!
Pattern Details & Materials
Before picking up your hook, let’s review the required materials, size dimensions, and gauge requirements to ensure your pillow squares align perfectly.
Skill Level
-
Easy
Size
About 14 x 14 in. (35.5 x 35.5 cm), 27 x 27 squares
Materials
-
Yarn: LION BRAND® BASIC STITCH® ANTI-PILLING (Art. #202)
-
Color A (Main Background): #100 White – 3 balls
-
Color B: #106 Baby Blue – 1 ball
-
Color C: #105 Frost – 1 ball
-
Color D: #157 Lemonade – 1 ball
-
Color E: #184 Peachy – 1 ball
-
Color F: #101 Baby Pink – 1 ball
-
Color G: #142 Prism – 1 ball
-
Color H: #102 Clay – 1 ball
-
-
Crochet Hook: Size G-6 (4 mm)
-
Notions:
-
LION BRAND® large-eyed blunt needle
-
14 x 14 in. (35.5 x 35.5 cm) pillow form or fiberfill stuffing
-
Gauge
- 8 (chain 3, 3 dc) squares = about 4 in. (10 cm).
- BE SURE TO CHECK YOUR GAUGE.
Abbreviations
- ch = chain
- ch-sp(s) = chain space(s) previously made
- dc = double crochet
- rnd = round
- sc = single crochet
- sl st = slip stitch
- st(s) = stitch(es)
Technique Explanation
Corner to Corner (C2C)
C2C The Corner-to-Corner (C2C) technique of crocheting is made by starting in one corner of a Chart (typically the lower right corner) and following the Chart row by row diagonally to the other corner (typically the top left corner).
How to Start Your C2C Pillow
Row 1: Starting in the lower right corner, chain 6. DC in the 4th chain from your hook, then DC in each of the last two chains. You will have one chain-3 space and 3 DC stitches. This completes your first square and Row 1.
Row 2: Chain 6. DC in the 4th chain from your hook and in the last two chains. Turn your work by flipping over the first square. Slip stitch into the chain-3 space of that first square, chain 3, and work 3 DC into that same chain-3 space. This completes Row 2 (2 squares total).
Increase Rows: The first half of the chart expands by increasing at the start of each row. Start these rows by chaining 6, working a DC in the 4th chain from your hook and in each of the remaining 2 chains. Turn, and continue making standard squares diagonally across (slip stitch into the next chain-3 space, chain 3, 3 DC in that same space).
Decrease Rows: The second part of the Chart is worked by making decreases on both edges. At the beginning of each row, turn your work and slip stitch across the 3 DC’s of the last square made. Slip stitch in the chain-3 space then chain 3 and work 3 DC in the same chain-3 space. Continue making squares as you have been doing (Slip stitch in chain-3 space then chain 3 and work 3 DC in the same chain-3 space). At the end of the row, end with a slip stitch in the last chain-3 space, do not work chain 3 and 3 DC in that last chain-3 space.
How to Change Yarn Colors: To attach a new color you will pull the new color yarn through as you make your slip stitch in the chain-3 space. Do not fasten off the old color. Leave the strand hanging and still attached to the ball. By not cutting your yarn each time you change colors, you will have fewer loose ends to weave in later. Just keep the balls not being used on the wrong side of your work. You can easily carry your yarn strand up from the previous row. Take the yarn strand and pull it up to your hook when you need to join that color back into your project.
When you start to have a lot of color changes, it helps to split up your balls of yarn by winding your yarn around multiple bobbins, spools, large clothespins or even chip clips! The designer used large clothespins and then clipped them to the C2C piece when not in use so the yarn doesn’t get tangled.
How to Read the Chart
Print out the Chart. Start in the lower right corner and mark off each square as you go. Each square in this C2C Chart = chain 3 + 3 DC. The first square in the corner is Row 1. You will work diagonally back and forth (down one row and back up the next). So, Row 2 of the Chart will be read diagonally from left to right and Row 3 from right to left.
Notes
- Back and Front are worked separately using the Corner-to-Corner (C2C) technique.
- Back is worked with yarn color A only, following written instructions.
- Yarn color is changed to form Butterfly pattern of Front, following Chart or written instructions.
- If you are new to the Corner-2-Corner (C2C) technique you may wish to make the Back first, to practice C2C. Then make the Front, using C2C AND changing the yarn color following Chart.
- A border is worked all the way around the outer edges of Front and Back.
- Front and Back are sewn together to make the Pillow.
Instructions
Back
Working with A only, work in C2C technique, until all 53 rows have been completed.
Increase Section
Row 1: With A, ch 6, dc in 4th ch from hook, dc in next 2 ch, turn (1 square).
Row 2: Ch 6, dc in 4th ch from hook, dc in next 2 ch, (sl st, ch 3, 3 dc) in next ch-3 sp, turn (2 squares).
Row 3: Ch 6, dc in 4th ch from hook, dc in next 2 ch, (sl st, ch 3, 3 dc) in each ch-3 sp across, turn (3 squares).
Rows 4-27: Repeat Row 3, working one additional square in each consecutive row until you have 27 squares in Row 27.
Decrease Section
Row 28: Sl st in each dc across to next ch-3 sp, (sl st, ch 3, 3 dc) in each ch-3 sp to last ch-3 sp, sl st in last ch-3 sp, turn (26 squares).
Rows 29-53: Continue decreasing until only 1 square remains in Row 53.
Do not fasten off.
Border: Ch 1, work sc evenly spaced all the way around the outer edge of the panel, working (sc, ch 1, sc) in each corner stitch; join with a sl st in your first sc. Fasten off.
Front
Work in the C2C technique, changing yarn colors dynamically following the chart layout row by row until all 53 rows are completed.
Increase Section
Row 1: With A, ch 6, dc in 4th ch from hook, dc in next 2 ch, turn (1 square).
Row 2: With A, ch 6, dc in 4th ch from hook, dc in next 2 ch, (sl st, ch 3, 3 dc) in next ch-3 sp, turn (2 squares).
Row 3: With A, ch 6, dc in 4th ch from hook, dc in next 2 ch, (sl st, ch 3, 3 dc) in each ch-3 sp across, turn (3 squares).
Rows 4-11: With A, repeat Row 3, adding one square per row up to 11 squares in Row 11.
Notes:
- Continue to repeat Row 3, working one more square in each row, AND change yarn color as instructed.
- Each row indicates how many squares to work using each color. For example, A x 5, C x 2, B x 1, A x 4, means to begin by working 5 squares with A, then 2 squares with C, then 1 square with B and end with 4 squares worked with A.
Row 12: A x 5, C x 2, B x 1, A x 4 (12 squares)
Row 13: A x 4, B x 1, C x 3, A x 5 (13 squares)
Row 14: A x 5, C x 4, B x 1, A x 4 (14 squares)
Row 15: A x 4, B x 1, C x 4, D x 1, A x 5 (15 squares)
Row 16: A x 6, D x 1, C x 4, B x 1, A x 4 (16 squares)
Row 17: A x 2, B x 3, C x 4, D x 2, A x 6 (17 squares)
Row 18: A x 7, D x 2, C x 4, B x 3, A x 2 (18 squares)
Row 19: A x 2, B x 3, C x 4, D x 3, A x 7 (19 squares)
Row 20: A x 8, D x 3, C x 4, B x 4, A x 1 (20 squares)
Row 21: A x 1, B x 4, C x 4, D x 3, A x 1, H x 1, A x 7 (21 squares)
Row 22: A x 8, H x 1, D x 4, C x 4, B x 4, A x 1 (22 squares)
Row 23: A x 1, B x 4, C x 4, D x 4, H x 1, A x 1, E x 3, A x 5 (23 squares)
Row 24: A x 5, F x 1, E x 4, H x 1, D x 4, C x 4, B x 3, A x 2 (24 squares)
Row 25: A x 3, B x 2, C x 4, D x 4, H x 1, E x 4, F x 2, A x 5 (25 squares)
Row 26: A x 5, F x 3, E x 4, H x 1, D x 4, C x 4, B x 1, A x 4 (26 squares)
Row 27: A x 5, C x 4, D x 4, H x 1, E x 4, F x 3, A x 6 (27 squares)
Decrease Section
Row 28: Sl st in each dc across to next ch-3 sp, (sl st, ch 3, 3 dc) in each ch-3 sp to last ch-3 sp, sl st in last ch-3 sp, working A x 5, F x 4, E x 4, H x 1, D x 4, C x 2, A x 6, turn. (26 squares)
Row 29: Sl st in each dc across to next ch-3 sp, (sl st, ch 3, 3 dc) in each ch-3 sp to last ch-3 sp, sl st in last ch-3 sp, working A x 11, H x 1, E x 4, F x 4, A x 5, turn. (25 squares)
Row 30: Sl st in each dc across to next ch-3 sp, (sl st, ch 3, 3 dc) in each ch-3 sp to last ch-3 sp, sl st in last ch-3 sp, in A x 4, G x 1, F x 4, E x 4, H x 1, A x 10, turn. (24 squares)
Note: Repeat Row 30 AND change yarn color as instructed, working one less square in each row.
Row 31: A x9, H x1, A x1, E x3, F x4, G x1, A x4 (23 squares)
Row 32: A x4, G x1, F x4, E x3, A x1, H x3, A x6 (22 squares)
Row 33: A x10, E x2, F x4, G x1, A x4 (21 squares)
Row 34: A x4, G x1, F x4, E x2, A x1, H x1, A x7 (20 squares)
Row 35: A x9, E x1, F x4, G x1, A x4 (19 squares)
Row 36: A x4, G x1, F x4, E x1, A x1, H x1, A x6 (18 squares)
Row 37: A x8, F x4, G x2, A x3 (17 squares)
Row 38: A x3, G x2, F x4, A x7 (16 squares)
Row 39: A x7, F x3, G x3, A x2 (15 squares)
Row 40: A x2, G x3, F x3, A x6 (14 squares)
Row 41: A x6, F x2, G x3, A x2 (13 squares)
Row 42: A x2, G x3, F x1, A x6 (12 squares)
Cut all yarn colors except A. Work remainder of piece with A only.
Rows 48-53: With A, sl st in each dc across to next ch-3 sp, (sl st, ch 3, 3 dc) in each ch-3 sp to last ch-3 sp, sl st in last ch-3 sp (1 square remains in Row 53). Do not fasten off.
Border: Ch 1, work sc evenly spaced all the way around the outer edge of piece, working (sc, ch 1, sc) in each corner; join with a sl st in first sc. Fasten off.
Finishing
- Hold Front and Back with wrong sides together and stitches matching.
- Using A and tapestry needle, sew edges together around 3 sides, leaving edges of last side unsewn.
- Insert pillow form or stuff Pillow.
- Sew edges of last side together.
Weave in ends
Let’s Wrap It Up
Congratulations on completing your Free Spring Wings Crochet Pillow Pattern!
By pairing structured gridlines with the fluid C2C technique, you have created a gorgeous, textured pixel-art accent piece that infuses any room with cheerful color.
Place your new butterfly cushion proudly on a cozy armchair, enjoy the clean, anti-pilling stitch definition, and welcome the bright energy of spring into your home!