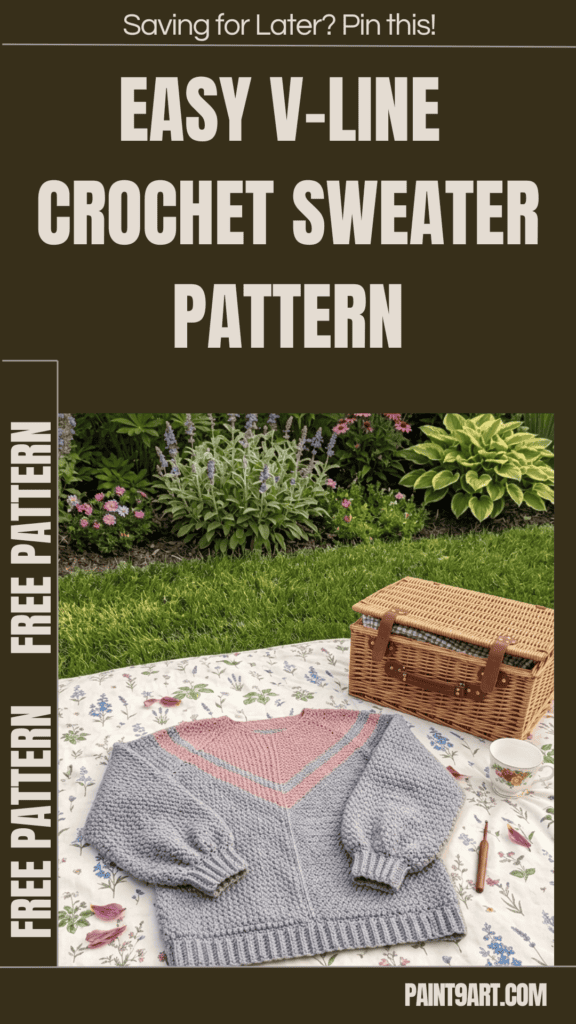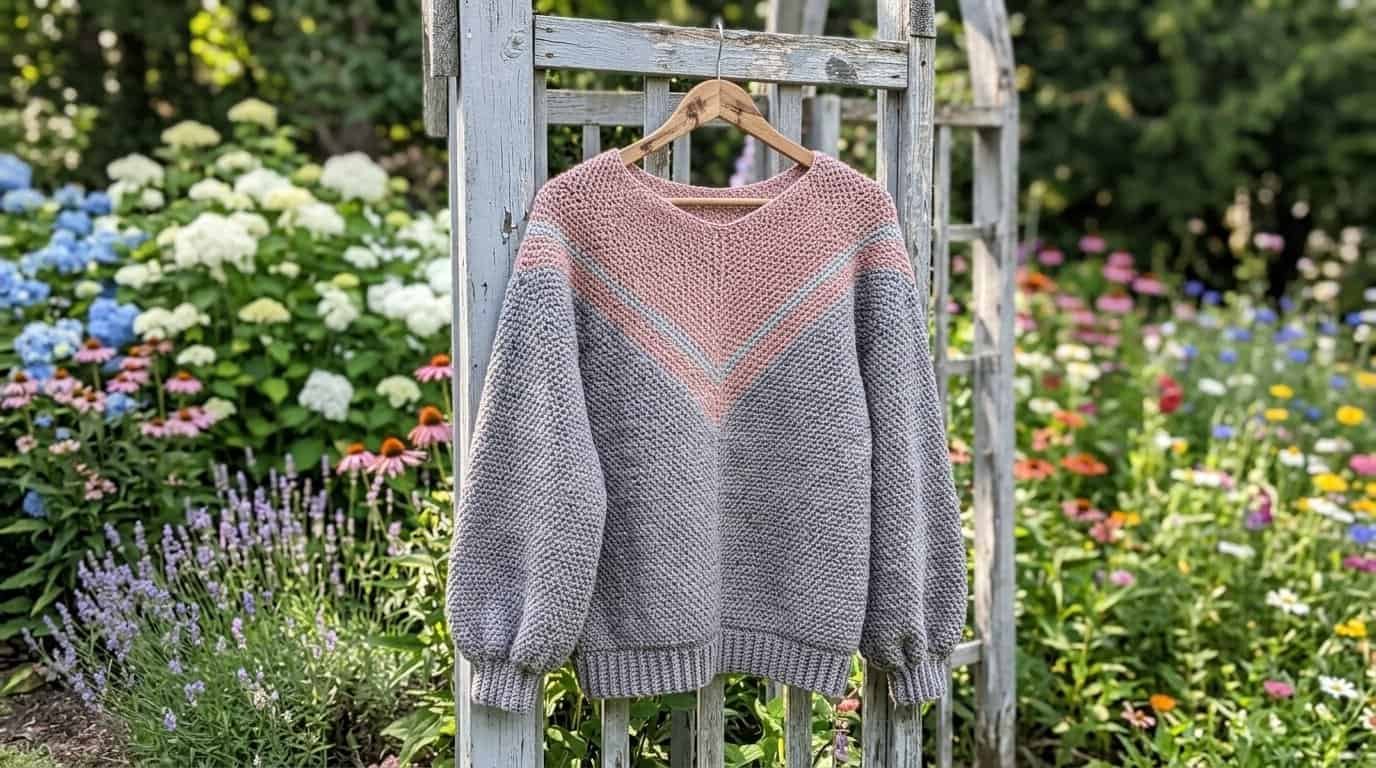
Ready to elevate your handmade wardrobe with a stunning, modern classic?
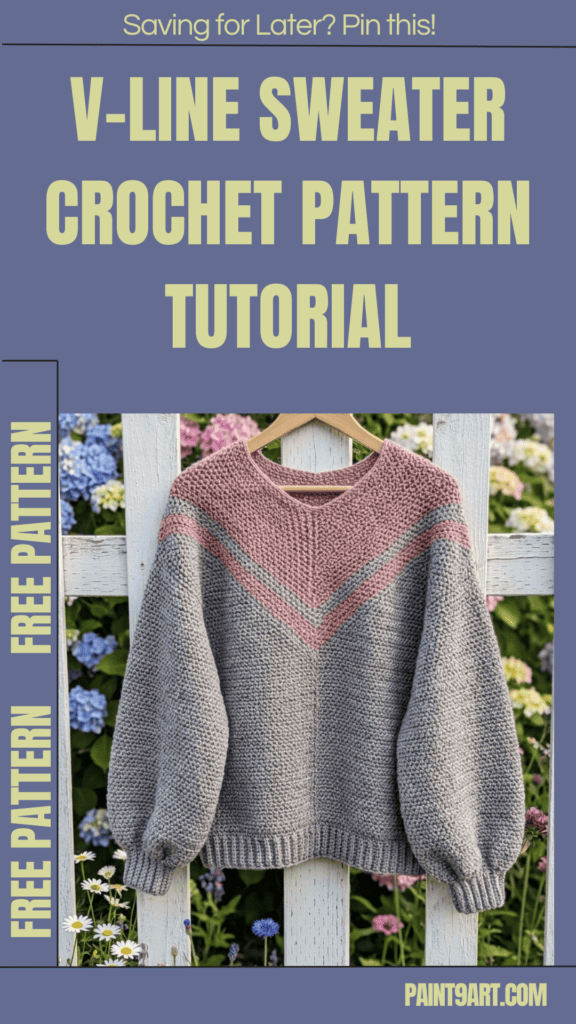
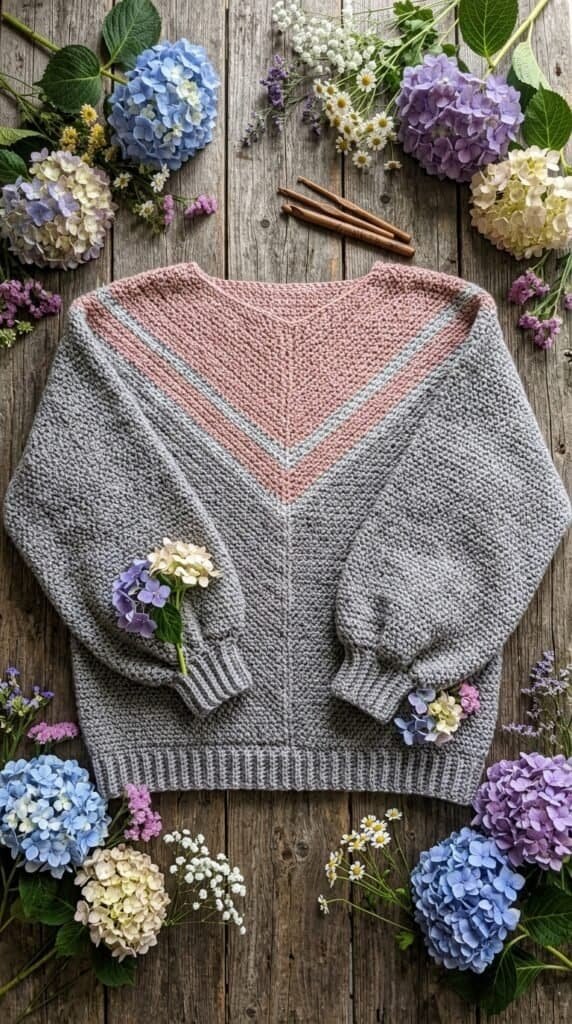
The Free V-Line Crochet Sweater Pattern combines a flattering silhouette with effortless texture, making it the perfect top-down project to upgrade your seasonal style.
Grab your hook, choose your favorite yarn colors, and let us dive into this gorgeous project!
Pattern Details and Materials
Skill Level
Experienced
Sizes
- XS (S, M, L, 1X, 2X, 3X)
- Finished Bust: About 38 (40, 42, 45, 50, 52, 54) in. (96.5 (101.5, 106.5, 114.5, 127, 132, 137) cm)
- Finished Length: About 23 (23, 23, 25, 25, 26, 28) in. (58.5 (58.5, 58.5, 63.5, 63.5, 66, 71) cm)
Note: Pattern is written for smallest size with changes for larger sizes in parentheses. When only one number is given, it applies to all sizes. To follow pattern more easily, circle all numbers pertaining to your size before beginning.
Materials
- LION BRAND TOUCH OF YAK (Art. #671)
- Yarn weight: Medium 4
- #102 Rose Dust 1 (1, 1, 2, 2, 2, 2) balls (A)
- #150 Water Lily 6 (6, 6, 7, 8, 8, 9) balls (B)
- LION BRAND crochet hook size I-9 (5.5 mm)
- LION BRAND stitch markers
- LION BRAND large-eyed blunt needle
Gauge
- 20 sts + 20 rows = about 4 in. (10 cm) in (ch 1, sc) pattern.
- BE SURE TO CHECK YOUR GAUGE.
Abbreviations
- beg = begin(ning)(s)
- ch = chain
- ch-sp(s) = chain space(s) previously made
- rem = remain(ing)
- rep = repeat
- sc = single crochet
- sk = skip
- sl st = slip st
- st(s) = stitch(es)
Stitch Explanation
sc-blo (single crochet in back loop only) Insert hook in back loop only of indicated st and draw up a loop, yarn over and draw through 2 loops on hook.
Notes
- Sweater is worked in one piece from the neck downwards.
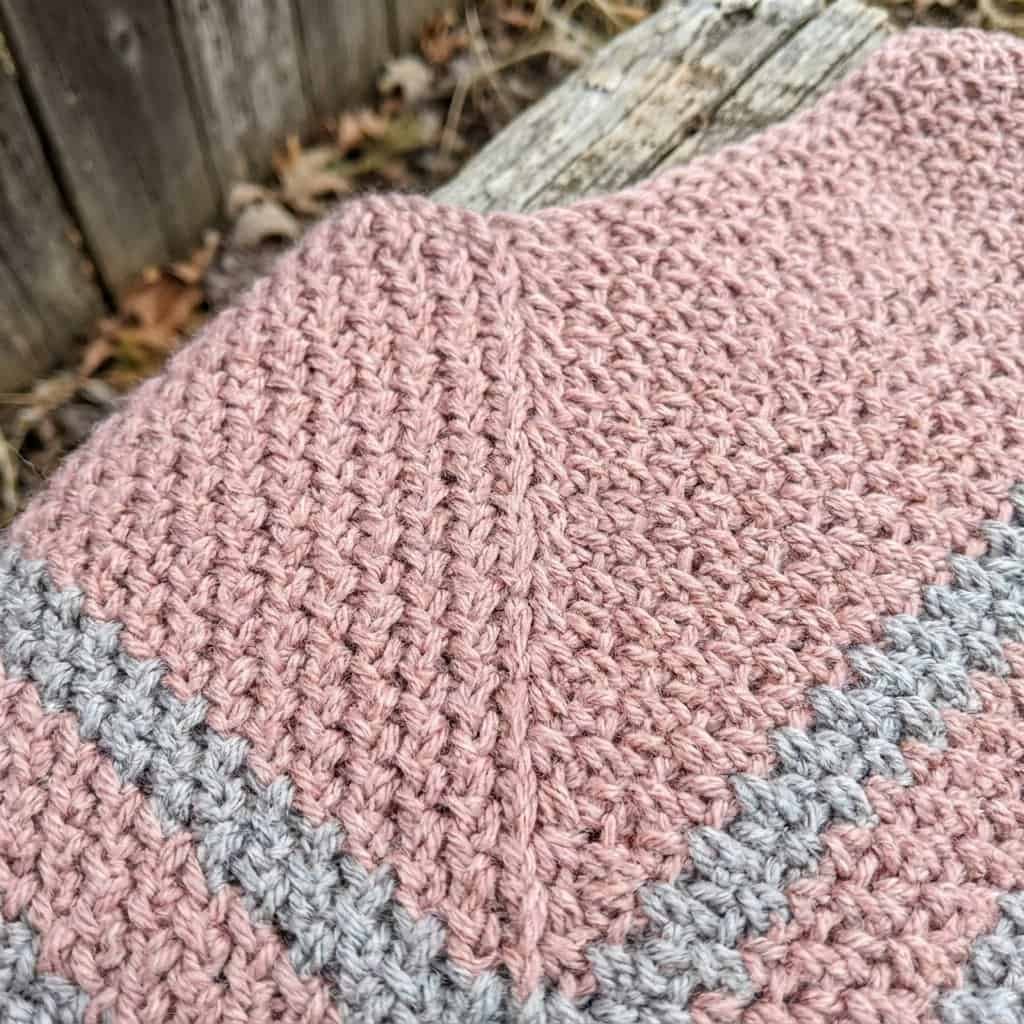
- Yoke is worked in joined rnds from neck down to underarm. Increases are worked at 4 evenly spaced locations to shape yoke and form corners (back corner, front corner and 2 sleeve corners).
- Yoke is folded in half then Body and Sleeves are worked separately downwards.
- Body and Sleeves are worked in three steps. First additional rnds are worked to add length, if desired. Then rows are worked to fill in the sides. Finally, ribbing is worked along lower edge and sleeve edges.
- If you find it difficult to join the beg ch into a ring without twisting the ch, Rnd 1 can be worked as a row, then joined into a rnd, as follows: Ch 73 (73, 73, 73, 81, 81, 81), sc in 2nd ch from hook, *sc in next 17 (17, 17, 17, 19, 19, 19) ch, (sc, ch 1, sc) in next ch; rep from * 2 more times, sc in next 17 (17, 17, 17, 19, 19, 19) ch, taking care not to twist piece, sc in same ch as first sc; join with sl st in beg ch-1. Proceed to Rnd 2.
- Yarn color is changed to create sections of color. To change yarn color, work last st of old color to last yarn over. Yarn over with new color and draw through all loops on hook to complete st. Proceed with new color. Fasten off old color.
- We strongly suggest that you have experience in creating crochet garments before beginning this project.
Instructions
Yoke
With A, ch 72 (72, 72, 72, 80, 80, 80); taking care not to twist ch; join with sl st in first ch to form a ring.
Rnd 1: Beg at back corner, ch 1, sc in same ch as joining sl st, * sc in next 17 (17, 17, 17, 19, 19, 19) ch, (sc, ch 1, sc) in next ch (corner made); rep from * 2 more times, sc in next 17 (17, 17, 17, 19, 19, 19) ch, sc in same ch as first sc (take care not to cover the beg ch-1 when working this last sc); join with sl st in beg ch-1 (back corner completed) – you will have 76 (76, 76, 76, 84, 84, 84) sc and 4 corners (19 (19, 19, 19, 21, 21, 21) sc along each of 4 sides of a square between corners).
Rnd 2: Ch 1, turn, sc in joining sl st, * ch 1, sk next st, (sc in next st, ch 1, sk next st) to next corner ch-1 sp, (sc, ch 1, sc) in corner ch-1 sp; rep from * 2 more times, ch 1, sk next st, (sc in next st, ch 1, sk next st) to end of rnd, sc again in joining sl st; join with sl st in beg ch-1-84 (84, 84, 84, 92, 92, 92) sts and 4 corners (11 (11, 11, 11, 12, 12, 12) sc and 10 (10, 10, 10, 11, 11, 11) ch-1 sps for a total of 21 (21, 21, 21, 23, 23, 23) sts along each of 4 sides between corners).
Rnd 3: Ch 1, turn, sc in joining sl st, * ch 1, sk next sc, (sc in next ch-1 sp, ch 1, sk next sc) to next corner ch-1 sp, (sc, ch 1, sc) in corner ch-1 sp; rep from * 2 more times, ch 1, sk next st, (sc in next st, ch 1, sk next st) to end of rnd, sc again in joining sl st; join with sl st in beg ch-1-92 (92, 92, 92, 100, 100, 100) sts and 4 corners (23 (23, 23, 23, 25, 25, 25) sts along each of 4 sides between corners).
Rep Rnd 3 for 21 (23, 27, 33, 37, 41, 45) more times.
Change to B.
Rep Rnd 3 for 3 times.
Change to A.
Rep Rnd 3 for 5 times.
Change to B.
Rep Rnd 3 for 16 (17, 19, 20, 21, 24, 27) more times – you will have 113 (119, 131, 145, 157, 171, 185) sts along each of 4 sides between corners. Do not fasten off.
Divide for Sleeves
Lay piece on a flat surface and fold in half, bringing front point down to match back point. Place markers on front and back to indicate underarms as follows: With fold at top and front on top of back, beg counting at first sc following one sleeve corner ch-1 space, count 46 (50, 58, 66, 70, 80, 90) sts along front slanting edge and place a marker in the last st counted (it will be a ch-1 sp).
Rep beg at sc following other sleeve corner ch-1 space. Then turn piece over and rep on back side of piece – you will have 91 (99, 115, 131, 139, 159, 179) sts in each sleeve between underarm markers (not counting the marked ch-1 sps). Try on yoke once markers are placed to ensure underarms are in the right place.
Add Body Length
Sizes XS (S, M, L, 1X) ONLY
Rnd 1: Ch 1, turn, sc in joining sl st, (ch 1, sk next sc, sc in next ch-1 sp) to next marked side ch-1 sp (working last sc in marked ch-1 sp), sc in corresponding ch-1 sp on front edge and move marker to sp between the last 2 sc made (do not ch-1 between the 2 sc at underarm); ch 1, sk next sc, (sc in next ch-1 sp, ch 1, sk next sc) to front corner ch-1 sp, (sc, ch 1, sc) in front corner ch-1 sp, (ch 1, sk next sc, sc in next ch-1 sp) to next marked side ch-1 sp, sc in corresponding ch-1 sp on back edge and move marker to sp between the last 2 sc made; ch 1, sk next sc, (sc in next ch-1 sp, ch 1, sk next sc) to end of rnd, sc again in joining sl st; join with sl st in beg ch-1-68 (70, 74, 80, 88, 92, 96) sts along each of 4 edges between markers and corners (not counting corner ch-1 sp).
Keep markers at underarms for reference when working sleeves. Place additional markers at underarms and move these markers up, as instructed, while working Body in following rnds.
Rnd 2: Ch 1, turn, sc in joining sl st, (ch 1, sk next sc, sc in next ch-1 sp) to 2 sc at underarm (marked), sk 2 sc at underarm, sc in next ch-1 sp and move marker to sp between the 2 sc just made; ch 1, sk next sc, (sc in next ch-1 sp, ch 1, sk next sc) to front corner ch-1 sp, (sc, ch 1, sc) in front corner ch-1 sp, (ch 1, sk next sc, sc in next ch-1 sp) to 2 sc at underarm (marked), sk 2 sc at underarm, sc in next ch-1 sp and move marker to sp between the 2 sc just made; ch 1, sk next sc, (sc in next ch-1 sp, ch 1, sk next sc) to end of rnd, sc again in joining sl st; join with sl st in beg ch-1.
Rep Rnd 2 for 16 (13, 8, 8, 2) more times or until desired length from front neck down to front lower point.
Do not fasten off.
Proceed to Close Sides.
Sizes 2X and 3X ONLY
Do not fasten off. Proceed to Close Sides. Note: If you want a longer body, follow Body instructions for sizes XS (S, M, L, 1X) until piece measures desired length to lower ribbing. Note that if you decide to increase the length, you may need to purchase additional yarn.
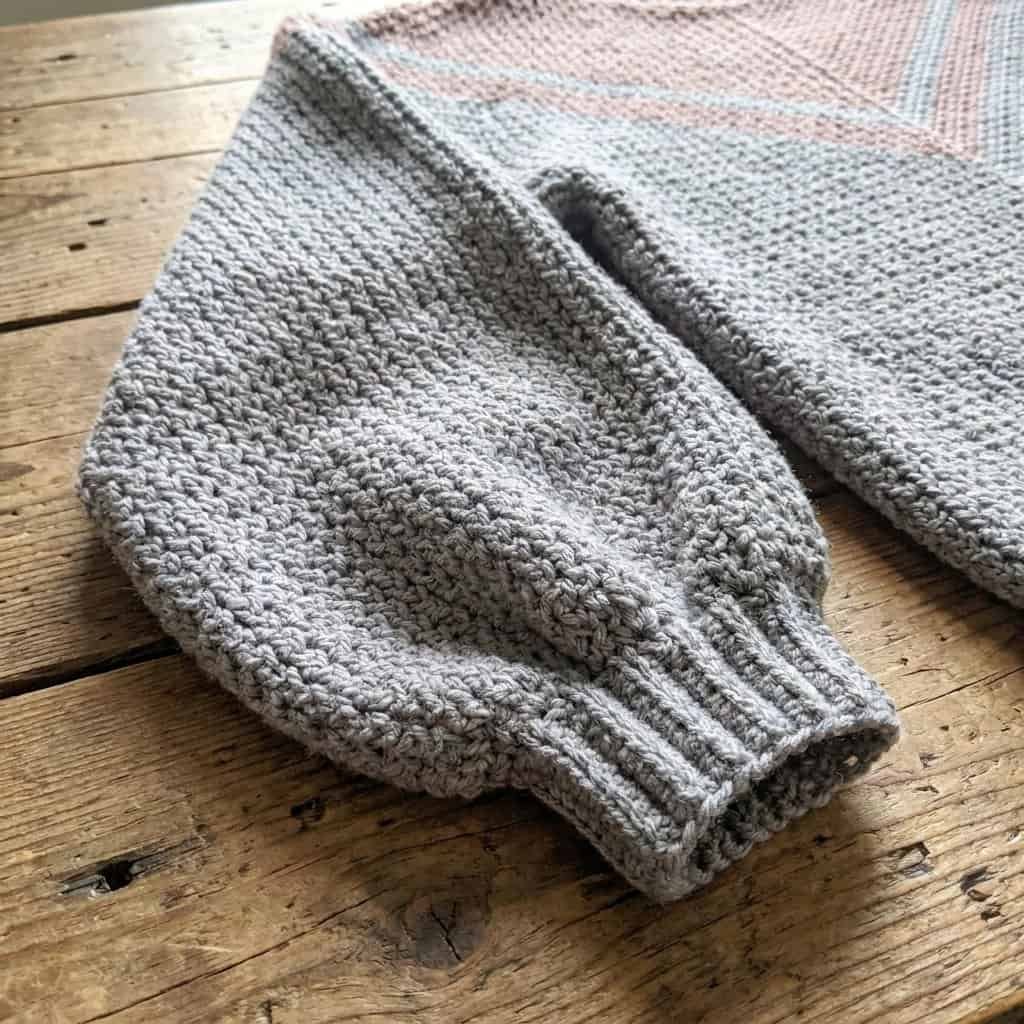
Close Sides of Body
Note: Once you have reached your length, you will have a low front and back point with open sides. We will finish one side at a time and close them.
First Side
Row 1: Working along sts of back side, ch 2, turn, sk first sc, sc in next ch-1 sp, (ch 1, sk next sc, sc in next ch-1 sp) to underarm marker, sk 2 sc at underarm, sc in ch-1 sp on front side and move marker to sp between last 2 sc made, (ch 1, sk next sc, sc in next ch-1 sp) to 1 sc before front corner ch-1 sp, do not ch 1, sk next sc, sc in front corner ch-1 sp; leave rem sts unworked.
Row 2: Ch 2, turn, sk first 2 sc, sc in next ch-1 sp, (ch 1, sk next sc, sc in next ch-1 sp) to 2 sc at underarm (marked), sk 2 sc at underarm, sc in next ch-1 sp and move marker to sp between last 2 sc made, (ch 1, sk next sc, sc in next ch-1 sp) to sc before beg ch-2, do not ch-1, sk next sc, sc in beg ch-2 sp.
Rep Row 2 until only 2 ch-1 sps rem. Next Row: Ch 2, turn, sk first 2 sc, sc in next ch-1 sp, sc in last ch-1 sp, sc in beg ch-2 sp. Last Row: Do not ch, turn, sk first 3 sc, sl st in beg ch-2 sp.
Fasten off.
Second Side
From RS, draw up a loop in front corner ch-1 sp (same ch-1 sp as last sc of Row 1 of first side). Complete second side same as first side. Do not fasten off.
Lower Ribbing
Note: Lower ribbing is worked in rows perpendicular to the lower edge. Ribbing is joined to each row of the lower edge with sl sts.
Ch 11.
Row 1: Sc in 2nd ch from hook and in each ch across; join to lower edge of Sweater with sl st, sl st in end of next row of Sweater.
Row 2: Turn, sk both sl sts, sc in next st, sc-blo in next 8 sts, sc in last st.
Row 3: Ch 1, turn, sc in first st, sc-blo in next 8 sts, sc in last st; join to lower edge of Sweater with sl st in end of next row, sl st in end of next row.
Rep Rows 2 and 3 all the way around lower edge.
Fasten off, leaving a long yarn tail.
With yarn tail, sew first and last rows of ribbing together.
Add Sleeve Length
Sizes XS (S, M, L, 1X, 2X) ONLY
From WS of last rnd of one sleeve, draw up a loop in first ch-1 sp following underarm.
Rnd 1: Ch 1, sc in next ch-1 sp, ch 1, sk next sc, (sc in next ch-1 sp, ch 1, sk next sc) to corner ch-1 sp, (sc, ch 1, sc) in corner ch-1 sp, (ch 1, sk next sc, sc in next ch-1 sp) to underarm, sk 2 sc at underarm; join with sl st in beg ch-1-89 (97, 113, 129, 137, 157, 177) sts.
Rnd 2: Ch 1, turn, sk first sc, sc in next ch-1 sp, (sc in next ch-1 sp, ch 1, sk next sc) to corner ch-1 sp, (sc, ch 1, sc) in corner ch-1 sp, (ch 1, sk next sc, sc in next ch-1 sp) to underarm, sk 2 sc at underarm; join with sl st in beg ch-1.
Rep Rnd 2 for 32 (29, 23, 16, 11, 4) more times or until desired length from neck down to sleeve point. Note that if you decide to add length to your sleeves you may need to purchase additional yarn.
Fasten off.
Rep for second Sleeve. Proceed to Close Sleeves.
Size 3X ONLY
Do not fasten off. Proceed to Close Sleeves. Note: If you want longer sleeves, follow Add Sleeve Length instructions for sizes XS (S, M, L, 1X, 2X). Note that if you decide to add length to your sleeves you may need to purchase additional yarn.
Close Sleeves
From WS of last rnd of one Sleeve, draw up a loop in corner ch-1 sp of Sleeve.
Row 1: Ch 2, sk first sc, sc in next ch-1 sp, (ch 1, sk next sc, sc in next ch-1 sp) to 2 sc at underarm, sk 2 sc at underarm, sc in next ch-1 sp on other side of underarm and move marker to sp between last 2 sc made, (ch 1, sk next sc, sc in next ch-1 sp) to sc before corner ch-1 sp, do not ch 1, sk next sc, sc in corner ch-1 sp.
Row 2: Ch 2, turn, sk first 2 sc, sc in next ch-1 sp, (ch 1, sk next sc, sc in next ch-1 sp) to 2 sc at underarm (marked), sk 2 sc at underarm, sc in next ch-1 sp and move marker to sp between last 2 sc made, (ch 1, sk next sc, sc in next ch-1 sp) to sc before beg ch-2, do not ch 1, sk next sc, sc in beg ch-2 sp.
Rep Row 2 until only 2 ch-1 sps rem. Next Row: Ch 2, turn, sc in first ch-1 sp, sc in last ch-1 sp, sc in beg ch-2 sp. Last Row: Do not ch, turn, sk first 3 sc, sl st in beg ch-2 sp. Do not fasten off.
Sleeve Ribbing
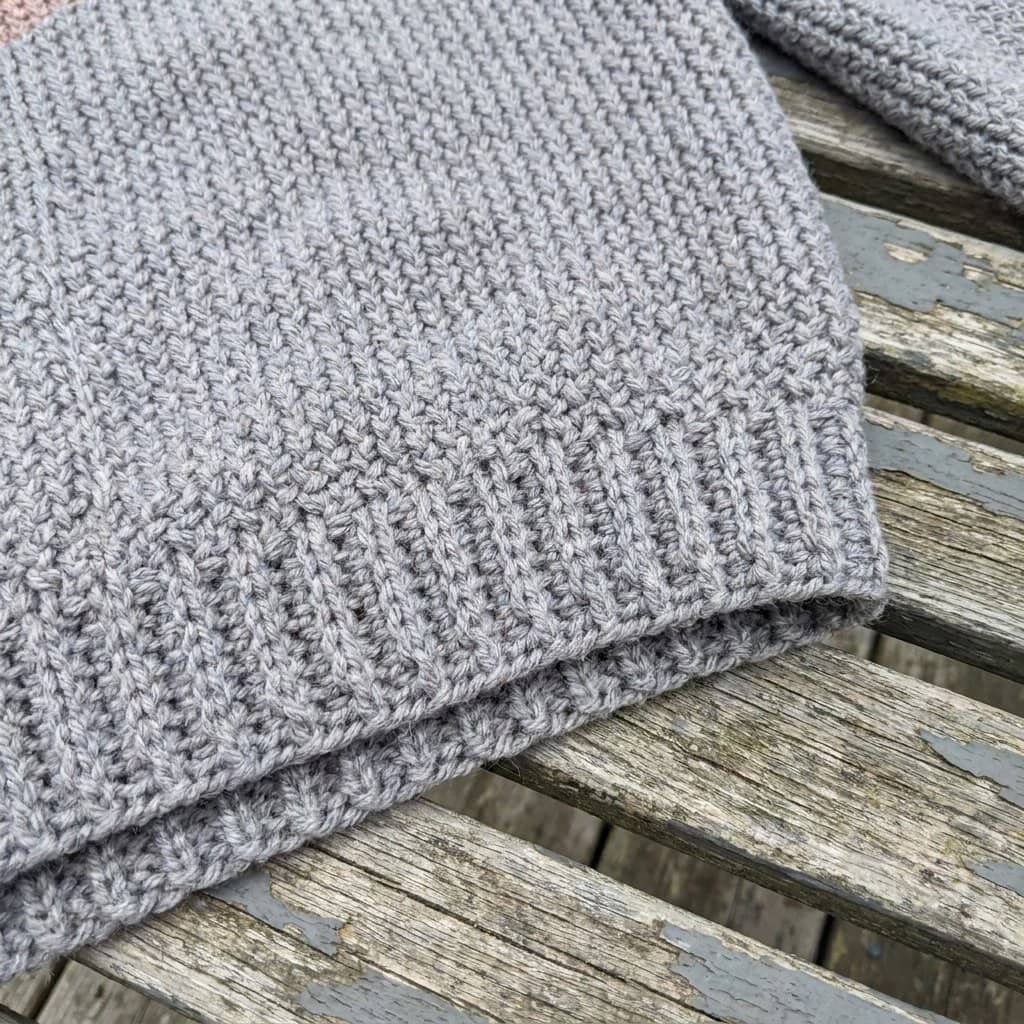
Note: Sleeve ribbing differs from lower ribbing. Sleeve ribbing is tighter because it is slip stitched to only the rows of Sleeve that beg with ch-2 sps and skipping the ends of rows between the ch-2 sps.
Ch 11.
Row 1: Sc in 2nd ch from hook and in each ch across; join to end of Sleeve with sl st in ch-2 sp, sl st in next ch-2 sp of Sleeve.
Row 2: Turn, sk both sl sts, sc in next st, sc-blo in next 8 sts, sc in last st.
Row 3: Ch 1, turn, sc in first st, sc-blo in next 8 sts, sc in last st; join to end of Sleeve with sl st in next ch-2 sp, sl st in next ch-2 sp.
Rep Rows 2 and 3 all the way around end of Sleeve.
Fasten off, leaving a long yarn tail.
With yarn tail, sew first and last rows of ribbing together.
Rep for second Sleeve.
Finishing
Weave in ends.
Garment Measurements – Laid Flat (Measured in Inches)
| Measurement | X-Small | Small | Medium | Large | X-Large | 2X-Large | 3X-Large |
| Body Width | 19 | 20 | 21 | 22½ | 25 | 26 | 27 |
| Body Length | 23 | 23 | 23 | 25 | 25 | 26 | 28 |
| Bottom to Armpit | 16.5 | 16 | 15 | 16 | 15 | 15 | 15.5 |
| Armhole Depth | 6.5 | 7 | 8 | 9 | 10 | 11 | 12.5 |
| Sleeve Length from Neck Opening | 25 | 25 | 25 | 25 | 25 | 25 | 25 |
Let’s Wrap It Up
Wrap yourself in cozy elegance with your newly finished Free V-Line Crochet Sweater Pattern garment!
This timeless silhouette brings a gorgeous flair to classic crochet apparel, making it a standout staple in any wardrobe.
We hope you enjoyed working through this free pattern, and we cannot wait to see your unique color choices bring this cozy sweater to life!