
Summer is here, and your sketchbook can take you places even if you’re staying indoors.
As Kerrilyn Cheah loves to remind her students, you can travel anywhere through art—so why not paint a bright, joyful sunflower field right from your desk?
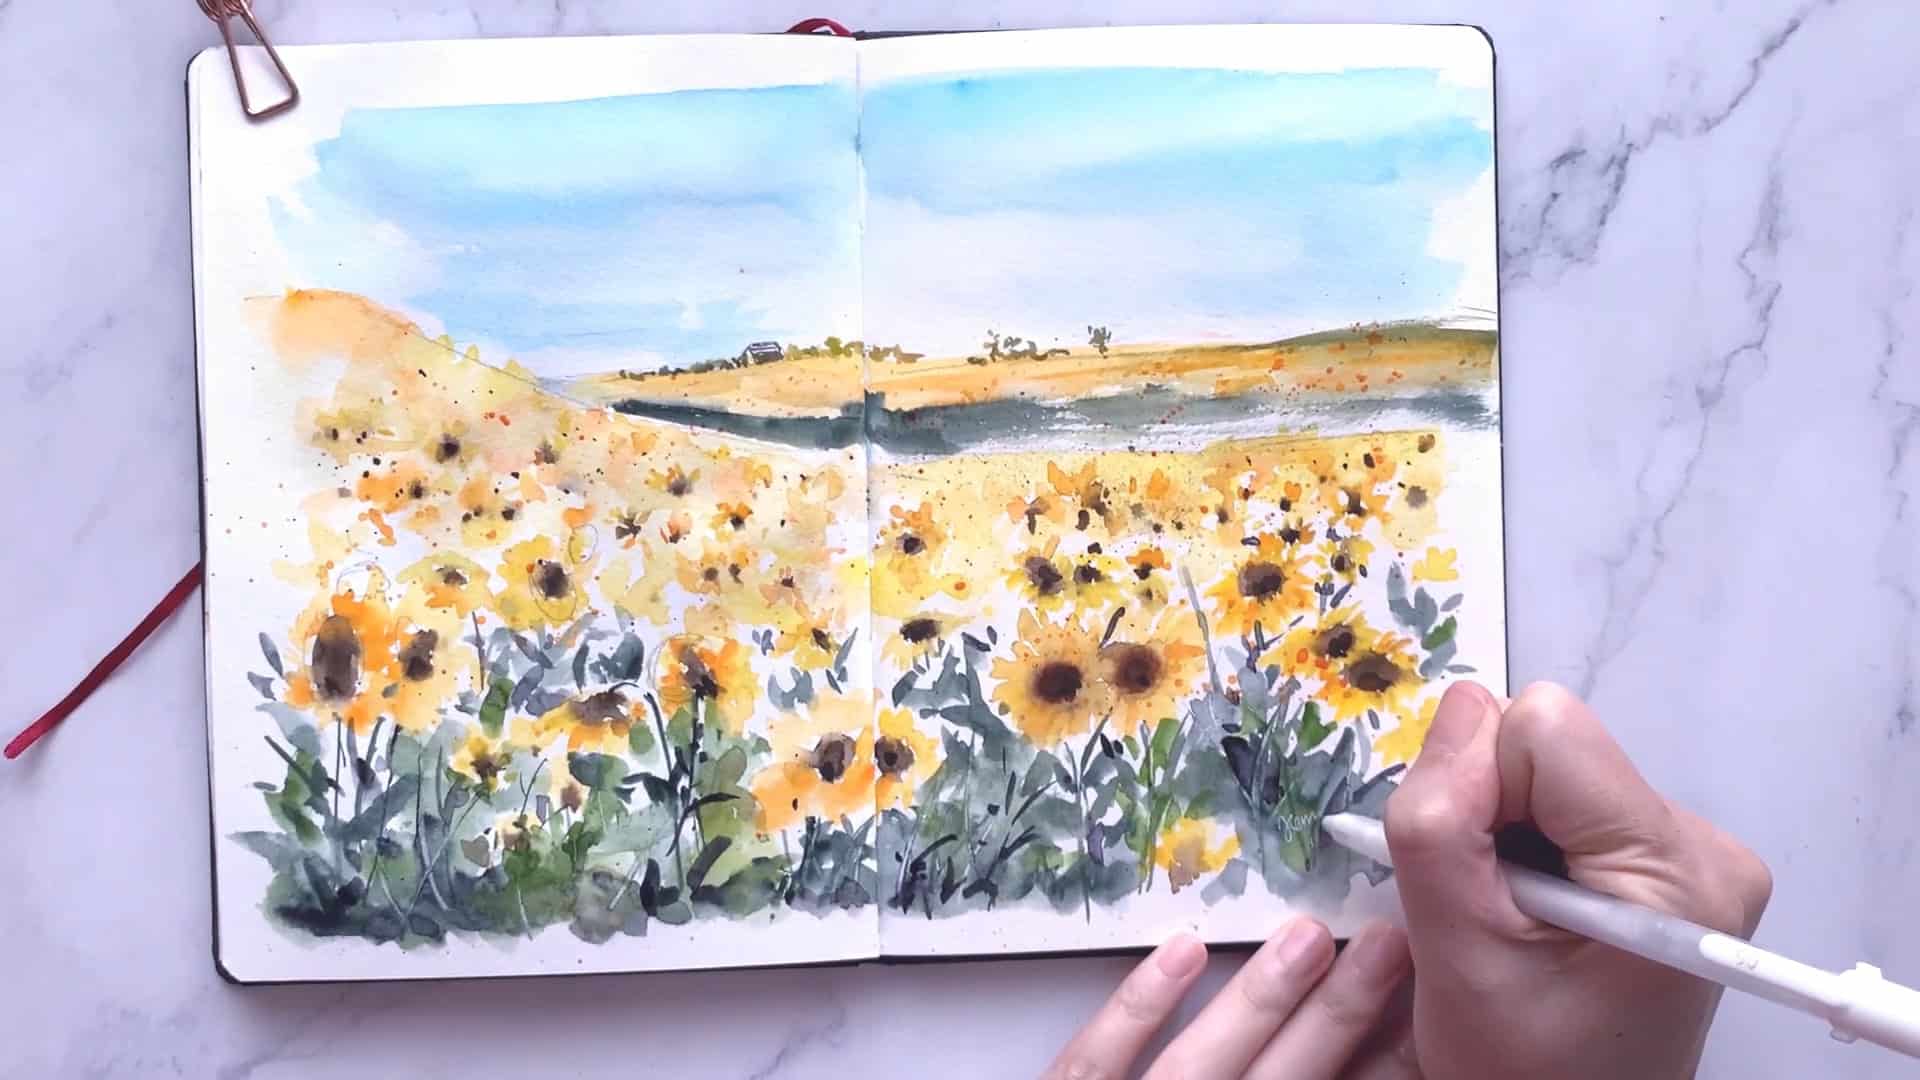
In this tutorial, Kerrilyn Cheah will walk you through each step of creating a loose and vibrant watercolor sunflower landscape.
Grab your paints and sketchbook—let’s take a summer journey together through art.
Contents
Planning the Sunflower Landscape Composition
Before the artist begins painting, the artist always takes a moment to plan the layout. This makes the process more enjoyable and less stressful.
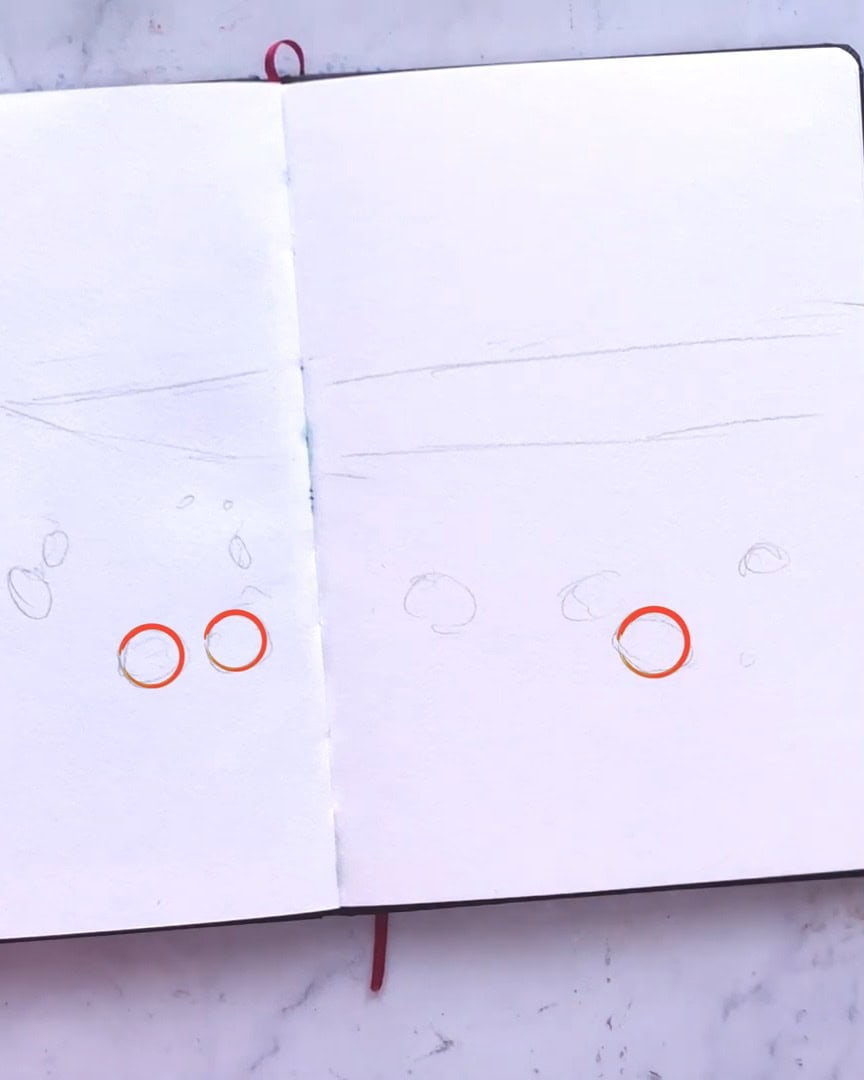
The artist divides the scene into three main parts. First is a hill full of sunflowers in the front. Behind that is a distant field of smaller sunflowers. And finally, there’s the sky above it all.

The artist sketches just a few circles. These circles represent the brown centers of the sunflowers.
This step gives the artist a better idea of where to place bigger flowers, closer to the front. Keeping the sketch loose allows flexibility when painting begins.
Painting the Foreground Sunflowers
Once the sketch is ready, it’s time to dive into color. The artist begins with the most prominent flowers in the front.
The artist mixes sepia and a little yellow ochre to paint the center of the first sunflower.

While the paint is still wet, the artist goes in with yellow for the petals. This creates a soft, beautiful blend where the brown bleeds slightly into the yellow.
The artist stays very loose here, focusing on getting the flower proportions right. Then, a second flower is added behind the first one.
This creates a nice sense of depth. For extra contrast, darker yellow is layered over the petals.

Next, the artist mixes a darker green to paint the stems and leaves. Brushwork is kept free and relaxed—this part is more about creating shapes than fine detail.

Now, the artist paints a flower that’s facing downward. To show this angle, shorter petals are used around the top of the flower. This small change makes the composition feel more natural.
Then, the artist continues adding more flowers in the foreground. To bring in more color variety, touches of bright orange are added to some petals for a nice pop.

Using the same dark green, the artist adds brushstrokes in the white spaces to shape more leaves and stems. Darker values are added near the bottom to create contrast.
Toward the top, more white space is left around the flowers, which adds lightness and depth.
 Add more leaves and stems
As the artist looks over the greens, the dark green feels too cool. To warm up a few areas, some sap green is added.
This small color shift makes a big difference and adds variation in hue.
While the paint is still wet, the artist uses fingernails to scratch lines into the paper. These scratches represent flower stems and help create a fun negative-space effect.
It’s a simple trick that adds texture and visual interest.

Painting the Distant Sunflower Field
Now, it’s time to move up the page and start painting the middle layer of the scene. This layer shows a field of sunflowers that is farther away.
The artist paints smaller flowers here to suggest distance.
Angles of each flower are varied—some face forward, others tilt to the side—keeping the scene lively and realistic.

As the artist reaches the top of the hill, the flowers become less detailed. At this distance, all that can be seen is a sea of yellow.
So, the area is filled with a yellow wash and random brushstrokes are used to create loose, abstract flower shapes. Touches of orange and yellow ochre are mixed in for more interest.

While the yellow area is still wet, tiny dots of dark brown paint are added. These dots represent the flower centers.
A thick paint mix is used so the brown does not bleed too much.
A stiff brush is also used to splatter some of the brown paint. This creates a nice, random effect that mimics the look of dense flower fields.

A small brush is used to paint tiny petals around some brown dots to complete this section. This makes the flower shapes more believable without requiring much detail.

Working on the Second Page of the Sketchbook
Now, the artist moves on to the second page. This part follows the same process.
The steps on this page are similar to the first. The same colors and techniques are used to stay consistent. It is relaxing to repeat the process.

The artist notices that the earlier brown splatters didn’t turn out well—the paint was too watery, causing unwanted blooms. The artist wipes them off and tries again.
This time, a thicker paint mixture is used for the brown dots. It works much better, with less bleeding.

Painting the Background Sky and Extra Details
With the sunflower fields done, the artist moves on to the final section of the landscape—the sky.
Creating a Soft Blue Sky
The artist uses baby blue paint and fills in the sky area. This light blue complements the warm yellow of the sunflowers beautifully. The paper is tilted to create a softer blend and allow the paint to flow naturally.

Next, a small fine brush is used to paint a little hut and some trees in the background. These tiny details help tell a story and add charm to the composition.

Final Touches and Artistic Reflection
The landscape is almost finished, but the artist takes one last look to refine the details.
A few more touches are added to areas that need work. Then, for a final highlight, bright orange paint is splattered. This gives the whole piece a lively finish and adds more texture.

This painting style is very relaxed and free. The artist enjoys the loose, freestyle approach—it’s a lovely way to create without pressure. Now, another beautiful memory is captured in the sketchbook.

Closing Words
Painting this sunflower field in the sketchbook feels like a mini summer escape for the artist. Each layer—from the bold foreground flowers to the soft sky—comes together to tell a sunny story.
This project is perfect for anyone looking for a relaxing way to enjoy watercolor. It’s an open invitation to pick up a brush and explore the next landscape.