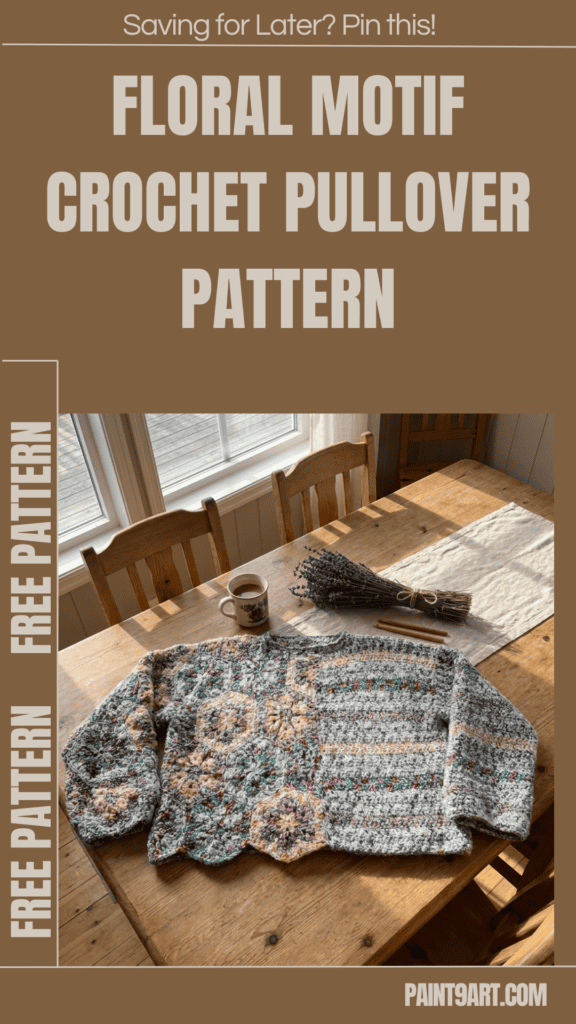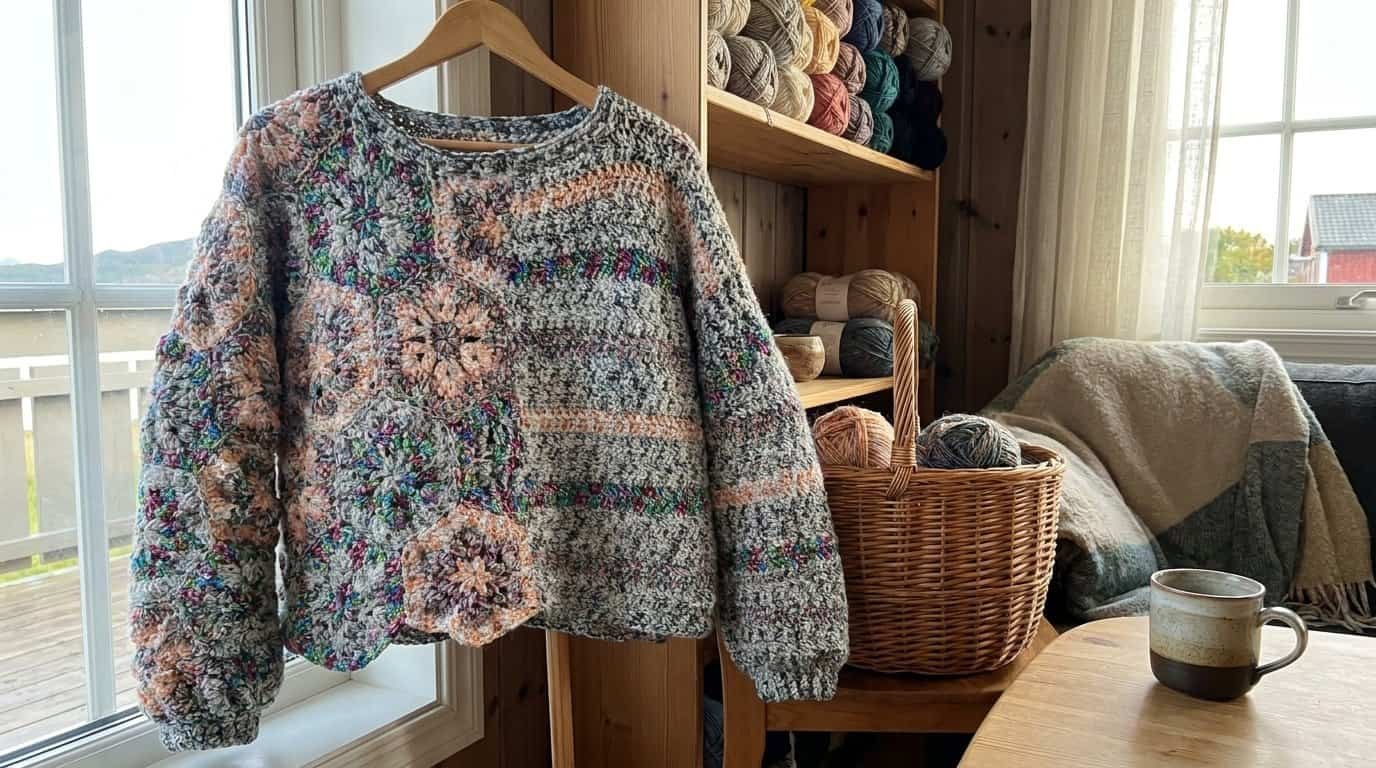
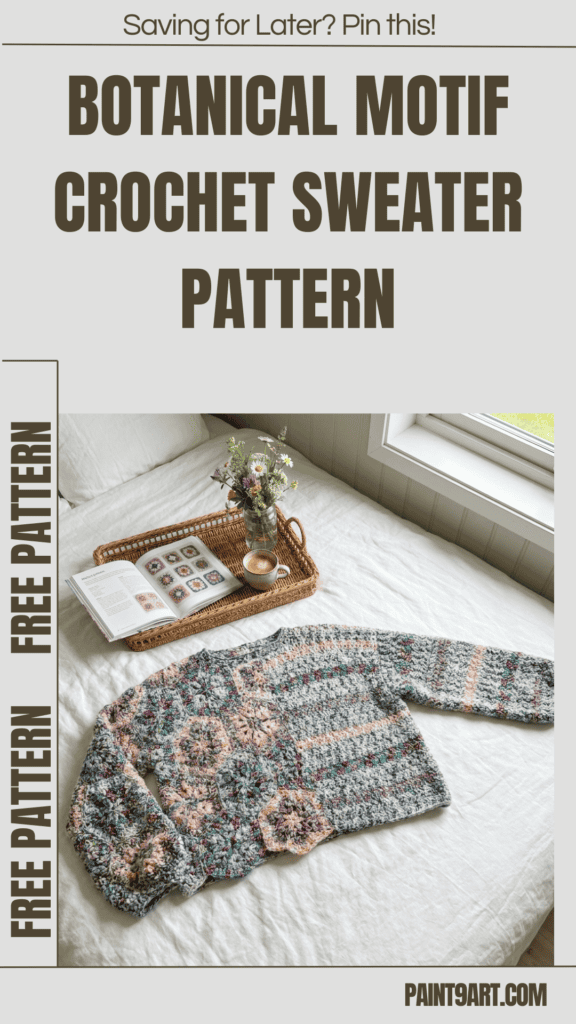
If you are looking for a project that breaks away from traditional sweater construction, the Free Floral Motif Crochet Sweater Pattern is the ultimate creative escape.
Grab your hook, coordinate your yarn colors, and let’s dive into this unforgettable project!
Pattern Details & Materials
Review the exact sizing metrics, gauge checks, and yarn amounts needed to construct this multi-panel design before launching your project.
Skill Level
-
Intermediate
Sizes
- XS/S (M/L, 1X/2X, 3X/4X)
- Finished Bust: About 34 (42, 52, 58) in. (86.5 (106.5, 132, 147.5) cm)
- Finished Length: About 19 in. (48 cm)
Note: Pattern is written for the smallest size with changes for larger sizes in parentheses. When only one number is given, it applies to all sizes. To follow the pattern more easily, circle all numbers pertaining to your size before beginning.
Materials
-
Yarn: LION BRAND® LANDSCAPES FUSION (Art. #544)
-
Color A: #208 Inwood – 4 (5, 6, 7) balls
-
Color B: #209 Rucker – 2 (2, 3, 3) balls
-
Color C: #205 Fort Tryon – 2 (2, 3, 3) balls
-
Color D: #201 Flushing Meadows – 2 (2, 3, 3) balls
-
- Crochet Hook: Lion Brand® size K-10.5 (6.5 mm)
- Notions: Lion Brand® large-eyed blunt needle
Gauge
- Hexagon Measurements: Along one edge about 3 in. (7.5 cm), between two flat edges about 5 in. (13 cm), and from point to point about 6 in. (15 cm).
- Rows & Stitches: 13 dc + 8 rows = about 4 in. (10 cm).
- BE SURE TO CHECK YOUR GAUGE.
Abbreviations
- beg = begin(ning)
- ch = chain
- ch-sp(s) = chain space(s) previously made
- dc = double crochet
- rep = repeat
- RS = right side
- sc = single crochet
- sk = skip
- sl st = slip stitch
- st(s) = stitch(es)
- WS = wrong side
Stitch Explanations & Project Notes
Stitch Explanations
- BPdc (Back Post double crochet): Yarn over, insert hook from back to front then to back, going around the post of the indicated st, draw up a loop, (yarn over and draw through 2 loops on hook) twice. Skip the top of the st in front of the BPdc.
- FPdc (Front Post double crochet): Yarn over, insert hook from front to back then to front, going around the post of the indicated st, draw up a loop, (yarn over and draw through 2 loops on hook) twice. Skip the top of the st behind the FPdc.
- sc2tog (sc 2 sts together): (Insert hook in the next st and draw up a loop) twice, yarn over and draw through all 3 loops on hook – 1 st decreased.
Project Notes
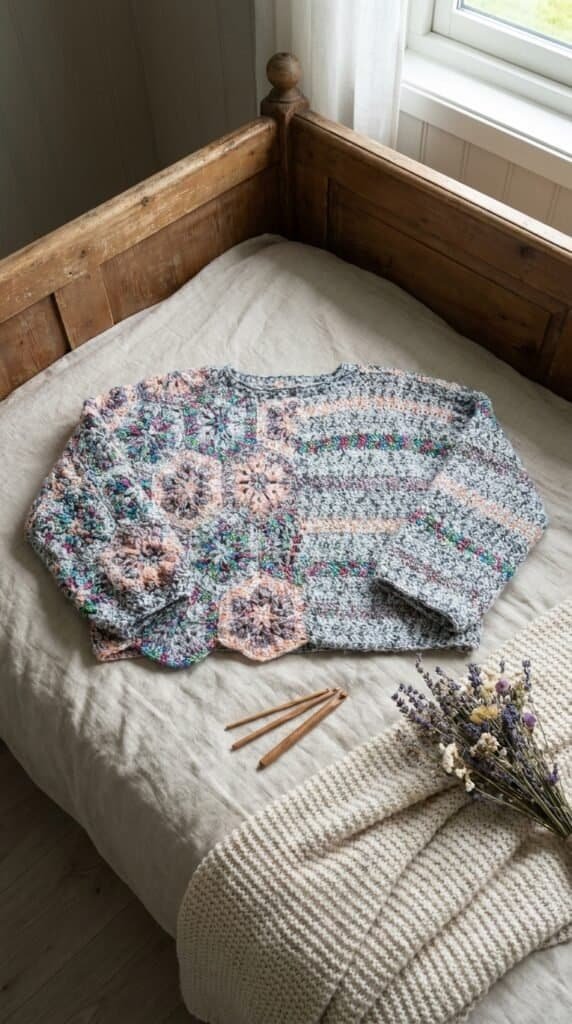
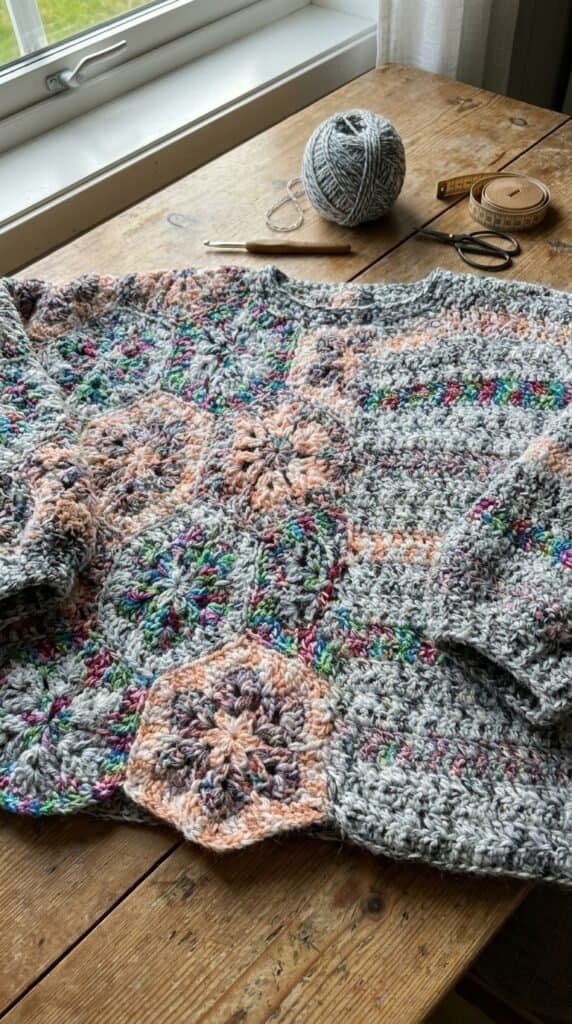
- The sweater is made of 2 Halves. Each Half creates half of the front, half of the back, and one sleeve.
- The First Half is constructed out of assembled Hexagons and Half Hexagons.
- Hexagons are worked in joined rounds with the RS facing. Half Hexagons are worked back and forth in rows.
- When making Hexagons and Half Hexagons, the yarn color is changed at the beginning of rounds/rows following specified color combinations. To change color, fasten off and join the new color as instructed.
- The Second Half consists of half of a Front, half of a Back, and one Sleeve worked entirely back and forth in rows.
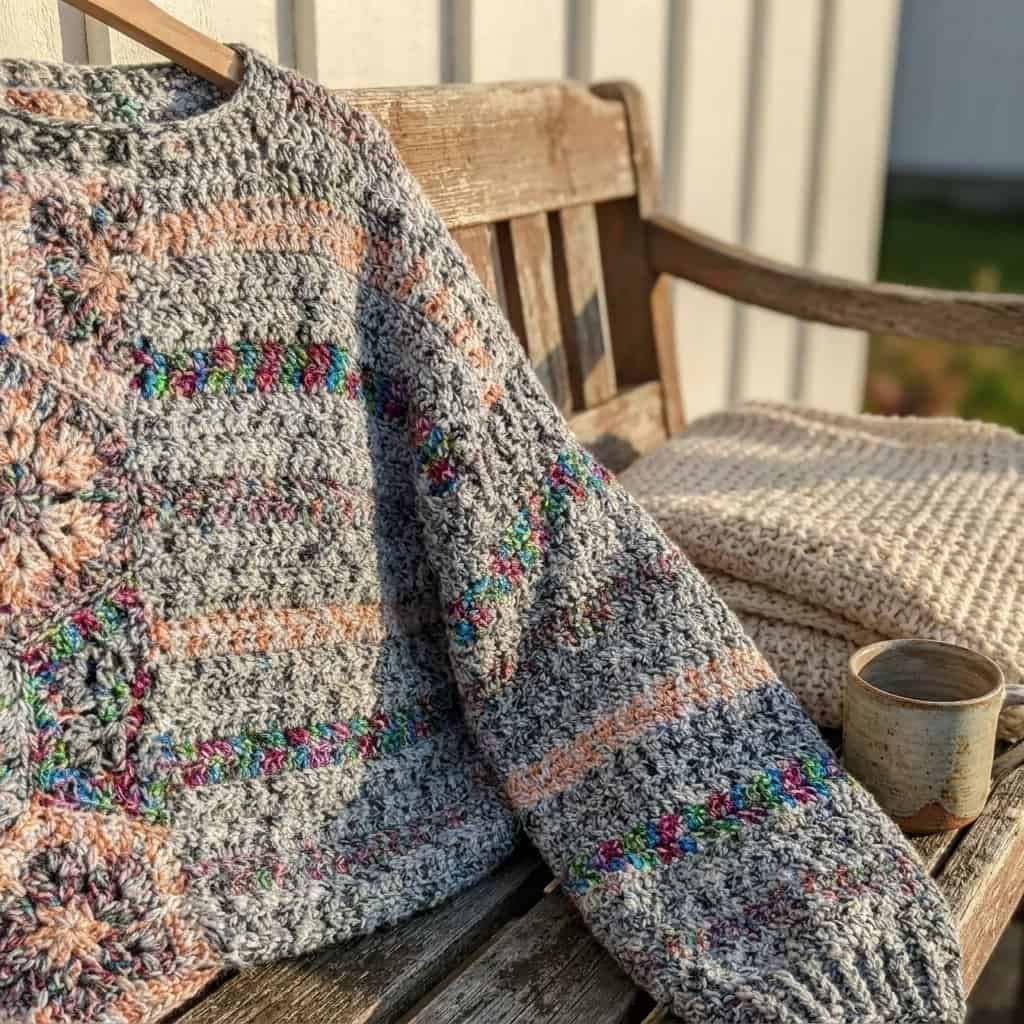
- When making the Front, Back, and Sleeve rows, the yarn color is changed at the end of rows to create clean stripes. To change color, work the last st of the old color to the last yarn over, yarn over with the new color, draw through all loops on the hook, and fasten off the old color.
- Finished pieces are sewn together following the assembly diagrams.
- Custom ribbed edging is worked in joined rounds directly around the wrists and neckline.
Instructions
Hexagons
Make a total of 23 (23, 35, 38) Hexagons using the designated color combinations listed below from Round 1 to Round 5.
Hexagon A: Colors A, B, B, A, A – make 5 (5, 8, 9).
Hexagon B: Colors B, A, A, B, B – make 5 (5, 9, 9).
Hexagon C: Colors C, D, D, C, C – make 6 (6, 9, 10).
Hexagon D: Colors D, C, C, D, D – make 7 (7, 9, 10).
With the first color, ch 4; join with a sl st in the first ch to form a ring.
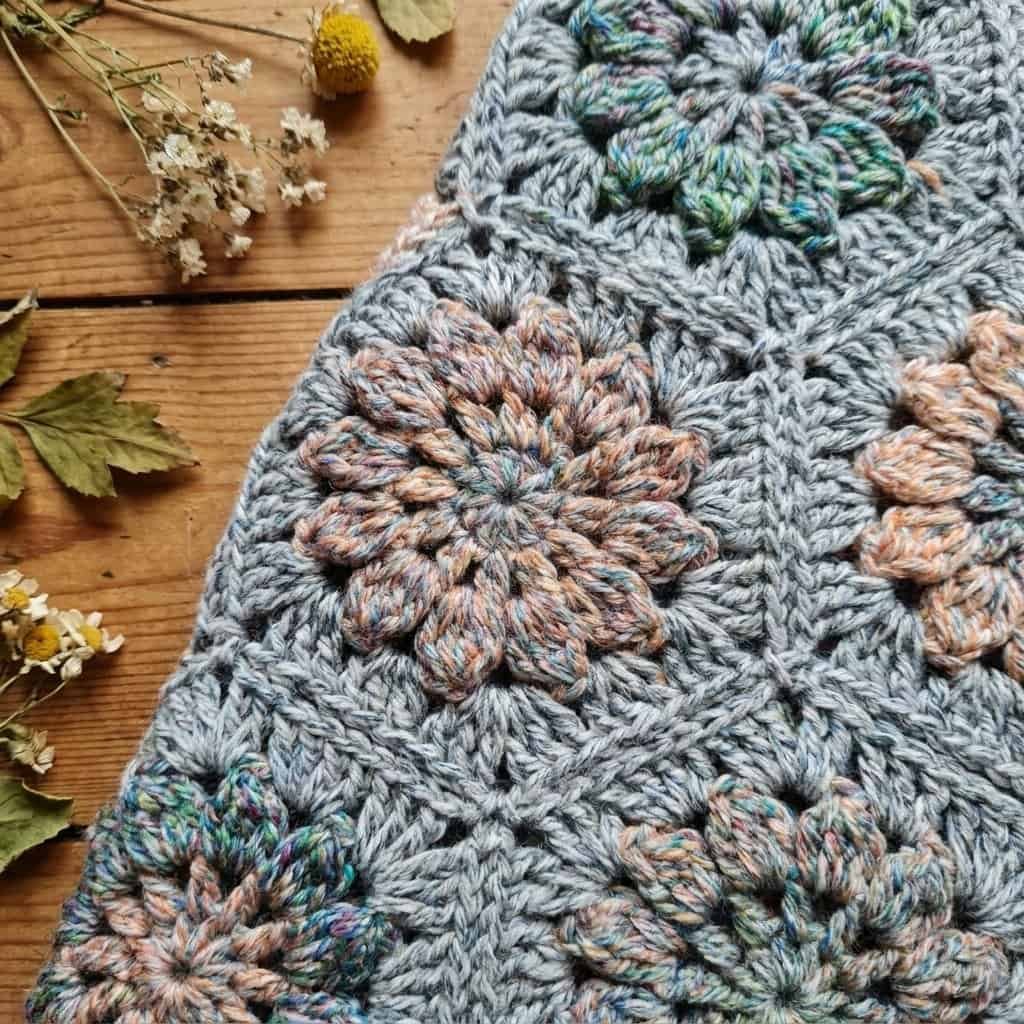
Rnd 1 (RS): With the first color, ch 1 (does not count as a st), * 2 dc in the ring, ch 1; rep from * 5 more times; join with a sl st in the first dc – 12 dc and 6 ch-1 sps (six 2-dc groups separated by ch-1 spaces). Fasten off.
Rnd 2: With the second color, make a slipknot and place it on your hook. From the RS, work (2 dc, ch 2, 2 dc) in any ch-1 sp, ch 1, * 2 dc in the next ch-1 sp, ch 2, 2 dc in the same ch-1 sp, ch 1; rep from * 4 more times; join with a sl st in the first dc – six (2 dc, ch 2, 2 dc) groups with ch 1 between.
Rnd 3: With the next color, * 7 dc in the next ch-2 sp, ch 1, sk the next ch-1 sp; rep from * 5 more times; join with a sl st in the first dc – six 7-dc groups with ch 1 between. Fasten off.
Rnd 4: With the next color, make a slipknot and place it on your hook. From the RS, * sc around/over the ch-sps from both Rnds 2 and 3 combined, sc in the next 7 sts; rep from * 5 more times; join with a sl st in the first sc – 48 sc (six sets of 8 sc).
Rnd 5: With the next color, ch 3 (counts as a dc), dc in the next 4 sts, ch 2, dc in the same st, * dc in the next 8 sts, ch 2, dc in the same st; rep from * 4 more times, dc in the last 3 sts; join with a sl st in the top of the beginning ch-3 – 54 dc and 6 ch-2 sps (9 dc along each of the 6 flat sides with ch-2 corners).
Fasten off.
Half Hexagons
Make a total of 6 Half Hexagons using the color sequences listed below from Row 1 to Row 5.
Half Hexagon A: Colors A, B, B, A, A – make 0 (0, 2, 2).
Half Hexagon B: Colors B, A, A, B, B – make 4 (4, 2, 2).
Half Hexagon D: Colors D, C, C, D, D – make 2 (2, 2, 2).
Row 1 (RS): With the first color, ch 4 (counts as dc, ch 1), 2 dc in the first ch made, * ch 1, 2 dc in the same ch; rep from * once more, ch 1, dc in the first ch – 1 dc at the beginning and end of the row, with three 2-dc groups separated by ch-1 sps. Fasten off.
Row 2: Turn. With the second color, make a slipknot and place it on your hook. From the WS, 2 dc in the first ch-1 sp, ch 1, * 2 dc in the next ch-1 sp, ch 2, 2 dc in the same ch-1 sp, ch 1; rep from * once more, 2 dc in the last ch-sp – 2 dc at the beginning and end of the row, with two (2 dc, ch 2, 2 dc) groups separated by ch-1 sps.
Row 3: With the next color, ch 2 (counts as a dc), turn, 3 dc in the first dc (the last dc made on the previous row), * ch 1, sk the next ch-1 sp, 7 dc in the next ch-2 sp; rep from * once more, ch 1, sk the next ch-1 sp, 4 dc in the last st – 4 dc at the beginning and end of the row, with two 7-dc groups separated by ch-1 sps. Fasten off.
Row 4: Turn. With the next color, make a slipknot and place it on your hook. From the WS, sc in the first 4 sts, * sc around/in the ch-sps from both Rows 2 and 3 combined, sc in the next 7 sts; rep from * once more, sc around/in the ch-1 sps from both Rows 2 and 3 combined, sc in the last 4 sts – 25 sc.
Row 5: With the next color, ch 2 (counts as a dc), turn, sk the first dc, * dc in the next 8 sts, ch 2, dc in the same st; rep from * once more, dc in the last 8 sts – 9 dc along each flat edge separated by ch-2 corners. Fasten off.
Front and Back (Make 2)
This section forms the alternate solid striped half of the sweater torso.
Ch 25 (38, 38, 48) with Color A.
Row 1 (RS): With A, dc in the 3rd ch from the hook (the 2 skipped ch do not count as a st) and in each ch across – 23 (36, 36, 46) sts.
Rows 2–4: With A, ch 2 (counts as a dc), turn, dc in each st across.
Rows 5 and 6: With Color C, rep Row 2.
Rows 7–10: With A, rep Row 2.
Rows 11 and 12: With Color B, rep Row 2.
Rows 13–16: With A, rep Row 2.
Rows 17 and 18: With Color D, rep Row 2.
Rows 19–36: Rep Row 2, repeating the color sequence established in Rows 1–18.
Row 37: With A, rep Row 2.
Row 38: With A, ch 2 (counts as a dc), dc in the next 10 (21, 19, 27) sts; leave the remaining sts unworked to establish the neckline opening – 11 (22, 20, 28) sts.
Fasten off.
Sleeve
This forms the alternate solid striped sleeve panel.
Ch 50 (50, 60, 70) with Color A.
Row 1 (RS): With A, dc in the 3rd ch from the hook (the 2 skipped ch do not count as a st) and in each ch across – 48 (48, 58, 68) sts.
Rows 2–4: With A, ch 2 (counts as a dc), turn, dc in each st across.
Rows 5 and 6: With Color C, rep Row 2.
Rows 7–10: With A, rep Row 2.
Rows 11 and 12: With Color B, rep Row 2.
Rows 13–16: With A, rep Row 2.
Rows 17 and 18: With Color D, rep Row 2.
Rows 19–30: Rep Row 2, repeating the color sequence established in Rows 1–12.
Fasten off.
Finishing
Weave in ends.
Sew pieces together following diagram.
Sew side and sleeve seams.
Neck Edging
Rnd 1 (RS): From the RS, draw up a loop of Color A at the back of the neck, ch 1, work 82 (86, 90, 94) sc evenly spaced all the way around the raw neck edge; join with a sl st in the first sc – 82 (86, 90, 94) sts.
Rnd 2: Ch 1, sc2tog entirely around the neckline; join with a sl st in the first sc2tog – 41 (43, 45, 47) sts.
Rnd 3: Ch 1, dc in each st around; join with a sl st in the first dc.
Rnd 4: Ch 1, * FPdc around the next st, BPdc around the next st; rep from * to the final st of the round, FPdc around the last st; join with a sl st in the first FPdc.
Fasten off.
Wrist Edging
Rnd 1 (RS): From the RS, draw up a loop of Color A at the back seam of one wrist edge, ch 1, work 48 (48, 58, 68) sc evenly spaced around the cuff; join with a sl st in the first sc – 48 (48, 58, 68) sc.
Rnd 2: Ch 1, sc2tog entirely around the wrist cuff; join with a sl st in the first sc2tog – 24 (24, 29, 34) sts.
Rnd 3: Ch 1, dc in each st around; join with a sl st in the first dc.
Rnd 4: Ch 1, * FPdc around the next st, BPdc around the next st; rep from * until 0 (0, 1, 0) st(s) remain, FPdc around the final 0 (0, 1, 0) st(s); join with a sl st in the first FPdc.
Note: Working “0” stitches indicates skipping that instruction entirely for your specific size.
Fasten off and repeat the edging process for the second sleeve cuff.
Weave in all remaining ends.
Let’s Wrap It Up
Congratulations on completing your Free Floral Motif Crochet Sweater Pattern!
By assembling the beautifully textured hexagon motifs and joining them with clean, striped stitch work, you have created a striking piece of wearable art.
Style your new asymmetric pullover with your favorite casual jeans, and enjoy showing off your incredible intermediate stitch mastery!