

If you want to paint beautiful lavender with watercolors but don’t know where to start, you’re in the right place.
As Kerrilyn Cheah often reminds beginners, with the right steps, even a simple subject can become a dreamy, charming piece of art.
In this guide, Kerrilyn Cheah will walk you through everything—from the materials you’ll need to the final touches—so you can create a lovely lavender scene in a mason jar. Ready to dive in and start painting?
Let’s go!
Contents
Materials the Artist Will Need for Painting Lavender
Before the painting process begins, the artist reviews the materials. Having the right supplies is key to making the tutorial smooth and enjoyable.
Watercolors
For painting lavender, the artist uses two shades of purple: dioxazine purple (a bluish-purple) and red-violet (a warmer, reddish-purple). These two colors create depth and variation in the lavender.
Next, the artist mixes sap green and a bit of brown pink for the leaves to create a muted green that complements the purples beautifully.
Yellow ochre and burnt umber are used to capture the natural tones for the rope around the mason jar.
For the shadows in the jar, neutral tint and indigo give it that soft, transparent look.

Brushes
The artist uses three different brush sizes:
- Size 10 for larger areas and the background.
- Size 8 for detailed areas like the lavender and leaves.
- Size 6 for fine lines and extra details.

Paper
The artist recommends using cold press 100% cotton, 300gsm paper. This paper absorbs water well and enhances watercolor texture.
Additional Tools
A white ink pen is helpful for adding final highlights, and a mason jar reference assists in painting the jar accurately.

Step-by-Step Process of Painting Lavender
Now that the materials are ready, it’s time for the artist to begin the painting. The process is broken down into easy-to-follow steps.
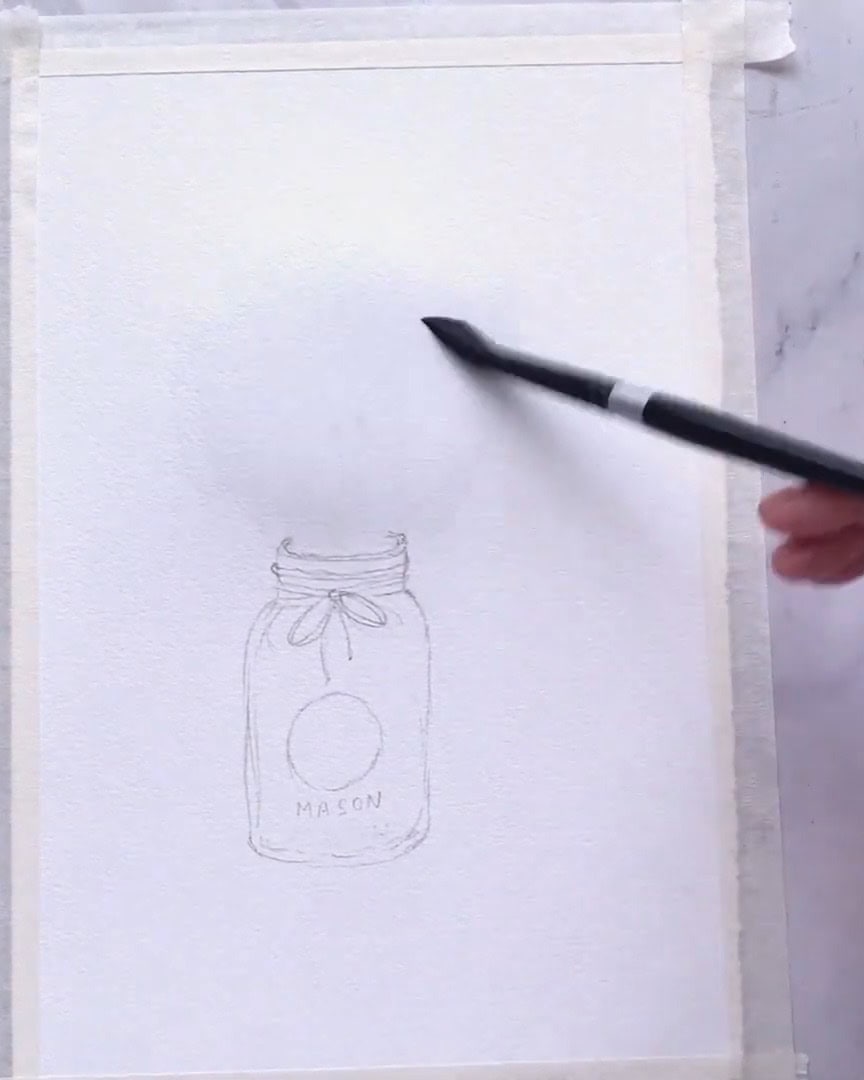
Preparing the Sketch and Background
First, the artist sketches a simple outline of the lavender and mason jar. This doesn’t need to be overly detailed; it serves as a guideline.
Once the sketch is ready, the artist grabs the size 10 brush and wets the area where the lavender will be painted.
The artist uses the wet-on-wet technique, wetting the paper first and letting the water soak in slightly.

Painting the Lavender
Now comes the most exciting part—painting the lavender. This step often brings the most joy because the colors come together beautifully.
The artist starts by picking up the size 10 brush and wets the area above the mason jar with clean water where the lavender will be placed.
After letting the water settle, the artist switches to a size 8 brush to begin painting the flowers.
A mix of bluish-purple, reddish-purple, and a touch of indigo is prepared. This creates a rich lavender tone.
Once the color is ready, the artist paints directly onto the wet paper.
The brush is not overloaded with water—too much water would cause the color to spread too far. With less water, the pigment stays more controlled.
If the color spreads too much, the artist dabs the brush dry and reloads pigment.
A lavender flower features a tall stem with tiny buds along the sides. The artist uses short, rounded strokes to suggest these buds.
The buds are smaller at the top and grow larger toward the bottom. The overall shape is painted directly with the brush.

The paper begins to warp slightly due to moisture, but this is normal and won’t harm the painting.
The artist continues painting the lavender shapes one by one. Some flowers are taller, some shorter.
They are placed at varying heights for a natural composition. Spaces are left for stems later.

More water is added to the brush to create lighter tones for the next flowers.
The size 6 brush is used to add tiny splatters, giving a soft atmospheric texture.

As more details are added, the lavender begins to take shape—a dreamy, blurred impression that looks soft, natural, and delicate.
Painting the Leaves and Stems
Next, the artist adds greenery to balance the composition.
Sap green mixed with yellow ochre forms a warm green tone. The area is lightly re-wetted before painting stems.
Green strokes are placed carefully between the flowers—not too many, just enough to indicate structure.

The artist waits for the area to dry slightly so the paint won’t spread too much. While waiting, neutral tint is used to paint soft shadows inside the jar with a light wash.
The edges are blended gently, and the size 6 brush defines the jar’s outline.

Adding Details to Lavender
Once the paper is drier, the artist adds more texture.
Excess water is lifted using a clean brush blotted on a paper towel, then rolled lightly across the lavender.
This creates both wet and dry patches that add beautiful variation.

More color is added. As the paint moves downward, some areas stay crisp while others soften—creating depth and texture.

More splatters are added, then allowed to dry. This stage focuses on layering to build richness.
Painting the Jar and Rope
The artist now focuses on the jar. The center area is left white, and the rope is painted using yellow ochre.
Burnt umber is added for shadows, especially at the back and around the knot. The edges are softened, and simple lines finish the rope.

Adding Details to the Stems
Once dry, fine lines are added to define the stems. Sap green mixed with neutral tint creates a darker shade for depth.

Keeping Layering the Lavender
The artist returns to the lavender to add a third layer of tiny buds. Layering creates texture and realism.
Some edges are soft, others sharp, producing a natural contrast. Only selected blurred areas are refined.
In empty spaces, the artist paints a few stems lightly. Neutral tint deepens shadows to help petals stand out.
Dark values are placed near the inner stem and shadowed areas. The artist steps back occasionally to check the balance.

Completing the Jar
The artist switches to a size 8 brush and mixes neutral tint with a little purple to create soft shadows.
These shadows are applied gently, then blended with a size 10 brush.

Yellow ochre is added to preserve a warm glow inside the glass, then blended softly.

A circle in the center of the jar is drawn with broken lines, leaving white areas for transparency.

A mix of yellow ochre and brown is used for shadows. The interior is filled with hints of green to show stems inside the glass.

The stems are drawn downward, thicker at the bottom and varied in tone.

Then, let’s draw the words.

More touches are added for interest. A light mix of yellow ochre and neutral tint outlines the jar.

Adding Final Touches
A white ink pen is used to restore highlights, especially on the lavender stems.
Additional lines are added to the string for extra detail. A few finishing strokes enhance contrast.

The Lavender in a Mason Jar painting is now complete! Take a step back and admire the beautiful artwork.

Final Thoughts
With patience and the right techniques, the artist shows how beautifully lavender can be painted in watercolor.
The process relies on layering, wet-on-wet blending, and thoughtful finishing touches to bring the painting to life.
Taking a step back occasionally helps evaluate balance and composition. With practice, even more beautiful floral scenes will soon follow.