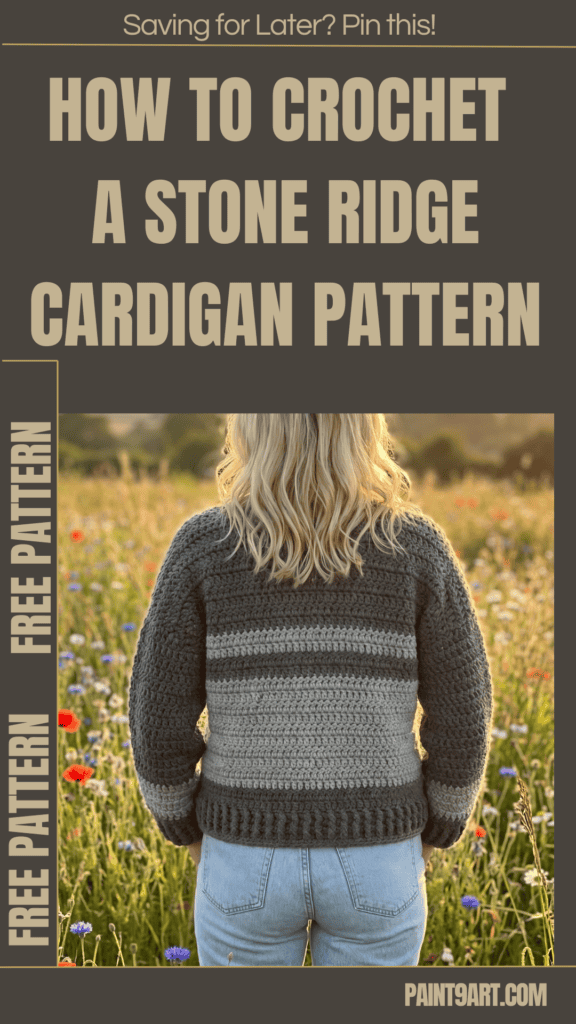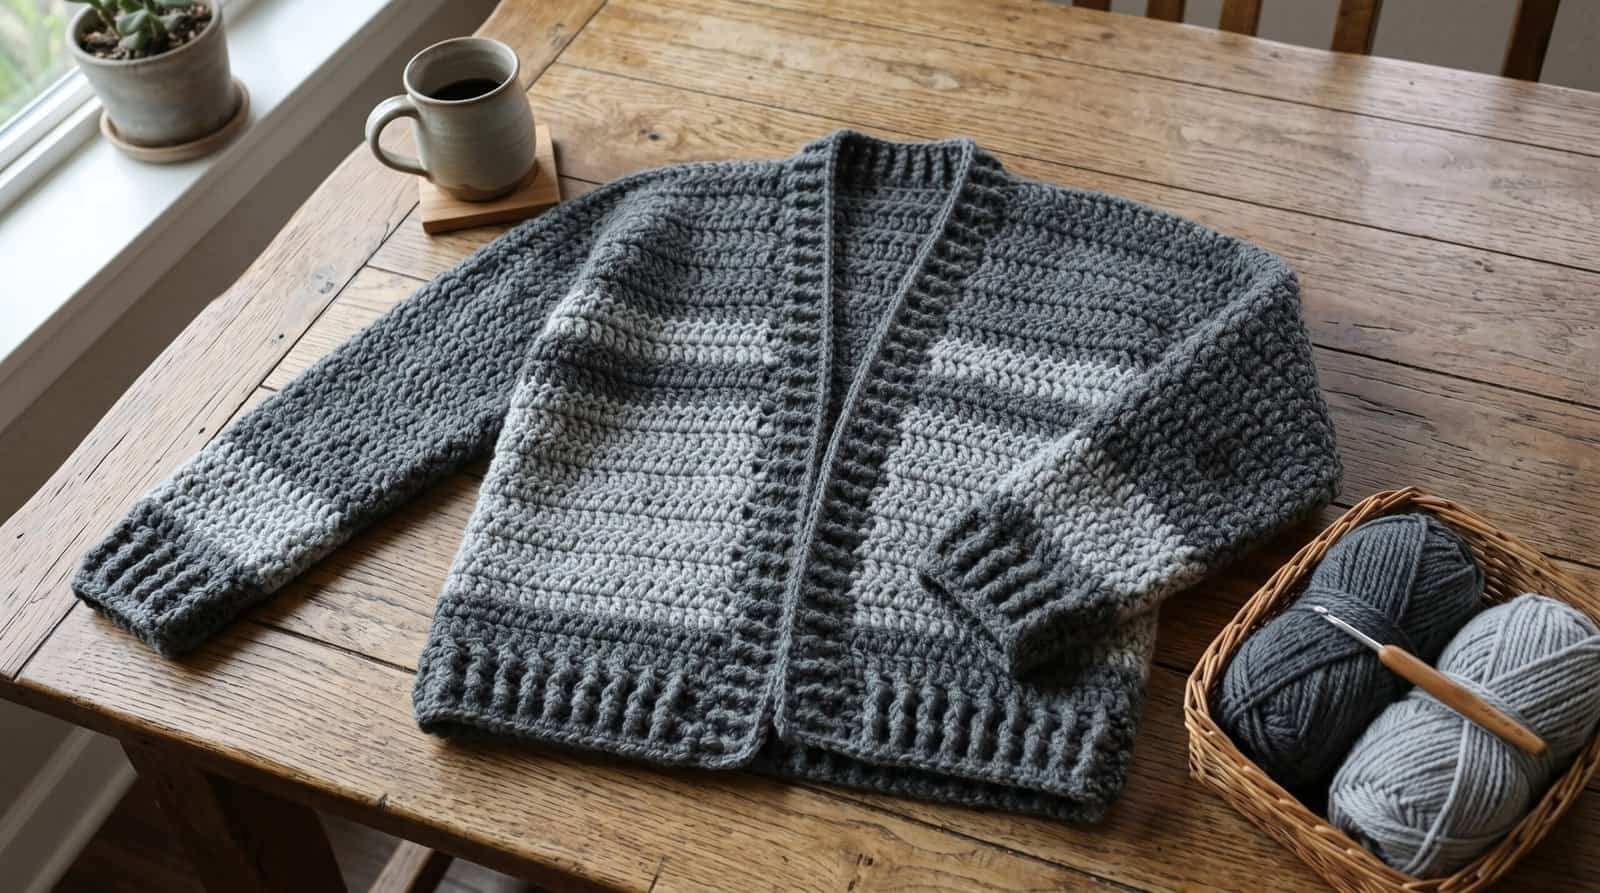
Ready to crochet your new favorite wardrobe staple? This article brings you the complete, easy-to-follow guide adapted directly from the Free Stone Ridge Crochet Cardigan Pattern.
Featuring quick bulky stitches, beautiful color-blocking, and cozy ribbed trim, this beginner-friendly cardigan is the ultimate weekend project. Grab your hook, and let’s get stitching!
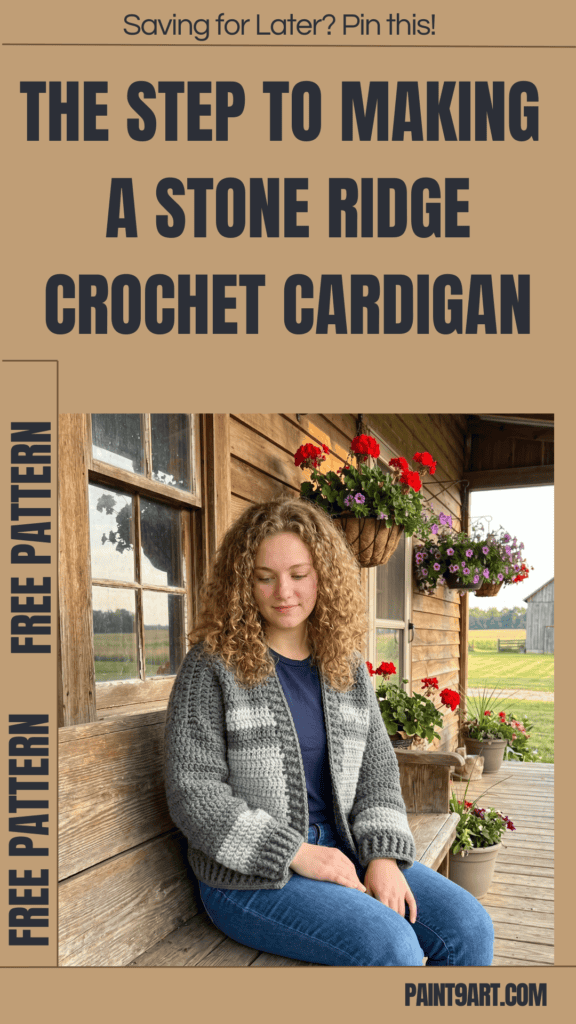
Size Chart & Measurements
The pattern is written for the smallest size with changes for larger sizes in parentheses. When only one number is given, it applies to all sizes. To follow the pattern more easily, circle all numbers pertaining to your size before beginning.
- Sizes: XS (S, M, L, 1X) (2X, 3X, 4X, 5X)
- Finished Bust: About 35 (38, 43, 48, 51) (56, 62, 66, 70) in. (89 (96.5, 109, 122, 129.5) (142, 157.5, 167.5, 178) cm)
- Finished Length: About 20 1/2 (21 1/2, 22 1/2, 23, 23) (24 1/2, 25 1/2, 26, 27) in. (52 (54.5, 57, 58.5, 58.5) (62, 65, 66, 68.5) cm)
Materials
- Yarn Brand: LION BRAND® WOOLSPUN® (Art. #669)
- Yarn Weight: Bulky / Size 5 (Medium 4, Super bulky 6,…..)
- Color A: #152 Charcoal 4 (5, 5, 6, 6) (7, 8, 8, 9) balls
- Color B: #150 Oxford Grey 2 (2, 2, 3, 3) (3, 3, 4, 4) balls
- Crochet Hook: LION BRAND® crochet hook size K-10.5 (6.5 mm)
- Notions: LION BRAND® large-eyed blunt needle
Gauge
- 10 dc + 6 rows = about 4 in. (10 cm).
- BE SURE TO CHECK YOUR GAUGE.
Stitch Explanations & Abbreviations
- ch: chain
- sc: single crochet
- dc: double crochet
- sl st: slip stitch
- rep: repeat
- rnd(s): round(s)
- RS / WS: Right side / Wrong side
- BPdc (Back Post double crochet): Yarn over, insert hook from back to front then to back, going around post of indicated st, draw up a loop, (yarn over and draw through 2 loops on hook) twice. Skip top of st in front of the BPdc.
- FPdc (Front Post double crochet): Yarn over, insert hook from front to back then to front, going around post of indicated st, draw up a loop, (yarn over and draw through 2 loops on hook) twice. Skip top of st behind the FPdc.
- dc2tog (dc 2 sts together): (Yarn over, insert hook in next st and draw up a loop, yarn over and draw through 2 loops) twice, yarn over and draw through all 3 loops on hook – 1 st decreased.
Notes
-
Body of Cardigan is made in one piece from lower edge upwards. Piece is divided at underarms then back and fronts are worked separately up to shoulders.
-
Shoulders are seamed then sleeves are worked directly into armholes.
-
All pieces are worked in double crochet (dc) with post stitch ribbing at lower edges.
-
Yarn color is changed to form sections of color. To change yarn color when working in rows, work last st of old color to last yarn over. Yarn over with new color and draw through all loops on hook to complete st. Proceed with new color. Fasten off old color.
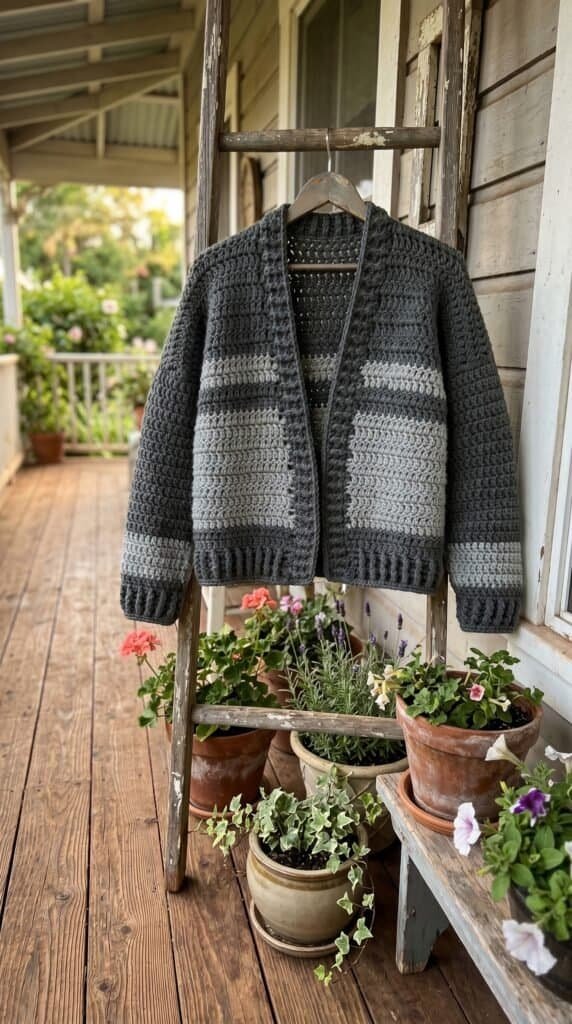
Instructions
Body
Lower Ribbing
With A, ch 80 (90, 100, 110, 122) (130, 142, 152, 162).
Row 1: Dc in 3rd ch from hook (2 skipped ch do not count as a st) and in each ch across – you will have 78 (88, 98, 108, 120) (128, 140, 150, 160) dc in this row.
Rows 2-4: Ch 2 (does not count as a st), turn, FPdc around next st, * BPdc around next st, FPdc around next st; rep from * to last st, dc in last st.
Body
Rows 1 and 2: Ch 2 (does not count as a st), turn, dc in each st across. Change to B in last st of Row 2.
Rows 3-17 (18, 18, 19, 19) (19, 20, 20, 21): Rep Row 2 and change yarn color as follows: Work next 10 rows with B, 2 rows with A, 2 rows with B. and 1 (2, 2, 3, 3) (3, 4, 4, 5) rows with A. Cut B. Work remainder of body with A only.
Divide for Fronts and Back
First Front
Row 1: Ch 2 (does not count as a st), turn, dc in first 17 (20, 22, 24, 28) (29, 31, 34, 36) sts; leave rem sts unworked for back and second front.
Rows 2-10 (10, 11, 12, 12) (14, 14, 15, 15): Ch 2 (does not count as a st), turn, dc in each st across. Fasten off.
Back
Join A with sl st in first unworked st of body following Row 1 of first front.
Row 1: Ch 2 (does not count as a st), beg in same st as joining sl st, dc in next 44 (48, 54, 60, 64) (70, 78, 82, 88) sts; leave rem sts unworked for second front.
Rows 2-10 (10, 11, 12, 12) (14, 14, 15, 15): Ch 2 (does not count as a st), turn, dc in each st across. Fasten off.
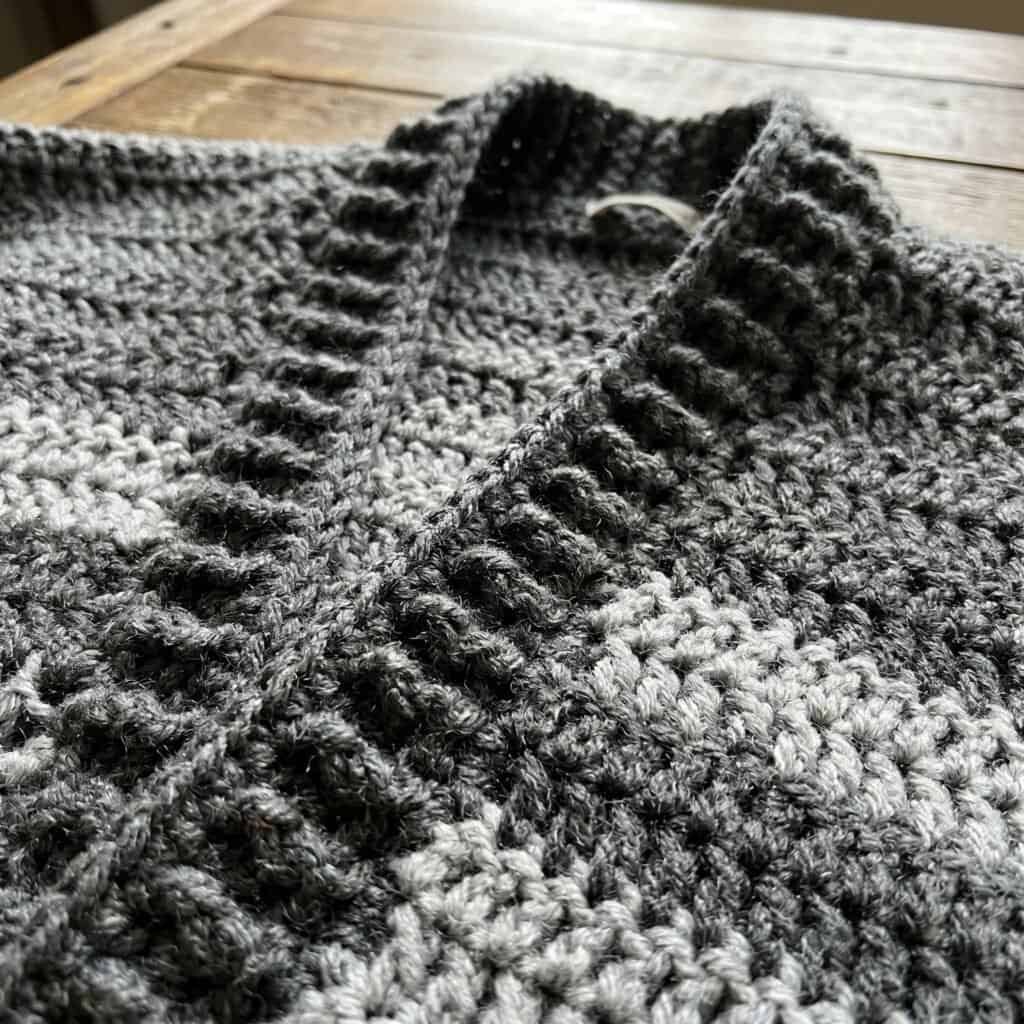
Second Front
Join A with sl st in first unworked st of body following Row 1 of back.
Row 1: Ch 2 (does not count as a st), beg in same st as joining sl st, dc in each st to end of row – 17 (20, 22, 24, 28) (29, 31, 34, 36) sts for second front.
Rows 2-10 (10, 11, 12, 12) (14, 14, 15, 15): Ch 2 (does not count as a st), turn, dc in each st across. Fasten off.
Fold fronts over back, matching sts. Sew shoulders.
Sleeves
Note: Sleeves are worked in rnds without turning at the beg of rnds.
From RS, join A with a sl st in underarm of either armhole.
Rnd 1: Ch 1, work 2 sc in the end of each row around armhole opening; join with sl st in first sc-40 (40, 44, 48, 48) (56, 56, 60, 60) sc.
Rnd 2 (Decrease Rnd): Ch 2 (does not count as a st), dc in first st, dc2tog, dc in each st to last 2 sts, dc2tog; join with sl st in first dc-38 (38, 42, 46, 46) (54, 54, 58, 58) dc.
Rep Rnd 2 until you have 28 (30, 32, 34, 36) (40, 44, 48, 50) dc.
Next 9 (10, 9, 9, 10) (9, 11, 11, 12) Rnds: Ch 2 (does not count as a st), dc in each st around; join with sl st in first dc. Fasten off.
Next Rnd: Join B with sl st in same st as joining sl st, ch 2 (does not count as a st), beg in same st as joining sl st, dc in each st around; join with sl st in first dc.
Next 2 Rnds: Ch 2 (does not count as a st), dc in each st around; join with sl st in first dc.
Next Rnd: Rep Rnd 2-26 (28, 30, 32, 34) (38, 42, 46, 48) dc. Fasten off.
Next Rnd: Join A with sl st in same st as joining sl st, ch 2 (does not count as a st), beg in same st as joining sl st, dc in first st, dc2tog, dc in each st to end of rnd; join with sl st in first dc-25 (27, 29, 31, 33) (37, 41, 45, 47) dc. Do not fasten off.
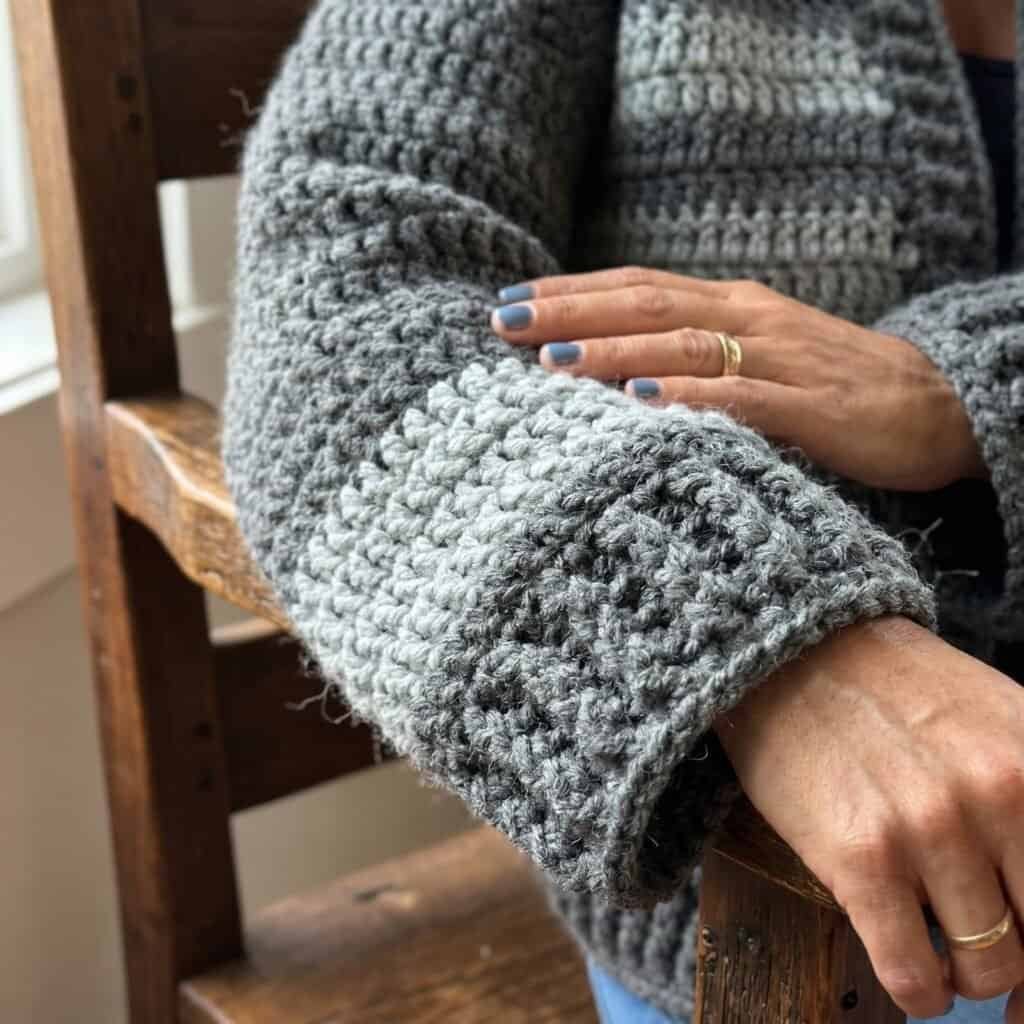
Ribbed Cuff
Rnds 1-3: Ch 2 (does not count as a st), FPdc around next st, * BPdc around next st, FPdc around next st; rep from * around; join with sl st in top of beg ch-2.
Rnd 4: Ch 1, sc in each st around; join with sl st in first sc. Fasten off.
Rep to make second sleeve.
Finishing
Band
From RS, join A with sl st in one lower front corner so that you are ready to work up a front edge.
Row 1: Ch 1, work sc evenly spaced up front edge, across back neck edge, and down next front edge, taking care to work an even number of sts.
Rows 2 and 3: Ch 2 (does not count as a st), turn, FPdc around next st, * BPdc around next st, FPdc around next st; rep from * to last st, dc in last st.
Next Rnd: Ch 1, do NOT turn; work sc evenly spaced along lower edge, up front edge, across back neck, and down next front edge; join with sl st in beg ch-1. Fasten off.
Weave in ends.
Your New Favorite Cardigan is Ready!
Congratulations on finishing your brand new bulky crochet cardigan!
Thanks to the thicker yarn, you’ve created a gorgeous, cozy layering piece in record time. Toss it over jeans or loungewear for an instantly chic, comfortable look.
Don’t forget to experiment with different color-blocking palettes for your next one!